|
Key Takeaways: |
|
• A DIY camper trailer makes you cost-effective and strengthens your ability during the building process. • Before building your camper trailer, consider the base trailer, materials & tools, and electrical & plumbing systems. • There are nine main steps to building a DIY camper trailer, from planning to the final touch; check the details in the following parts. • We also give you an overview of constructing the camper trailer boat rack. • You can use compact appliances and multipurpose features and utilise vertical space to maximise the kitchen in a camper trailer. |
Why Do Aussies Choose to DIY Camper Trailers?
The DIY camper trailer embodies a captivating convergence of ingenuity, practicality, and the essence of exploration. They are specialised or extensively altered trailers designed to provide portable lodging and enable a way of life centred on travel and discovery.
A do-it-yourself (DIY) camper trailer refers to a trailer constructed from the ground up or considerably altered by an individual or collective instead of being acquired as a pre-manufactured, commercially available item. The method of creating a camper trailer has several advantageous advantages:
- Customisation: It is a significant benefit as it allows for customising all trailer elements to align with the unique needs and tastes of the user. This encompasses several aspects, such as the arrangement, storage options, selection of materials, and incorporation of any specialised equipment or technology.
- Cost-effectiveness: The cost-effectiveness of constructing a do-it-yourself camper trailer is sometimes more advantageous than acquiring a pre-existing model, mainly when the builder can recycle materials or integrate pre-owned products.
- Skill Development: Conceptualising and implementing a camper trailer presents a significant prospect for acquiring and implementing a diverse range of skills, including carpentry, metallurgy, electrical work, and plumbing.
What to Consider Before DIY Camper Trailers?
Building a DIY camper trailer is a big job that needs a lot of planning, different skills, and a clear idea of what you need to do. To start such a job, here is a list of what you'll need:
Base Trailer: A robust and reliable base trailer is the base of any do-it-yourself camper trailer. It can be a plain flatbed trailer used as a cloth or an already-built trailer that is changed to fit. The size and weight of the finished van have a lot to do with the choice of base.
Materials and Tools: You must use high-quality, long-lasting materials to handle the rough conditions of road journeys and changing weather. The exact tools needed rely on how complex the build is and how skilled the builder is, but they usually include cutting, drilling, attaching, and finishing different materials.
Electrical and Plumbing Systems: You need a solid electrical system to power lights, chargers, and tools. Many do-it-yourself camping trailers have solar panels and batteries built in, so they can be used without an outlet. Kitchens and bathrooms may need plumbing, which includes a freshwater source, a way to handle wastewater, and a hot water system.
DIY Camper Trailer: How to Build Your Camper Trailer?
Starting a DIY camper trailer project can be fun and rewarding. You can turn an idea into a mobile refuge that fits your camping style and tastes. This part can help you plan and carry out your build by focusing on design issues, picking appropriate materials, getting the right tools, setting up water and power, and picking the suitable camper base.

Step 1: Plan with Design Considerations
It would be best to have a clear idea of what you want your camper trailer to look like before you start building it. Think about the kind of camping you like, how many people you want to bring, how comfortable you want it to be, and where you want to go. This idea will help you decide on style, usefulness, and how to use the room.
Weight & Balance: Carefully think about how to distribute the weight so the trailer stays stable while it's being pulled. You can use a computer programme or write the plan by hand, and you should include exact measures for every part of the build. Pick materials that are strong but light enough. For example, aluminium is light and won't rust, so it's an excellent choice for the shell.
Space Utilisation: Making good use of the room is very important. When you are in a small space, every inch counts. Use features that can be folded up or used for more than one thing, like a table that can be turned into a bed, to make it more useful. Think about where you will store things, cook, sleep, and hang out. You can use an overhead room and storage under the bed to make your trailer more convenient.
Insulation & Ventilation: Good insulation is essential for comfort, especially when the temperature is very high or low. Foam boards, reflective materials, or fibreglass padding can all work. Adding roof vents or windows that can be opened will help keep the air fresh and stop condensation.
Aesthetics: Your tent should be helpful, but it should also look good. Pick colours and materials that go with your style, and think about how your camper trailer will look inside and out.
Step 2: Materials & Tools Needed
For the frame and outside, aluminium and fibreglass are common choices because they last a long time and are light. Wood may be less expensive but needs more upkeep and is heavier.
Regarding insulation and the inside, reflecting paper, rigid foam boards, and spray foam are all good choices. Each has pros and cons regarding how hard it is to install, how well it works, and how much it costs. Interior walls and cabinets are often lightweight materials like boards or composites. They are the right weight, last long, and are easy to work with.
Vinyl or laminate flooring lasts a long time, is light, and is easy to clean. If you'll be in wet places, consider how resistant the material is to water. Lastly, there are materials for windows and doors that are both light and strong that are made for use in RVs or boats. Windows with two panes of glass are better at keeping heat in.
To finish making a camper trailer, you will need a lot of different tools and equipment. The following are on the list, but not all of them:

Being on the road can be an inspiring and fun experience. But many people who live in campers full-time can tell you that you must be ready for anything, especially when making it. You will need more tools to build your camper, so pick the best ones.
Step 3: Select Your Camper
You can change the current utility trailer's frame or build a new one. Using an already-built trailer can save you time and ensure you have a safe base for the road. If you create a new frame, make sure the base is strong and meets safety standards for the road by using solid materials and welds.
A used trailer can save money, but it may need more fixes. A new trailer is more reliable, but it costs more. Check the frame and wheels of used trucks to ensure they are solid.
Think about how much your car can pull. The trailer size should work with your plan, and your vehicle should be allowed to draw it. You can make any unique build on a flatbed trailer or convert an old RV or cargo trailer to save time.
Step 4: Build The Frame
The frame is what your camping trailer is built on. Using an already-built trailer might only need minor changes to fit your new plan. If you're starting from scratch, lay out the steel or aluminium pieces and make sure all the cuts are straight. Then, follow the measurements in your design plan to join them together.
Flooring: Use the pressure-treated board to keep the flooring from rotting, and put it on top of the frame. Use foam or fibreglass insulation under the floor, and make sure the base is tightly attached to the frame with bolts or welds. You can finish the subfloor with any material, like vinyl, hardwood, or carpeting.
Walls & Roof Construction: Use a lighter wall material, like aluminium frames or wood studs. Use the proper insulation on the walls. This could be spray foam, rigid foam boards, or standard fibreglass batts. Once the inside is warm, cover the outside with a weatherproof material, like aluminium sheets.
Building the top means ensuring it has enough slope so water can run off. Insulate the roof like you did the walls, and then cover the outside with a waterproof material like aluminium or a rubber roofing covering. Using a good caulk on all gaps is essential to stop leaks. Remember to place any roof vents at this point.
Step 5: Build The Interior
You'll build out the inside based on your original plan. Cabinets can be bought already made and then changed to fit the room, or they can be built to order. To save weight, it's better to use materials that aren't heavy, like board or composite materials.
Build or install sleeping arrangements, such as fold-out or bunk beds, and put in tables for the kitchen. Put up the inner walls. These can be made of lightweight board or wall panelling that looks better.
|
Notes from Expert* |
|
There are many ways to maximise your interior space by following the tips below: • Storage Headboard: That's a great idea. If your bed backs up to a window, the headboard can also be a window screen. You must fold your fabric at the top to make a pocket big enough for your curtain rod to fit through. • Side Shelf Hooks: Hooks on the shelf are a great way to save room and hang towels, dish rags, potholders, and other things. • Pull-Out Surfaces: Put in pull-out surfaces to make it easy to get to things and store cutting boards and tables. |
Step 6: Build The Electrical and Plumbing
Before the walls are closed up, run pipes and wires inside them. Put in a switch box and ensure the electrical system has RV-grade plugs and wires. Consider using a solar power setup for a self-sufficient power source.
Put in a clean and waste water tank for the pipes. Add a water pump and ensure all the connections are tight so they don't leak. Your system's complexity level will depend on how you've set it up. Some camps will only have hand-pump sinks, while others may have full showers and hot water.
Step 7: Consider The Water System
The water systems of camper trailers are less complex than other systems like electrical or propane. Initially, it is necessary to increase the pressure of your water system to facilitate water transfer from your storage tank to the designated locations.
To do this, you use a 12v water pump. It is advisable to connect this water pump to a 12v switch, allowing for easy deactivation to ensure continuous pressurisation of your water system.

Following the water pump, it is advisable to install an accumulator to mitigate the fluctuations in pressure caused by the pump. Most freshwater tanks are equipped with pre-drilled holes that may be drilled and used to insert tubing. Lastly, water tanks should be noted. A camper trailer needs the presence of both a freshwater tank and a greywater tank. The majority of camper trailers lack black water tanks.
Step 8: Setup Electricity
Adding solar power to camping trailers is a big step towards being more environmentally friendly and independent when living on the go. Renewable energy sources become not just a choice for explorers who want to see more wild and rural parts of the world; they become necessary.
Solar power is an excellent way to power camping trailers because it is easy to get, and there is a lot of it. One of the best reasons camping trucks use solar power is that it has little environmental effect.
Many campers leave behind much smaller carbon footprints when they use solar power, which helps protect the wild areas they enjoy discovering. This eco-friendly method fits the growing interest in sustainable living, making solar power a good choice for explorers caring about the environment.
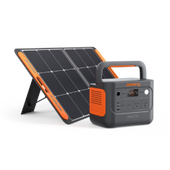
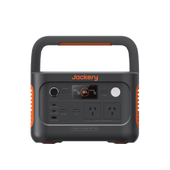
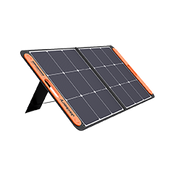
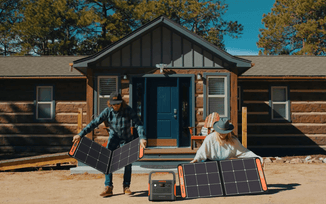
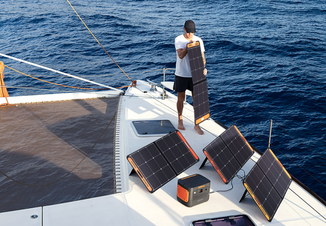
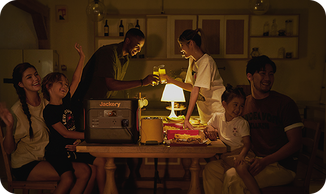
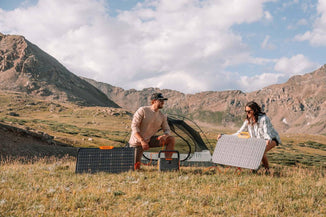
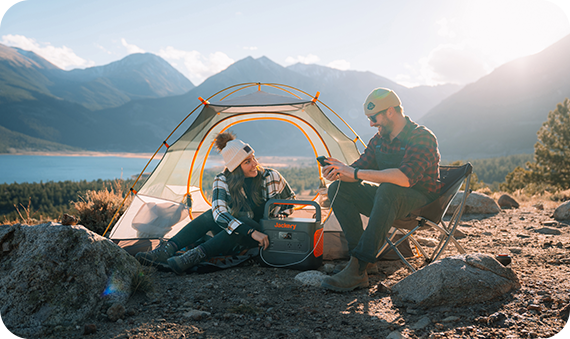
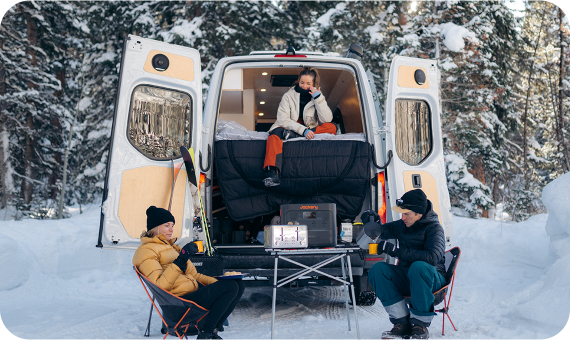
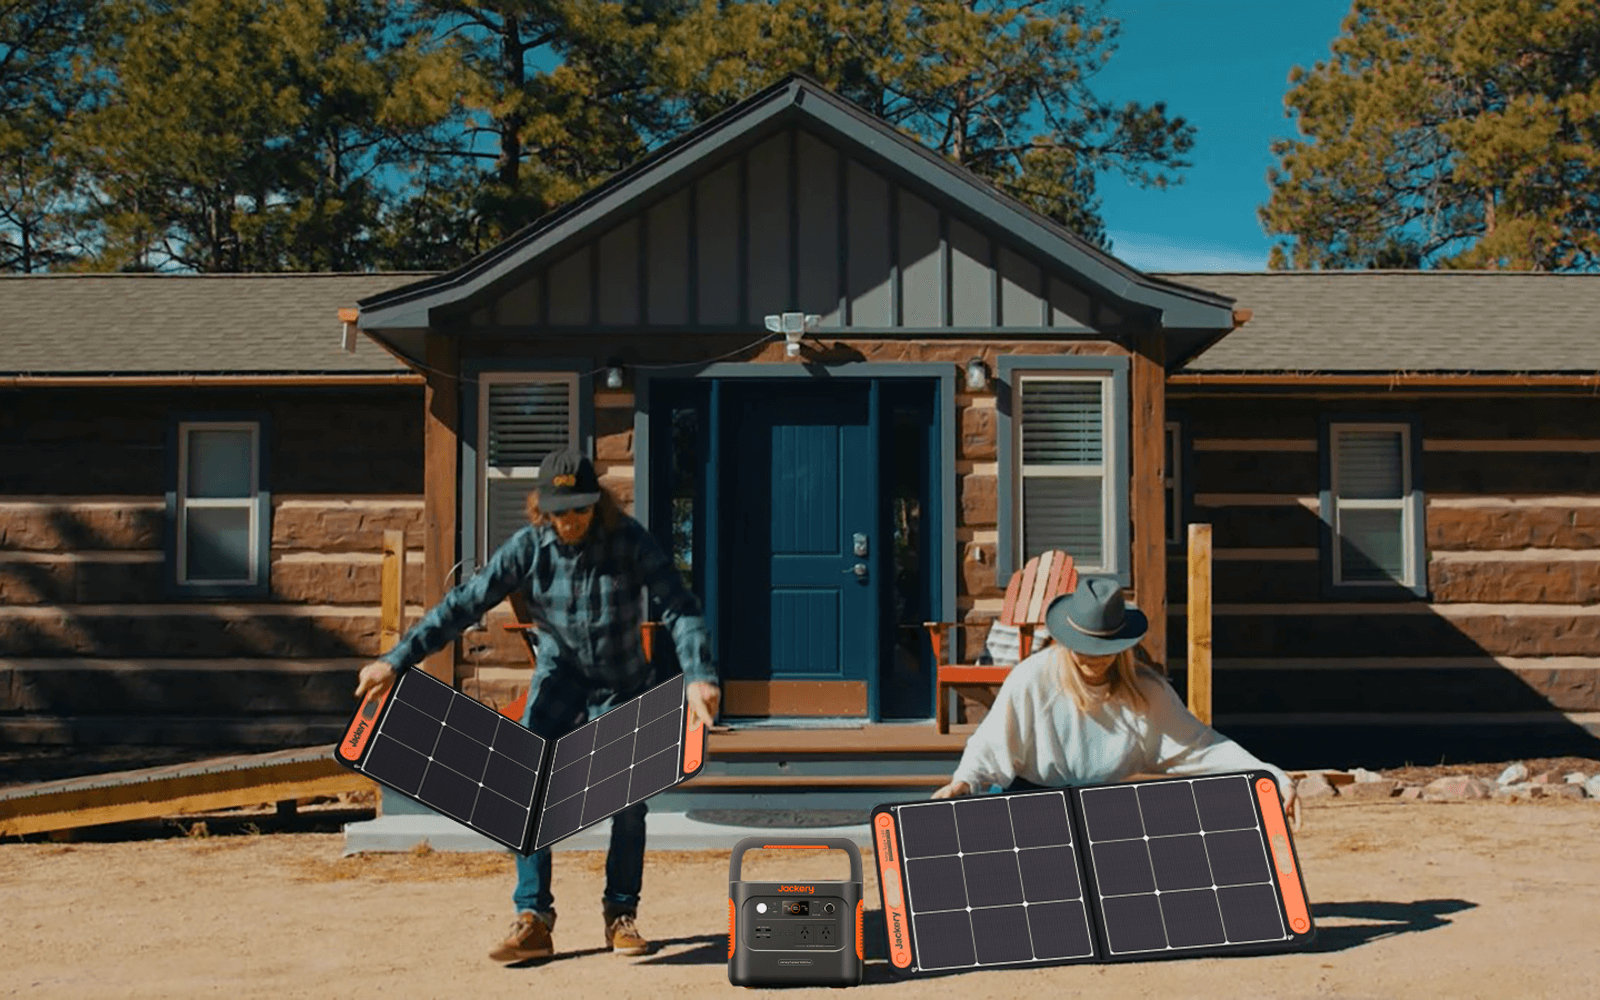
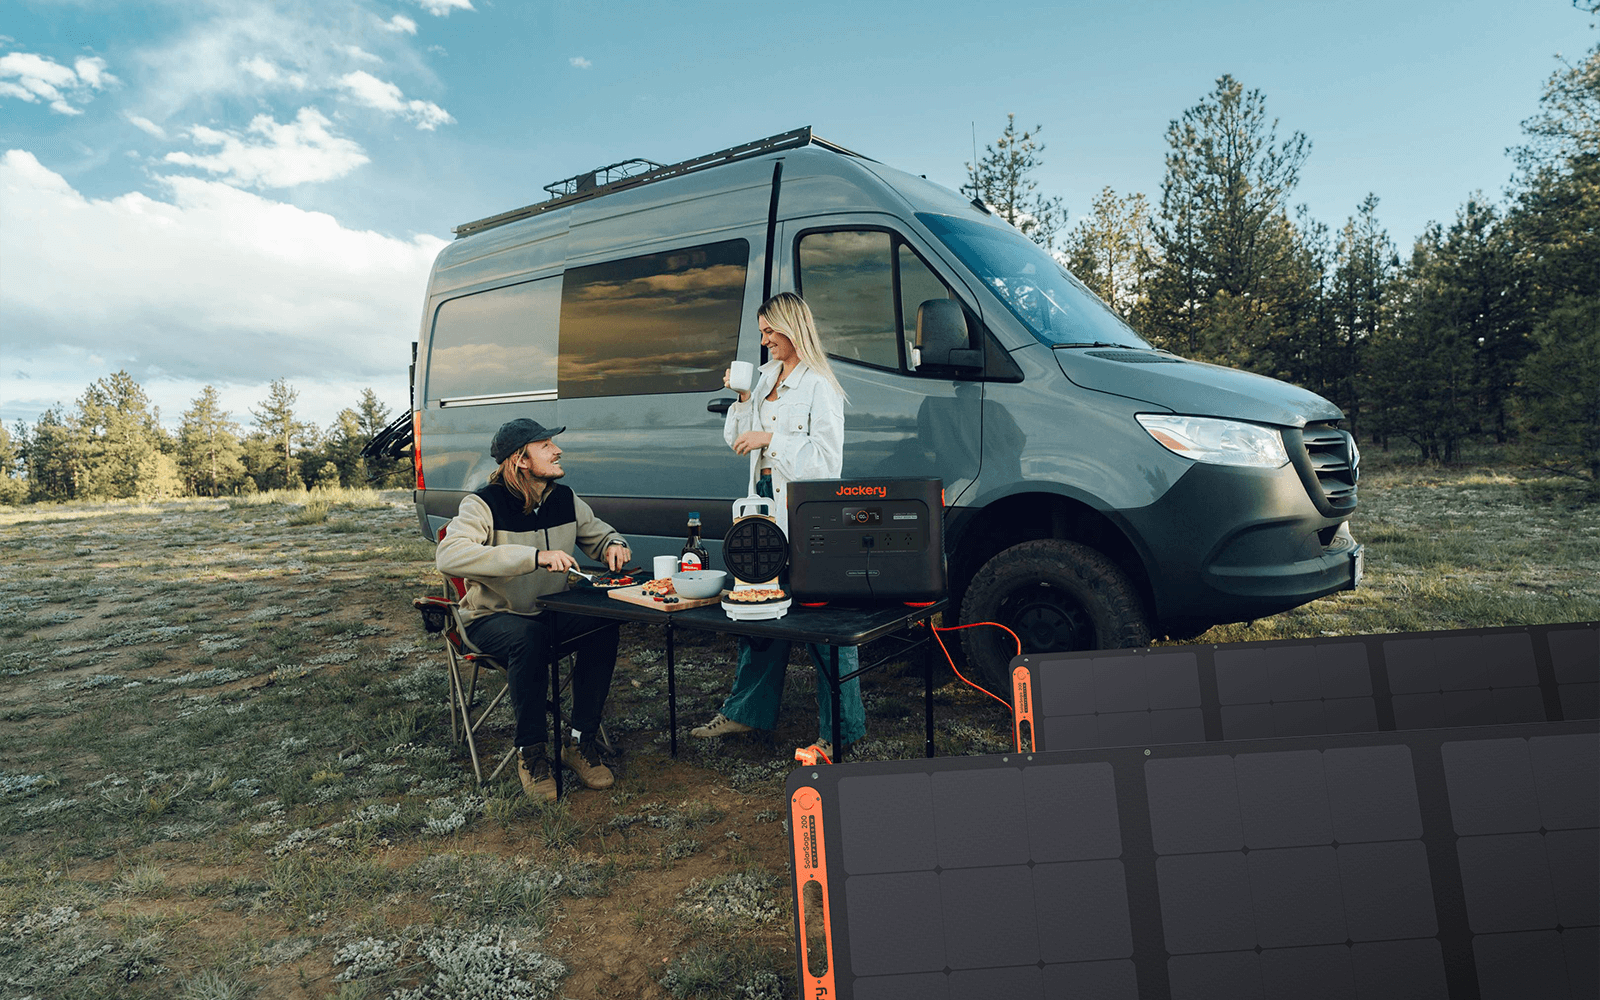
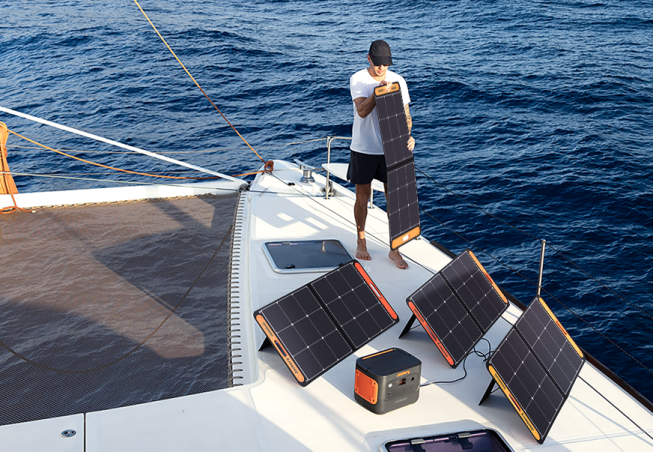
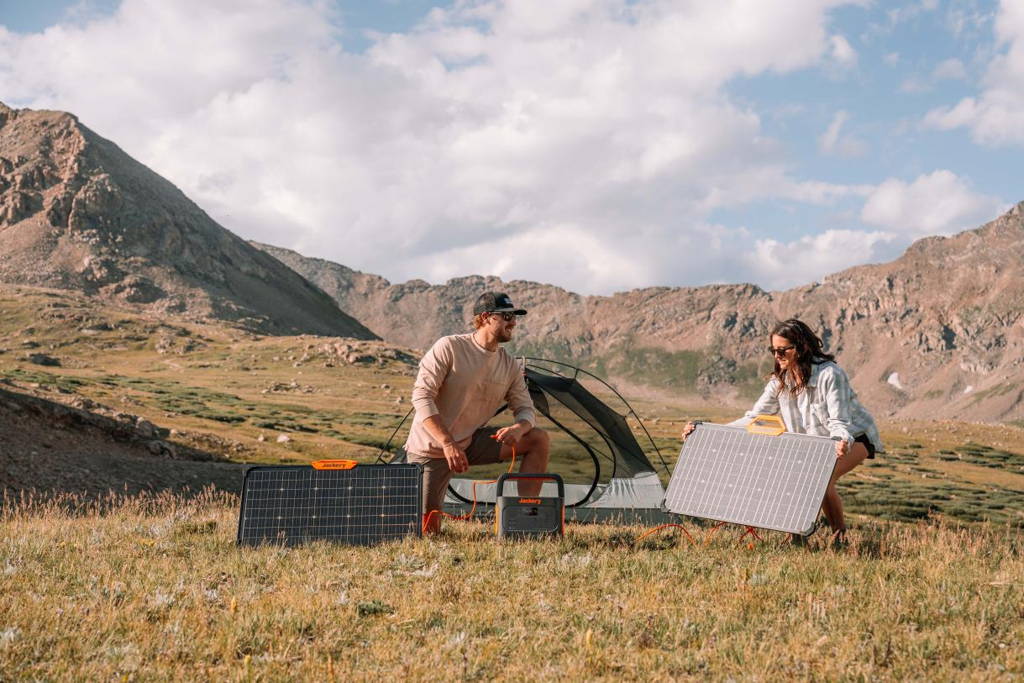
Solar power gives you complete energy freedom, which is valuable when camping or exploring the outdoors. With a solar-powered setup, campers don't have to be tied down to regular power sources or keep engines running. The Jackery Solar Generator is the best camping tool for charging camper electronics quickly and quietly.
Step 9: Final Touch
Paint or polish the inside, put up any trim or moulding and then add soft items like beds, curtains, and pillows. Decorate the room to show off your style and meet your comfort needs.
Add extra storage options outside, such as toolboxes or a bike rack. You can paint and trim the outside however you like and ensure all the lights and signs work.
Jackery Solar Generators for Camper Trailers
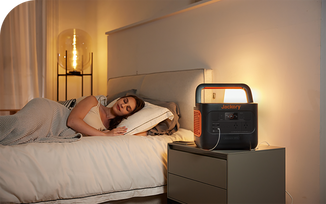
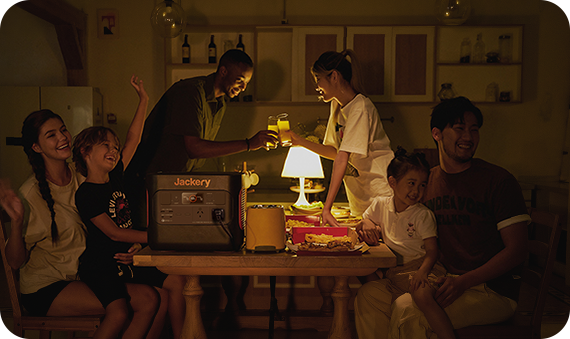
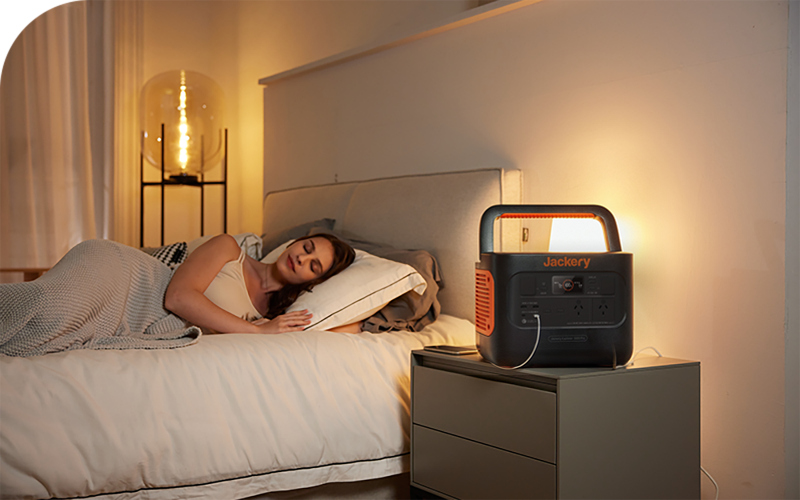
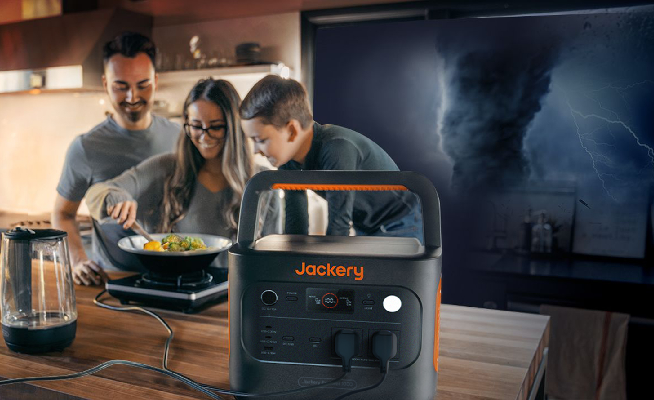
Jackery Solar Generators, particularly, are gaining popularity as a portable power source when camping due to their pure and renewable energy content. Additionally, solar generators can power camping equipment such as phone chargers and lighting.

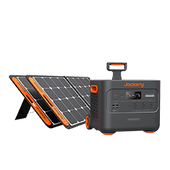
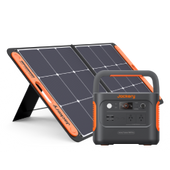
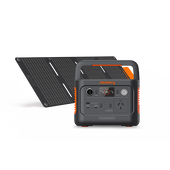
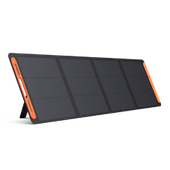
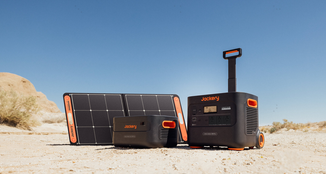
The Jackery Solar Generator, which combines Jackery Solar Panels with a Portable Power Station, supplies camping with reliable and clean energy. In addition to generating more electricity with a power conversion rate of over 25%, the Jackery Solar Panels feature a superior lithium-ion rechargeable power station that efficiently stores energy.
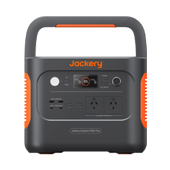
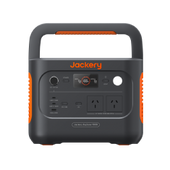
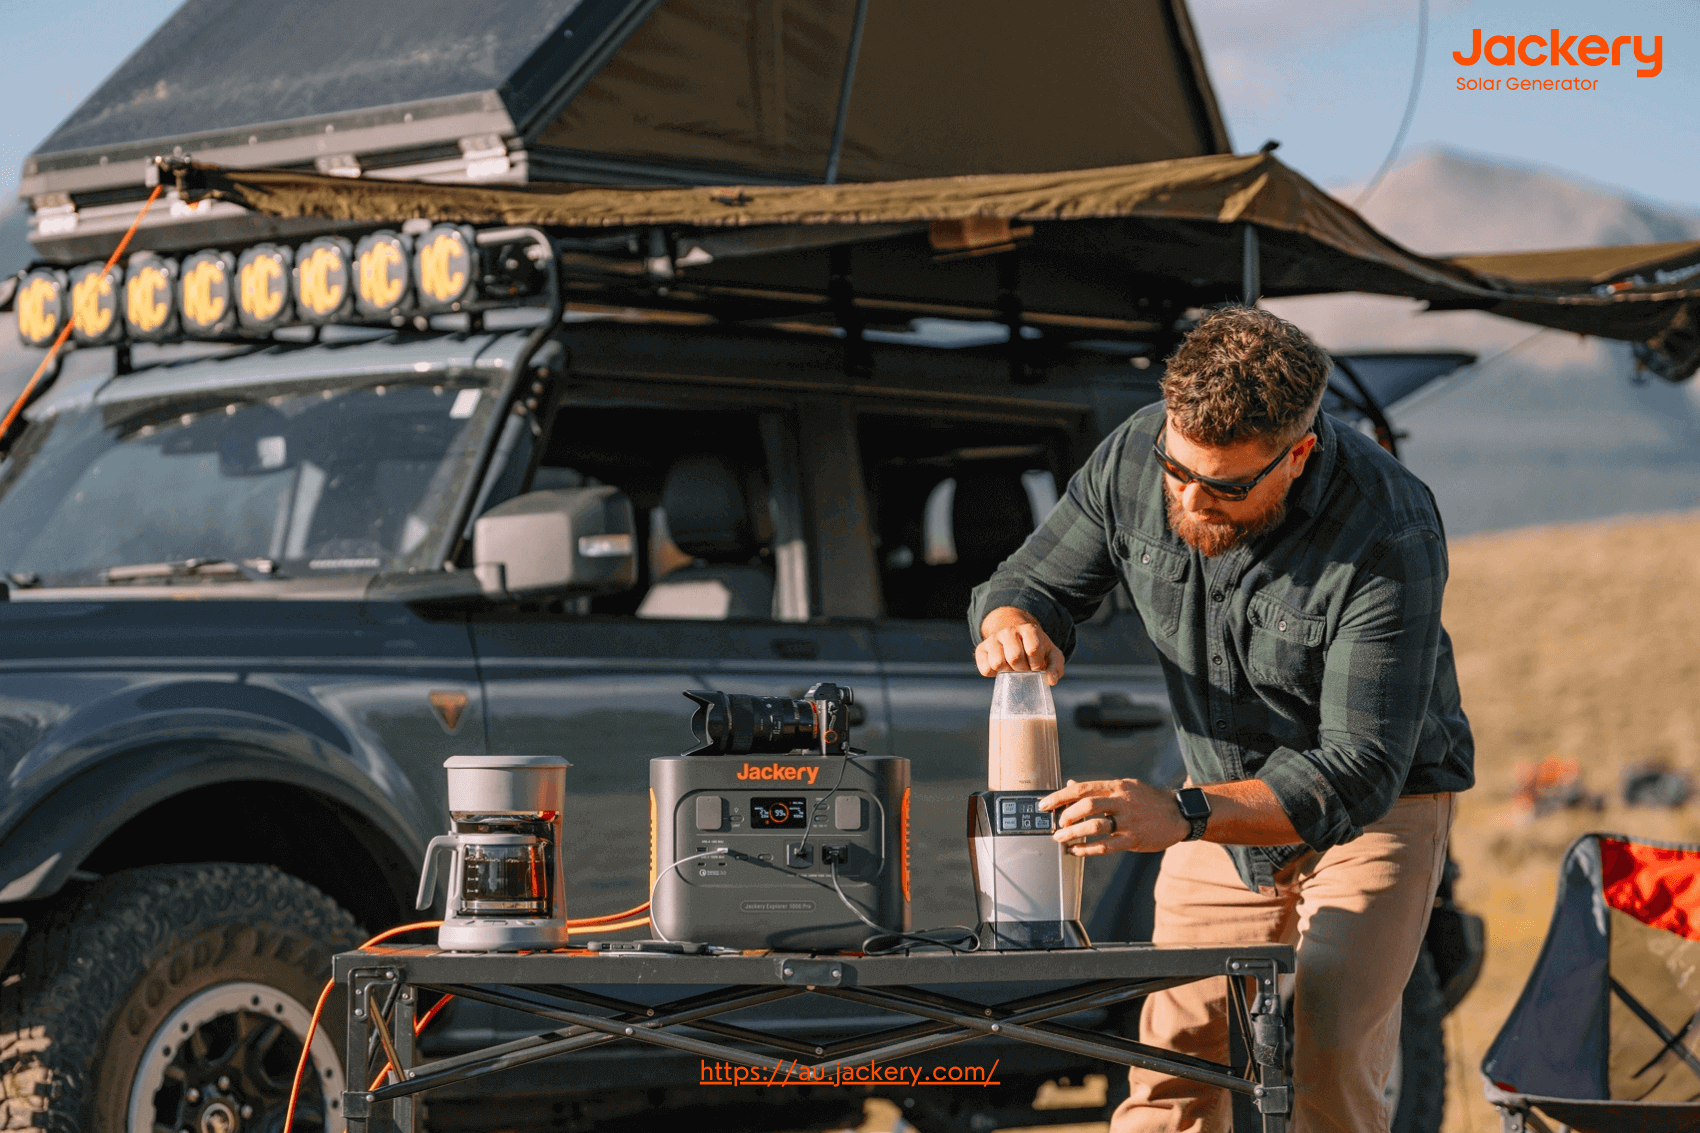
Jackery Solar Generator 1000 Pro
The 1002Wh capacity indicates that the power station can store substantial electricity, making it a reliable option for longer trips or emergencies. This significant energy storage capacity allows you to fuel various devices for extended durations without recharging.
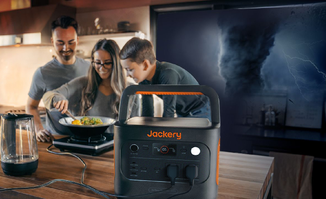
This model features a 1000W output, capable of powering multiple devices simultaneously, making it fully compatible with various electronic needs. The Explorer 1000 Pro is built with an industry-leading Battery Management System (BMS). It employs pure sine wave technology to ensure safe and stable power delivery to sensitive electronics, mimicking the quality of household electricity.
As an outdoor power supply, its ability to run high-wattage devices makes it ideal for various outdoor activities. You can use an air compressor for inflating tyres or camping gear, a hot plate for cooking, a coffee maker for your morning brew, or an electric grill for barbecues, ensuring the comforts of home while enjoying the outdoors.

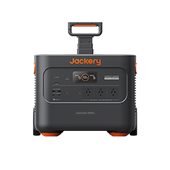
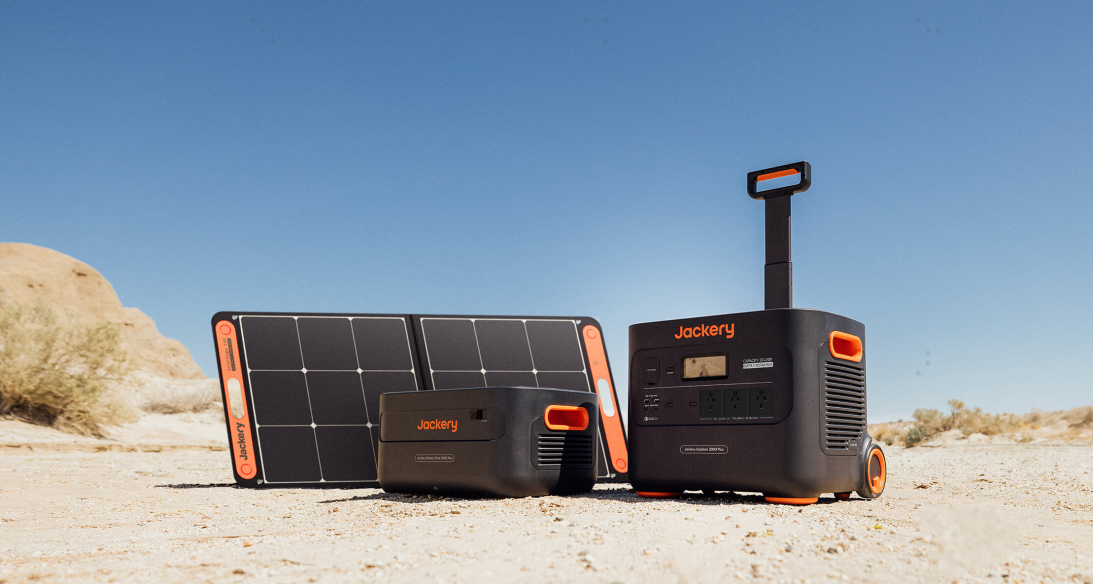
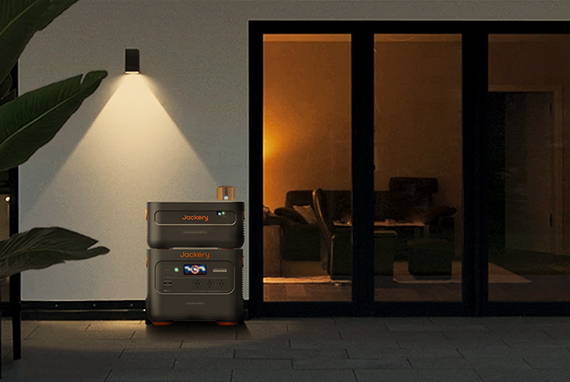
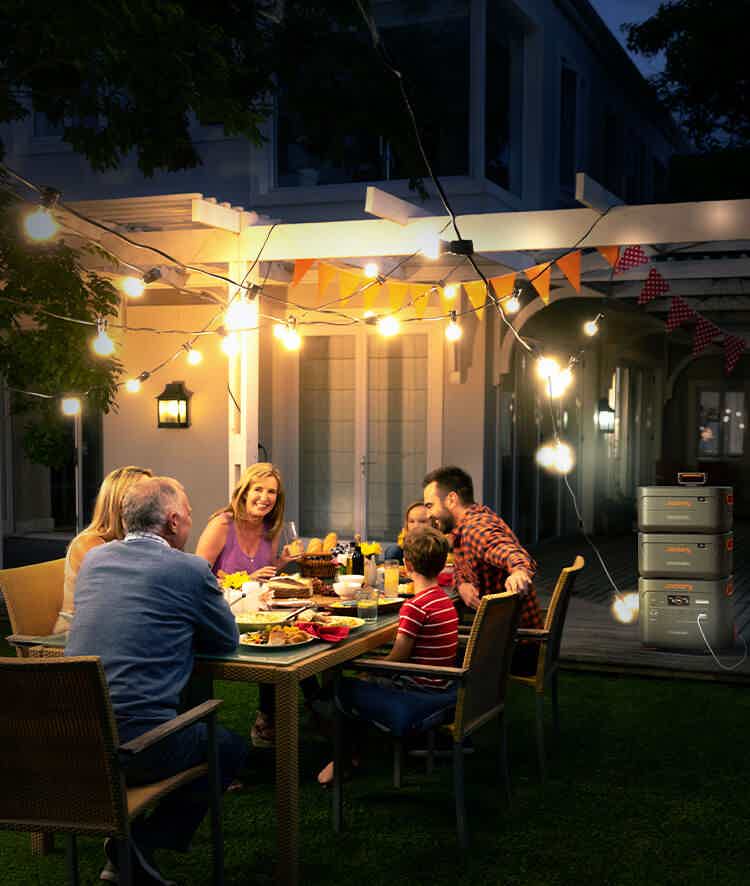
Jackery Solar Generator 2000 Plus
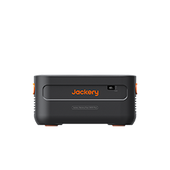
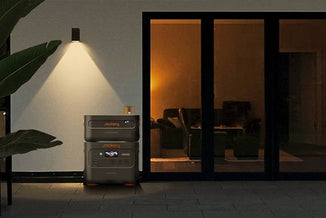
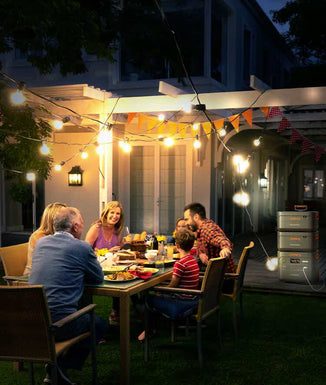
The Solar Generator 2000 Plus boasts an impressive base capacity of 2 kWh (kilowatt-hours), which can be significantly expanded up to 12 kWh with additional battery packs. This feature allows for an output of up to 13A/638.4Ah, providing enough energy to support a typical household for an entire week off the grid.
Equipped with a LiFePO4 battery, the Solar Generator 2000 Plus is engineered for longevity. These batteries are known for their long life cycles, with the product offering an outstanding lifespan of up to 10 years, ensuring reliable power for years to come.
Safety is a priority with the Solar Generator 2000 Plus, which has high FCC, CE, and UL certifications. The innovative ChargeShield Technology includes:
- 62 forms of protection.
- Making the unit incredibly safe to operate.
-
Guarding against a wide array of potential issues.

How to DIY Camper Trailer Boat Rack?
A clever way to increase your adventure options is to design and build a camping trailer boat rack. This will allow you to bring a small boat, kayak, or canoe on your trips. Thorough planning and design are required. This comprehensive guide will assist you in constructing a boat rack that works for you to ensure this addition is safe, works well, and fits with your camper trailer.
- Understand Your Needs: First, figure out what boat you want to take. The rack will be made to consider your boat's size, weight, and shape. You can choose a set or moveable rack based on how often you load and move the ship.
- Consider The Weight & Balance: The weight of the boat and the rack can significantly affect how well your trailer handles and how much gas it uses. Aim for a light design that spreads the weight properly so the trailer stays balanced and can be towed safely. Check to see how much weight your trailer can hold to avoid overdoing it.
The rack must not only fit the size of your trailer, but it must also be able to fit around any buildings or features that are already there. Ensure the design stays in the way of doors, windows, or shelves. Also, think about how the rack will change the general height of the trailer and its ability to go under low bridges or overhangs.
- Gather Materials & Tools: Make a list of the tools and materials you'll need based on your plan. This list might include aluminium tubes, nuts, bolts, welding gear, and cutting tools. Remember to bring your safety gear.
Include features that keep the boat securely in place while moving. Straps, locks, and padding can keep the ship from moving and protect the surface. Markings and lights that reflect light make it easier to see on the road.
- Construct The Frame: Build the frame on which the boat will sit. Based on your skills and tools, you can use bolts or welds to put the aluminium tube together. Ensure the strong frame is the right size for your boat and trailer.
- Add Mounting Mechanisms: Build the frame on which the boat will sit. Based on your skills and tools, you can use bolts or welds to assemble the aluminium tube. Ensure the strong frame is the right size for your boat and trailer.
- Install Safety Features: To keep the boat safe, add straps, locks, and padding. To follow the rules for road safety, put up any lights or bright materials that are needed. Do a test run with the boat full of people before you leave. Look to see if the rack is moving or having any other problems, and if it is, make the necessary changes. Ensure the trailer is easy to move and that sight and entry are maintained.
How to Maximise The Kitchen in A Camper Trailer?
Doing it yourself is essential to making a comfortable and valuable mobile living place, especially for the kitchen. Many people think of the kitchen as the heart of the home. This is even more true in a camper trailer, where every inch of room has to be carefully used.
- Compact Appliances: Choose appliances that fit in small areas. Many companies make thin freezers, grills with two burners, and small microwaves or convection ovens that work well in camping trailers. These tools do what they should without taking up too much room.
- Multipurpose Features: Use parts that can be used for more than one thing. A table that folds down can be used as an extra work room for preparing meals and a place to eat. In the same way, a sink cover can give you more room to work when the sink is not in use.
- Vertical Space Utilisation: Remember the vertical room in your camper trailer kitchen. Put cabinets, shelves, and hooks above the counter to store things. This method not only helps you stay organised, but it also makes it easy to get to the things you need.
Final Thoughts
Starting a DIY camper trailer job is both artistic and challenging. The process shows how independent and creative people can be because it results in a way to get around and a custom home on wheels that takes the maker's spirit with it wherever the road takes it.
This kind of project gives you considerable pleasure; it's the right mix of valuable skills and the joy of making something new. Also, a Jackery Solar Generator can power your camper's appliances and charge your professional tools while you build the trailer outside.

