|
Key Takeaways: |
|
• Assess the current state of your caravan to identify necessary repairs and restorations. • Step-by-step guidance on restoring various aspects of your caravan to its former glory. • Tips and best practices for keeping your restored caravan in top condition. • Detailed cost breakdowns for DIY restoration projects to help manage your budget. • We consider the Jackery Solar Generator 2000 Plus and 1000 Plus suitable for charging your caravan or DIY tools. • Evaluation of the benefits of undertaking a DIY caravan restoration to determine if it's the right choice. |
Understand Your Caravan's Current Condition
Restoring your caravan can be a fun and rewarding project. The first step is to understand its current condition, which will help you know what needs fixing and what tools you need.
Inspect the Exterior
You should check for any dents, rust, or damage on the outside of the caravan. Rust can be a big problem, so you need to look closely. You better ensure they open and close correctly and look for cracks or leaks. You can also climb up to check the roof to see any signs of water damage or holes.
Inspect the Interior
Check the Walls and Ceiling: Look for signs of water damage, such as stains or soft spots.
Examine the Floor: You can walk around and feel for any soft areas that need fixing.
Look at the Furniture: The last is to check the condition of the beds, seats, and cupboards. Are they sturdy? Do they need repairs?
Electrical System
You should turn on all the lights to check if they work and replace burnt-out bulbs. You should also look at the wires for signs of wear or damage and make sure they are appropriately connected.
Plumbing System
Check the Pipes and Taps: Turn on the taps to see if water flows properly and look for leaks in the pipes.
Inspect the Water Heater: You need to make sure the water heater is working well. It should heat water quickly without any problems.
Gas System
It is very important for your safety to check for leaks in the gas lines. Turn on the stove and other gas appliances to ensure they work correctly.
Tires and Suspension
You can look for any signs of wear or damage and ensure they have enough air. You should also look under the caravan to check the suspension system and make sure it is in good condition. You should also make sure the brakes are working well, which is very important for safe driving.

How to DIY Your Caravan?
Restoring your caravan can be a big project, but careful planning and detail can make it much more manageable. The key is to break down the process into clear, manageable steps and tackle each methodically. Here are some detailed steps to help you restore or DIY your caravan.
How to Choose the Caravan
Choosing the right caravan for restoration is crucial in your DIY caravan project. There are many factors to consider, and making the right choice can save you time, money, and effort. Here are some essential points to remember when choosing a caravan to restore.
Firstly, you need to decide what type of caravan you want. Caravans come in different sizes and styles. Some are small and compact, perfect for couples or solo travellers, while others are larger and can accommodate families.
Consider how you plan to use the caravan. For example, will you travel long distances or go on short trips? This will help you decide on the size and features you need. Next, you need to consider the condition of the caravan.
Restoring a caravan can be a big job, so starting with one in good shape is essential. Looking for a caravan with a solid frame free from significant damage would be best. Check for signs of rust, especially on the chassis and undercarriage, because rust can be a big problem and expensive.
Another critical factor is the caravan's age. Older caravans can have a lot of charm but also have many problems. Electrical systems, plumbing, and other components can wear out over time and may need to be replaced.
So, you should be prepared for the work that an older caravan might require. You should also think about the availability of parts. Some older caravans have parts that are hard to find, which can make your restoration more difficult. Therefore, you should research to find out if parts for the caravan you are considering are available.
Budget is another key consideration. Restoring a caravan can be costly, so it's essential to set a budget and stick to it. You should consider not just the price of the caravan but also the cost of materials, parts, or labour. Hence, it would help if you were realistic about what you can afford and tried to choose a caravan that fits within your budget.
How to DIY Your Caravan
The following are the steps for a DIY caravan. With this guide, you can thoroughly restore your caravan.

Step 1: Clean Everything Thoroughly
The first step in restoring your caravan is cleaning it inside and outside. You can start by washing the exterior to remove dirt, grime, and old residue. Then, you can use a mild cleaner and a soft brush to scrub the surfaces. However, you should pay special attention to areas prone to buildup, such as around the windows, doors, and roof seams.
After washing, rinse the whole caravan with clean water and let it dry completely. Next, you should move on to the interior. To give you a clear workspace, remove all furniture and items inside the caravan, and then vacuum the floors and upholstery to get rid of dust and debris.
Then, it would help if you wiped down the walls, ceiling, and all surfaces with a damp cloth and a mild cleaner. Cleaning lets you see the caravan's condition more clearly and identify areas that need repair.
Step 2: Inspect and Repair the Exterior
Once the caravan is clean, you should carefully inspect the exterior for any damage. For example, you should look for dents, rust spots, and any areas where the paint is chipped or peeling. Then, you can use a filler to repair small dents and holes, but you need to apply the filler according to the instructions and then sand it smooth once it has dried.
For larger repairs, you may need to replace parts of the exterior panelling. Rust can be a big issue, especially in older caravans. It would help if you used a rust remover to treat rusty areas. You can apply the rust remover, let it sit for the recommended time, and then scrub it off with a brush. Once the rust is removed, repaint the area with rust-resistant paint to prevent further damage.
Step 3: Repair the Roof
The roof is one of the most critical parts of your diy caravans, as it protects the interior from water damage. You can inspect the roof for any signs of leaks or holes. If you find any leaks, you should use a sealant to fill them. A sealant works very well for small cracks.
You may need to apply a new layer of waterproof material or replace part of the roof for larger holes or damage. Consider using a roof coating to ensure the roof remains watertight. This protective layer can help seal the roof and prevent leaks.
Step 4: Replace or Repair Windows and Doors
Windows and doors are critical for keeping your caravan weatherproof and secure. You should check all windows and doors to ensure they open and close well and look for cracks in the glass or the frames. If you find any issues, please replace the damaged windows or doors.
Then, you should ensure that all seals around the windows and doors are intact. If you notice gaps or worn-out seals, please replace them with new weatherstripping. This will help keep out drafts and moisture, making your caravan more comfortable and safe.
Step 5: Update the Interior
With the exterior repairs underway, you can turn your attention to the interior. Start by removing any damaged or outdated furniture. You can replace it with new furniture or refurbish existing pieces to give them a fresh look. Sand and repaint wooden furniture, and reupholster seats and cushions if needed.
Painting the walls and ceiling can significantly improve the appearance of the interior. But you would better choose a light colour to make the space feel larger and more open. Then, you use paint suitable for the material used in your caravan's walls and ceiling.
Step 6: Check and Fix Electrical Systems
The electrical system is vital for the functionality and safety of your caravan. Start by inspecting all the wiring for any signs of wear or damage. Look for frayed wires, loose connections, and any exposed wiring. Replace any damaged wiring and ensure all connections are secure. Check all the lights and electrical appliances to ensure they work correctly. Replace any burnt-out bulbs and repair or replace any malfunctioning appliances.
If your caravan has outdated electrical components, consider upgrading to more energy-efficient options. If you are not experienced with electrical work, hiring a professional electrician to inspect and repair the electrical system is advisable. This will ensure that everything is done safely and up to code.

Step 7: Plumbing Systems
The plumbing system is another crucial part of your caravan. You should check all the pipes and taps for leaks, turn on the taps and watch for any signs of dripping or water escaping from the pipes. If you find any leaks, you should tighten the connections or replace the damaged parts for your safety. Next, you can inspect the water heater to make sure it heats water quickly and efficiently. You may need to repair or replace it if it is not working well.
Then, you need to check the water storage tanks for any signs of leaks. The last is to ensure that all plumbing systems, including the toilet and shower, function well. If you encounter significant issues, consider consulting a professional for more help.
Step 8: Service the Gas System
The gas system in your caravan powers necessary appliances like the stove and heater, so ensuring it is in good working order is essential. Inspect all gas lines for any signs of leaks, which is vital for your safety, as gas leaks can be hazardous. You better use a gas leak detector or apply water to the connections and watch for bubbles.
Then, you should check all gas appliances to ensure they work well. Please turn on the stove and any other gas appliances to test them. If you notice any issues, such as weak flames or strange smells, you should have a professional inspect and repair the system.
Step 9: Check Tires and Suspension
The tyres and suspension system are crucial for the safety and comfort of your caravan. First, you can check the condition of the tyres and look for any signs of cracks, ensuring the tyres are inflated to the correct pressure.
If the tyres are old or damaged, replace them with new ones. Next, you should inspect the suspension system. You can look under the caravan and check for any signs of wear to the springs, shock absorbers, and other components. If you find any issues, you would better replace the worn parts to ensure a safe ride.
Step 10: Test and Repair Brakes
Finally, you should check the brakes to ensure they are working well. The brakes are one of your caravan's most crucial safety features, so ensuring they are in good condition is essential. You can test the brakes by driving the caravan slowly and applying them to see if they respond correctly.
If you notice any issues, such as the brakes feeling spongy or not responding quickly, you may need to replace the brake pads or other components. You can also consult your caravan's manual for specific help to service the brakes or take your caravan to a professional for a thorough inspection and repair.
Maintaining Your Restored Caravan
Maintaining your restored caravan is very important to keep it in good condition and ensure it can last a long time. Here are some simple tips to help you maintain your caravan.
Firstly, it is vital to clean the exterior of your caravan regularly. Dust and grime can build up on its surface and cause damage over time, so you must use soap and water to clean the exterior and rinse it. Also, you should check for any signs of rust or corrosion and fix them immediately to prevent further damage.
Secondly, you should also clean the interior of your caravan regularly. This includes vacuuming the floors, wiping surfaces, and cleaning the windows. You should also pay special attention to the kitchen and bathroom areas, as these can be the grounds for bacteria and mould. You can use cleaning products to keep these areas clean and fresh.
Next, regularly checking the seals and seams of your caravan is essential. Over time, seals can wear out and cause leaks. So you should inspect the seals around the windows, doors, and roof and replace any damaged or worn ones. This would greatly help prevent water from entering your caravan and causing damage to the interior.
Another critical aspect of maintaining your caravan is to check the tyres regularly. You should make sure they are correctly inflated and check for any signs of damage. Then, you can rotate the tyres regularly and replace them when necessary, which will help to ensure a smooth and safe ride. You should also check the brakes and lights of your caravan regularly. It would help if you ensured the brake lights, indicators, and headlights worked well. If you find any issues, you should have them fixed immediately, which is essential for your safety on the road.
In addition to these basic maintenance tasks, it is also important to service your caravan regularly. This includes checking the engine, if your caravan has one, and servicing the electrical and plumbing systems. Regular servicing will help to find any potential issues before they become big problems and ensure your caravan is always in good working order.
Jackery Solar Generators for Caravans
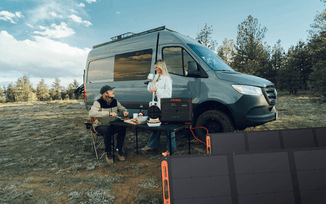
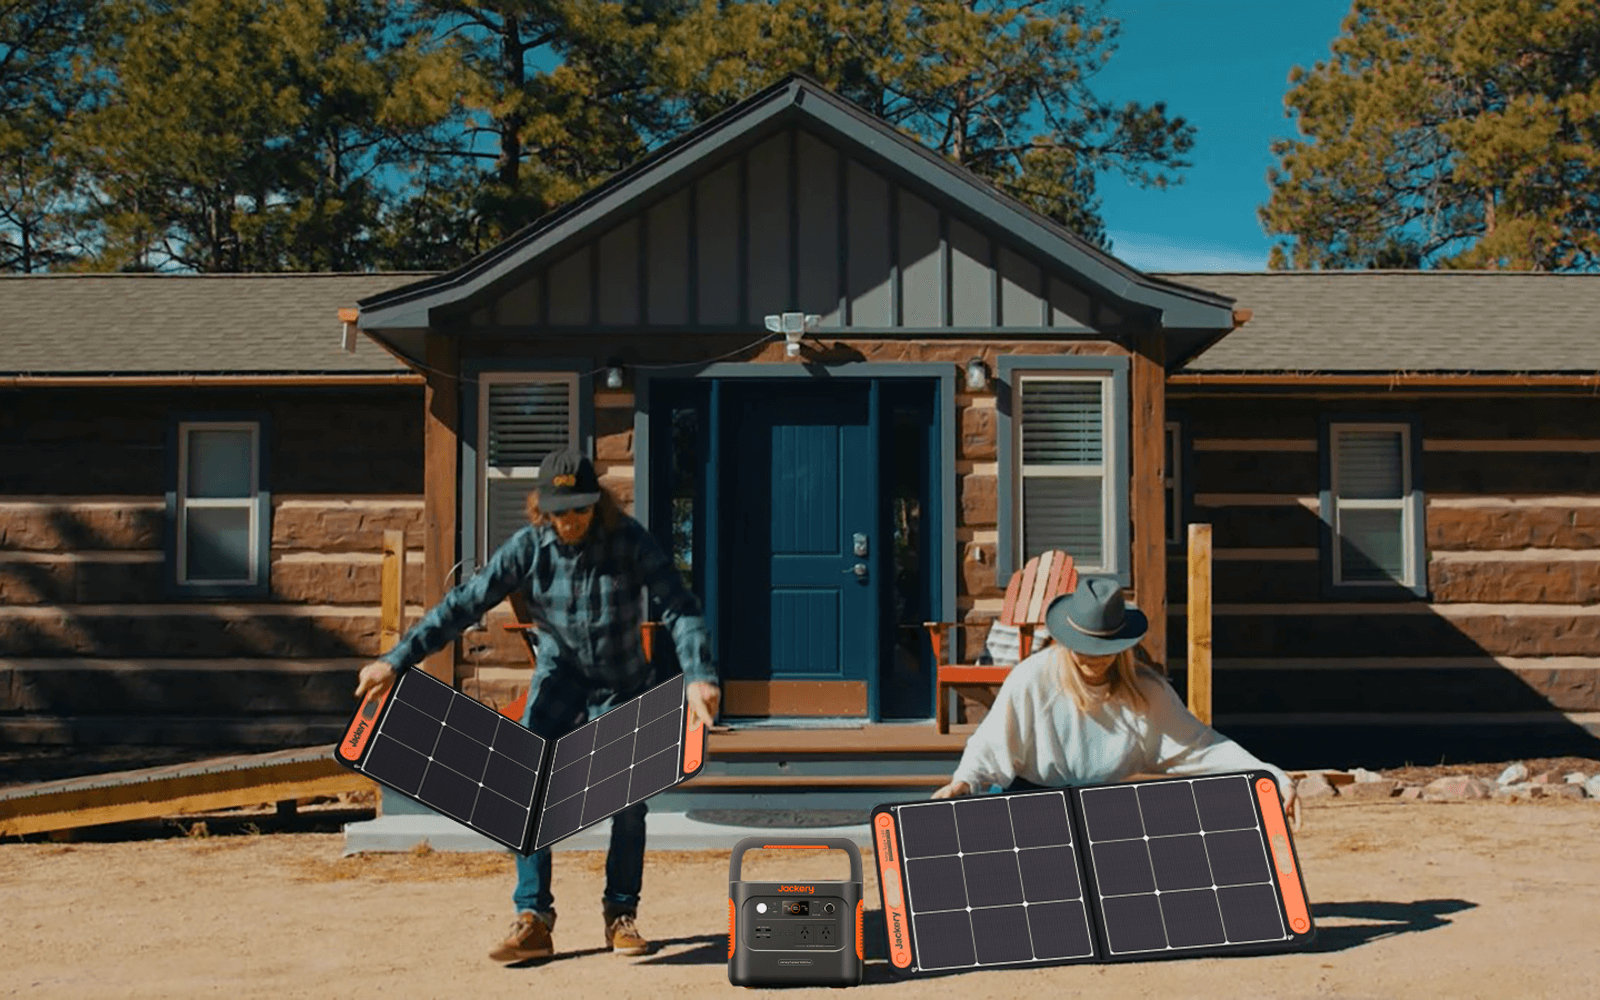
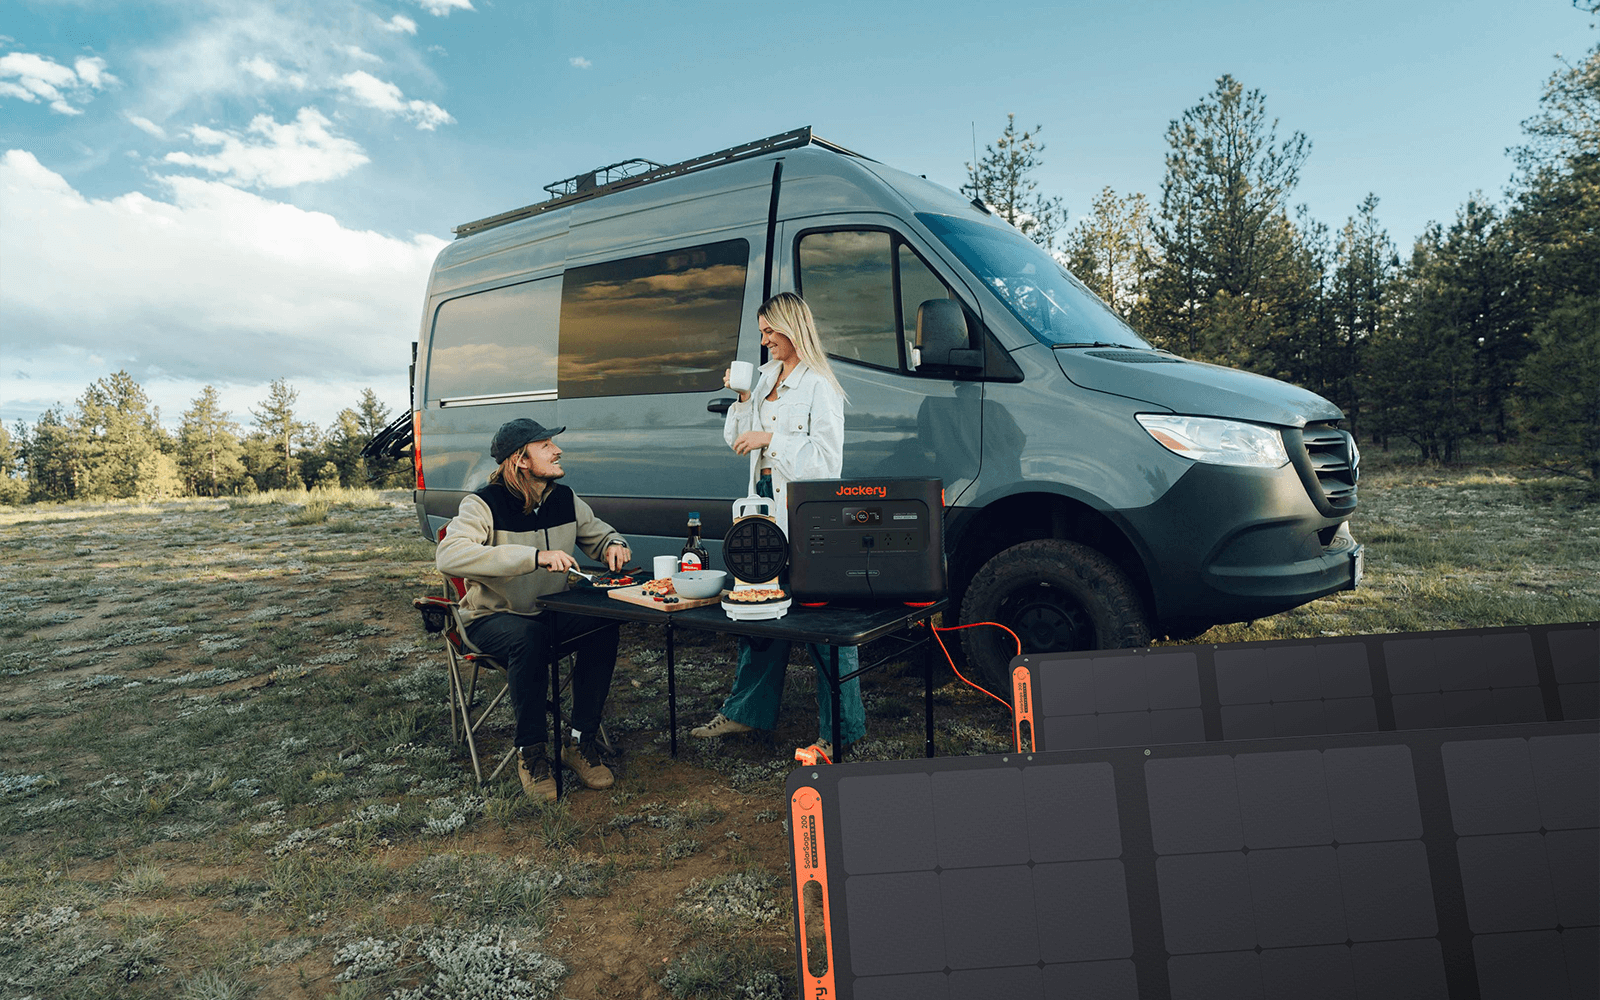
DIY your caravan allows you to personalise every aspect for maximum comfort and functionality, making it a fascinating endeavour. For powering tools like drills, saws, and sanders while building your ideal mobile home, Jackery Solar Generators might be your go-to option. Because of their dependability and portability, they are perfect for off-grid building.

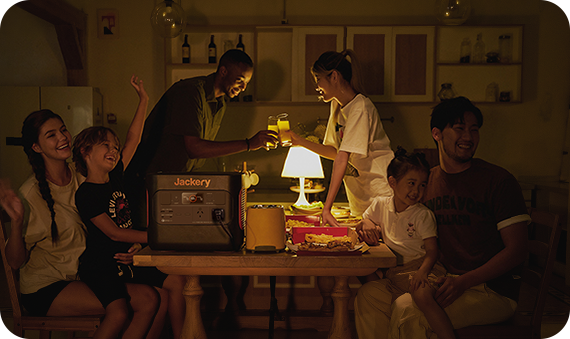
After the caravan is finished, Jackery Solar Generators keep shining by supplying clean energy for your lights, appliances, and other gadgets while you're travelling. They are a valuable addition to any do-it-yourself caravan project, guaranteeing you have access to renewable electricity and are prepared for any road trip.
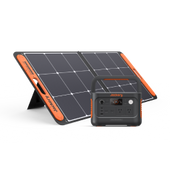
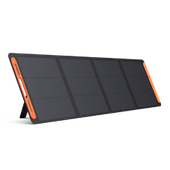
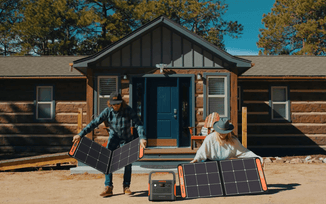
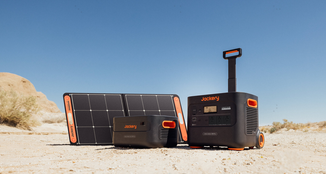
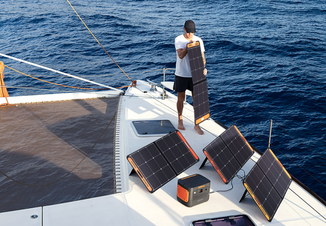
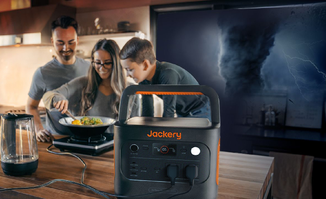
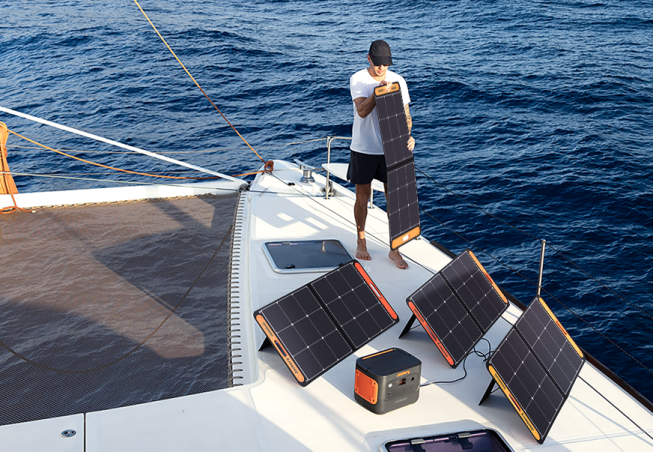
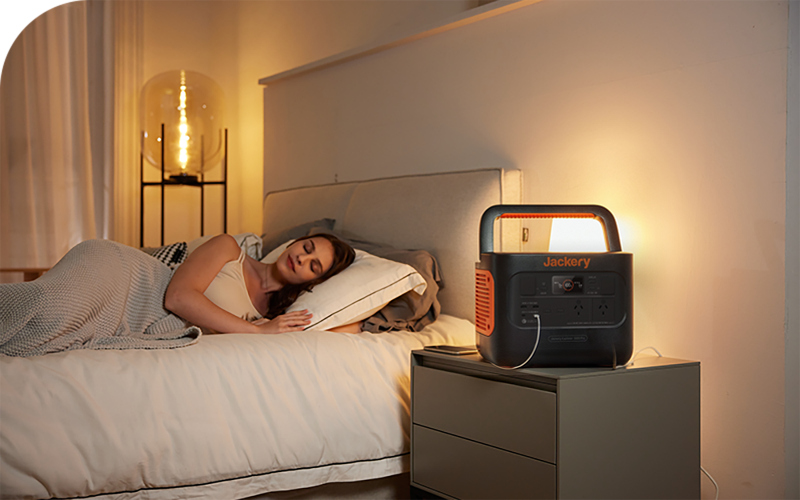
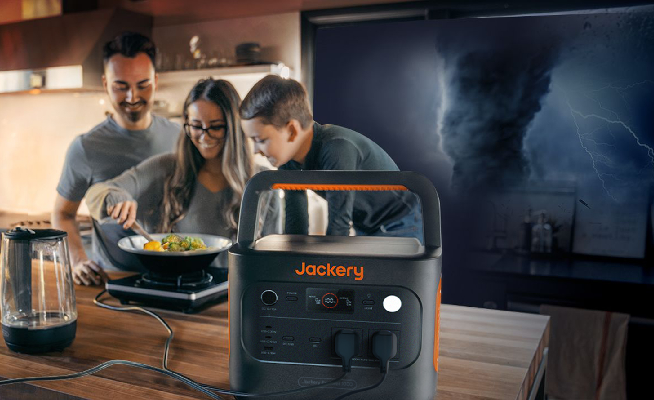
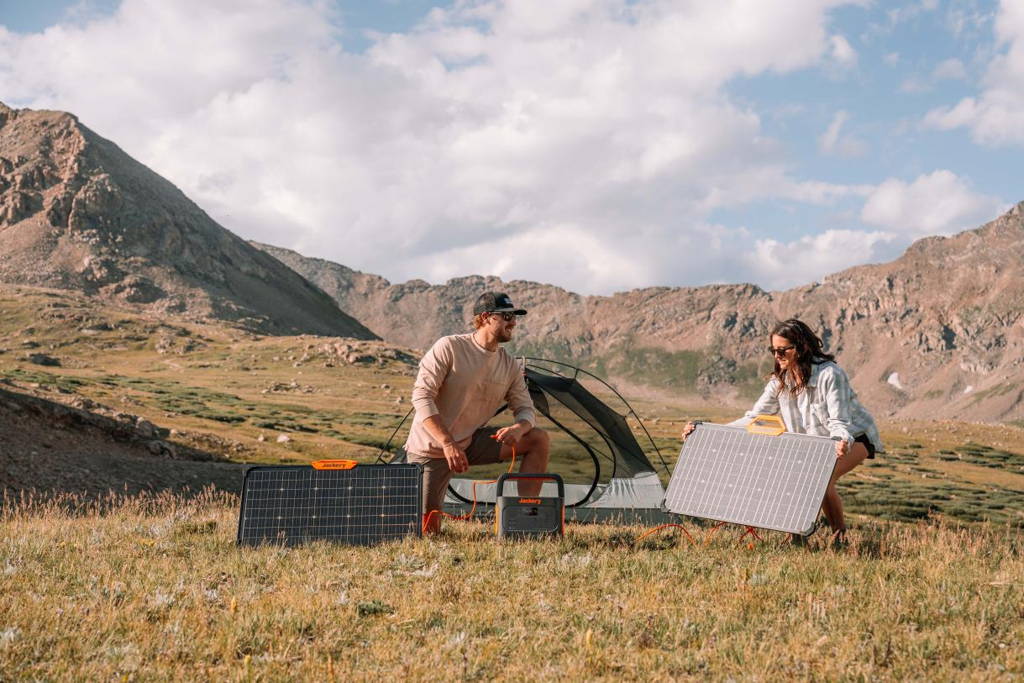
The Portable Power Station maximises solar energy capture and storage when used with Jackery Solar Panels, guaranteeing you will always have electricity available. Its numerous output connections enable different devices to be charged simultaneously, making it suitable for indoor and outdoor use.
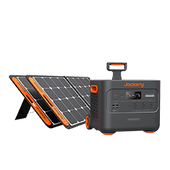
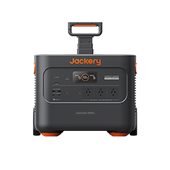
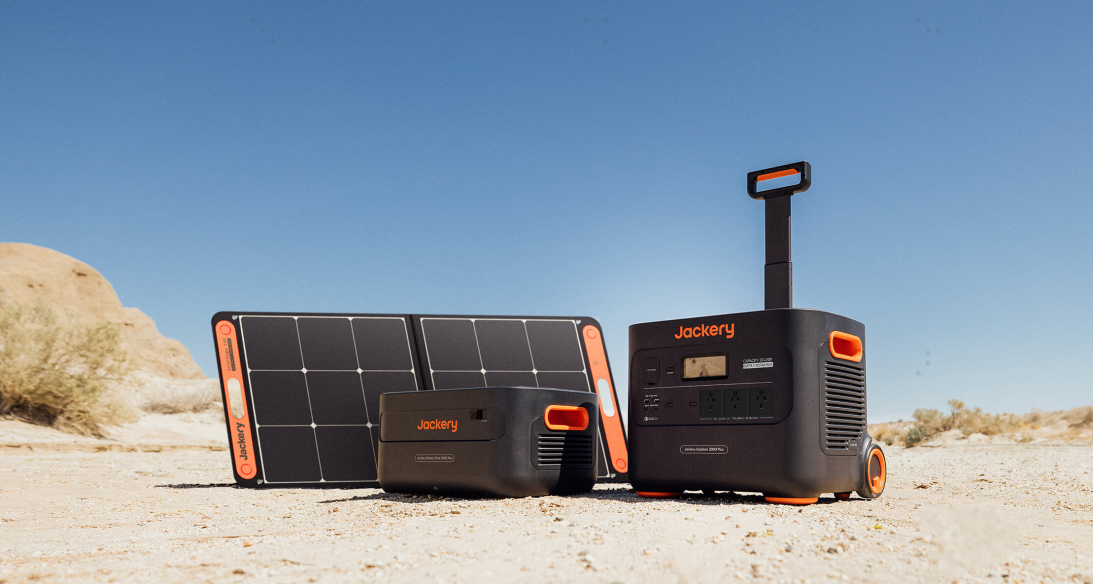
Jackery Solar Generator 2000 Plus
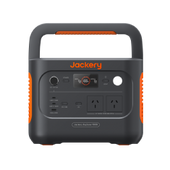
Prepare for the unexpected with the Jackery Solar Generator 2000 Plus. Its 2-12kWh expandable capacity ensures you're never left in the dark, while rapid solar recharging options provide a reliable alternative to grid power for caravans.
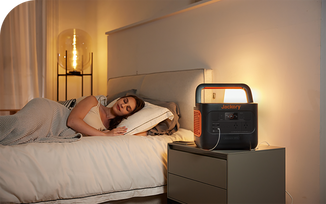
The Explorer 2000 Plus is engineered for safety and includes ChargeShield Technology, 62 protective mechanisms, and industry-leading certifications. It can power your vehicle's DIY tools, caravan appliances, medical devices, and communication tools.
With the Jackery App, you can monitor battery status and control settings remotely, ensuring you're always prepared, no matter what challenges arise. Designed for off-grid living, it combines portability with power, supporting devices like electric coolers, stoves, and laptops wherever your journey takes you.
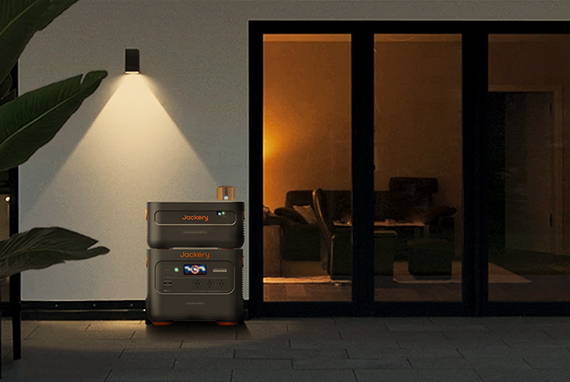
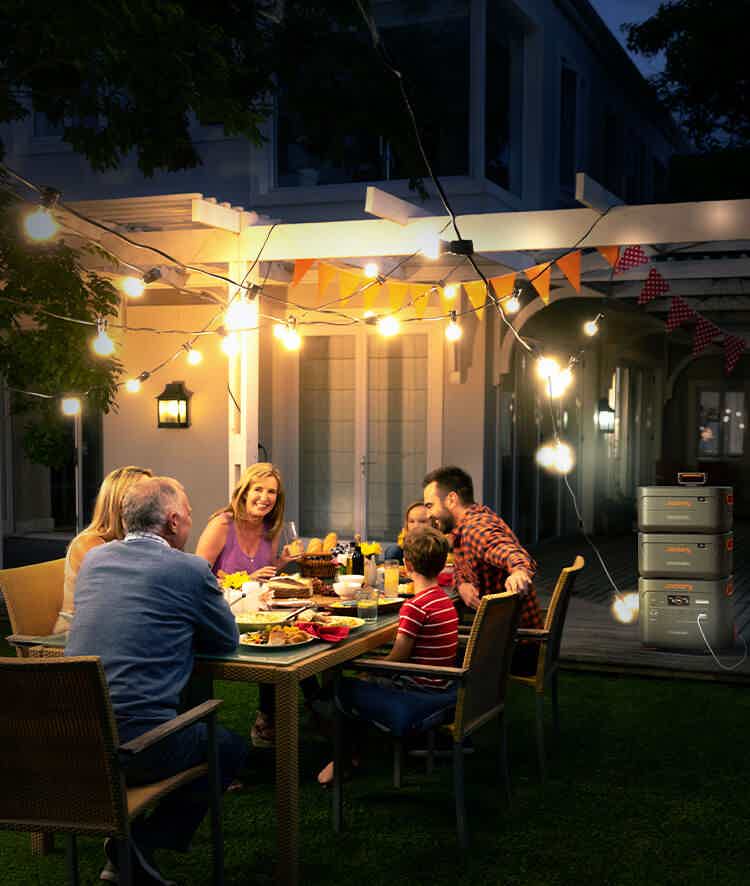
Its lightweight, compact design (47.3 x 35.94 x 37.36 cm) allows easy transport, while expandable battery packs extend its usability for multi-day adventures. Stay connected, charge sustainably, and make every trip an unforgettable experience.

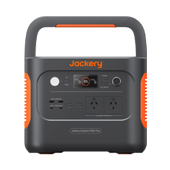
Jackery Solar Generator 1000 Plus
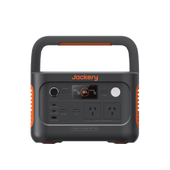
Learn about the Jackery Solar Generator 1000 Plus's adaptability as a one-stop power source for any situation. Thanks to its 1264Wh capacity, 2000W output, and expandable capacity up to 5kWh, it can handle the DIY process for your caravan.
The Explorer 1000 Plus's 10-year-long LiFePO4 battery cells, designed for longevity, ensure long-term dependability. The Jackery Solar Generator 1000 Plus is a reliable energy partner for your caravan, RV, or camping.
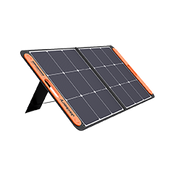
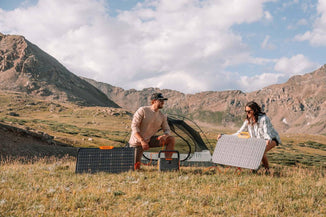
Featuring advanced solar charging, the Explorer 1000 Plus reaches full power in just 4.5 hours with four SolarSaga 100W solar panels. It also supports rapid wall charging, fully charging in only 1.7 hours. This flexibility lets you choose the fastest, most convenient way to power up, giving you quick and reliable energy whenever needed.

DIY Caravan Costs and Breakdowns
Restoring a caravan can be an exciting but challenging endeavour. When budgeting for this project, it's crucial to understand the costs involved clearly. This section will summarise the main expenses you might incur during your DIY caravan restoration in Australia.
Firstly, purchase costs are a significant consideration. If you don't already own a caravan, you'll need to buy one, and its price can vary significantly according to your condition and the age of the caravan. You might find an old caravan for as little as $1,000 or invest in a more structurally sound one for around $5,000 to $10,000.
Next, let's talk about materials. You will need various materials for different parts of the restoration. For example, if the caravan has water damage, you may need to replace parts of the frame and flooring, which could cost between $600 and $2,000, depending on the caravan's condition. Also, new insulation, wiring, and plumbing could add another $1,000 to $3,000 to your budget.
One cannot overlook the cost of tools. While some tools might already be in your possession, specialised tools and equipment might need to be bought or rented, ranging from $200 to $1,000. Sandpaper, paint, brushes, and other refurbishment items will add to this cost of about $300 to $800 for these necessities. Labour costs can be kept low if you do most of the work yourself.
However, there will be tasks that require professional assistance. For instance, electrical and plumbing work often require professional completion, costing around $500 to $2,000 combined. Lastly, you remember the interior furnishings. Revamping the interior can mean buying new seats, mattresses, curtains, and other decor items; depending on how lavish you want the interior to be, this could set you back another $1,000 to $5,000.
In conclusion, the total cost of restoring a caravan in Australia can vary widely. You might spend around $5,000 for a modest restoration, while a more extensive project could easily exceed $15,000. A clear budget and sticking to it will help ensure your DIY caravan restoration is rewarding and successful.
Is DIY Caravan Worth It?
Restoring a caravan yourself is a big project that can take time, money, and effort. However, many people wonder if it is worth it. In this part, we will look at the benefits and challenges of DIY caravan restoration to help you decide if it is a good choice.
One of the most significant benefits of a DIY caravan is the sense of accomplishment you will feel. Taking an old, worn-out caravan and turning it into a beautiful, functional home on wheels is very proud of. This can give you a great sense of satisfaction and make your caravan feel even more unique, and then every time you travel in it, you will know that it is a result of your hard work.
Another big benefit is saving money by doing the work yourself. Hiring professionals to restore a caravan can be very expensive. Still, if you do it yourself, you can save a lot, which means you can put more money into better materials or features for your caravan. By doing the work yourself, you have complete control over the budget and can ensure you spend your money where it matters most.
Restoring a caravan yourself lets you customise it to your needs and preferences. You can choose the layout, colours, materials, and features that suit you best to create a place perfect for your lifestyle and needs. Whether you want a cozy retreat, a modern home, or a family-friendly camper, you can make it exactly how you want it.
Final Thoughts
In conclusion, restoring a caravan can be rewarding, allowing you to change it according to your needs and preferences. You can ensure its longevity and functionality by understanding your caravan's condition, implementing effective restoration techniques, and maintaining it well. Ultimately, whether or not DIY caravan restoration is worth it depends on your personal situation, skills, and resources. However, careful planning can bring great enjoyment and pride in your personalised caravan.

