|
Key Takeaways: |
|
• Building your outdoor kitchen should take two or three weeks. • Discuss construction codes with your local permitting authority and determine if any permits are needed. • With detailed planning, there are six main steps to DIY an outdoor kitchen. • You need to protect your outdoor kitchen after doing a DIY one. There are some practical ways to prevent outdoor kitchens from being damaged. • We recommend the Jackery Solar Generator 2000 Plus and 1000 Plus to charge the professional tools outdoors. |
Preparation & Consideration Before DIY An Outdoor Kitchen
Before building your outdoor kitchen, be sure to examine the following factors. You must schedule the duration, venue, codes, and rules. Below is a list of the essential items as well.
How Long It Takes
The construction of your outdoor kitchen should take two to three weeks. If you genuinely intend to do all the work yourself, this project is best left to experienced do-it-yourselfers. Furthermore, even the most competent do-it-yourselfers sometimes require specialists to run electrical, gas, and plumbing lines.
Location
Ideally, the kitchen should be near the home, mainly if gas, water, and electricity connections are involved. It should be a flat, sturdy, and dry place. If the sun bothers you, seek trees with leaves that can provide shade. Make appropriate plans if you want more sun.
Codes and Regulations
Ensure you enquire about construction rules and associated permissions with your local permitting agency. Typically, the permitting procedure begins when gas and electricity connections are installed in the outdoor kitchen.
A permit may also be required if the building covers the outdoor kitchen and meets specific requirements, including needing poured foundations or being attached to the house. Always dial 811 or the damage prevention hotline of your local utilities before beginning any digging. Technicians will come to your property to designate gas, electricity, water, and other important lines.
The Essential List
The following are the tools and materials needed for your DIY outdoor kitchen.
|
Equipment / Tools |
Materials |
|
Shovels, excavation tools (as needed) Assorted carpentry tools (as needed) Electrical tools (as needed) Plumbing tools (as needed) Portable power supply |
Deck or patio surface materials (as needed) Nails, screws, metal connectors (as needed) Electrical cables, conduits, GFCI outlets, and fixtures (as needed) Water supply and drain pipes (as needed) Pergola kit or lumber for shelter structure Weather-resistant cabinets (as needed) Weather-resistant appliances (as needed) Countertop rated for outdoor use Outdoor dining table and other furniture (as needed) |
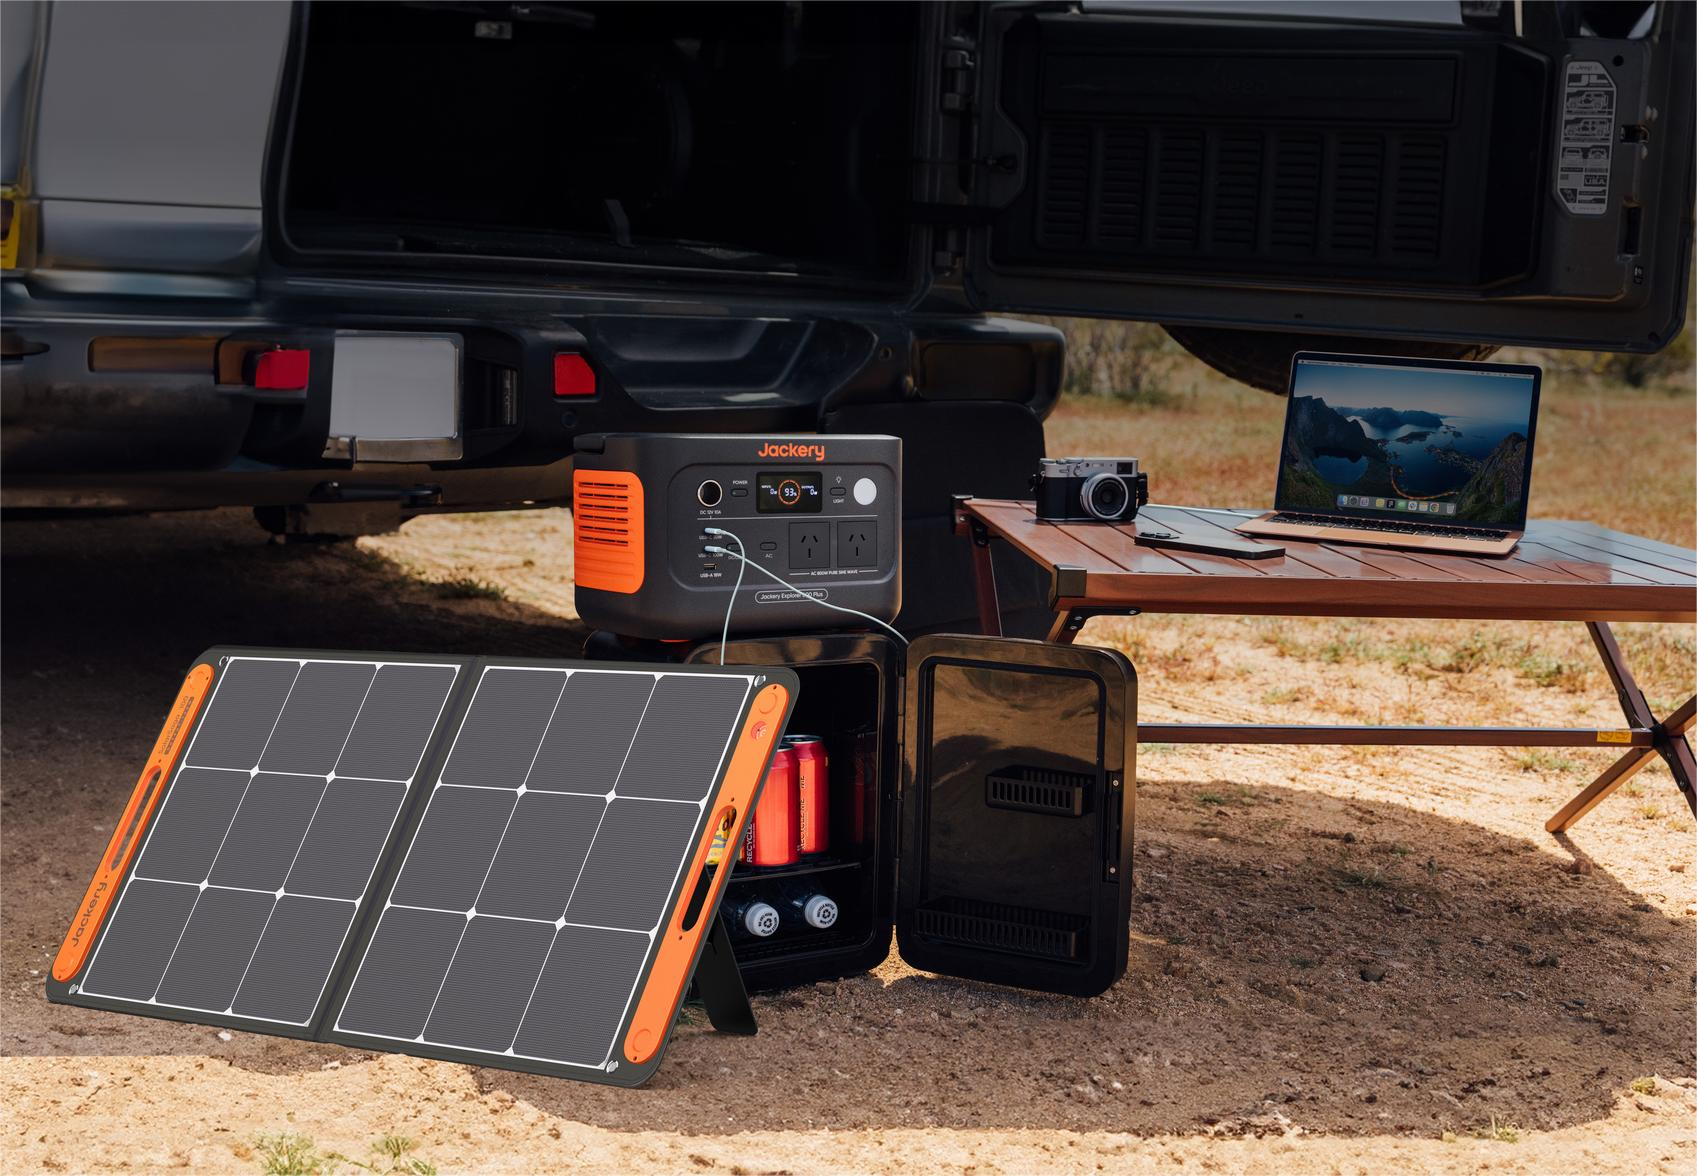
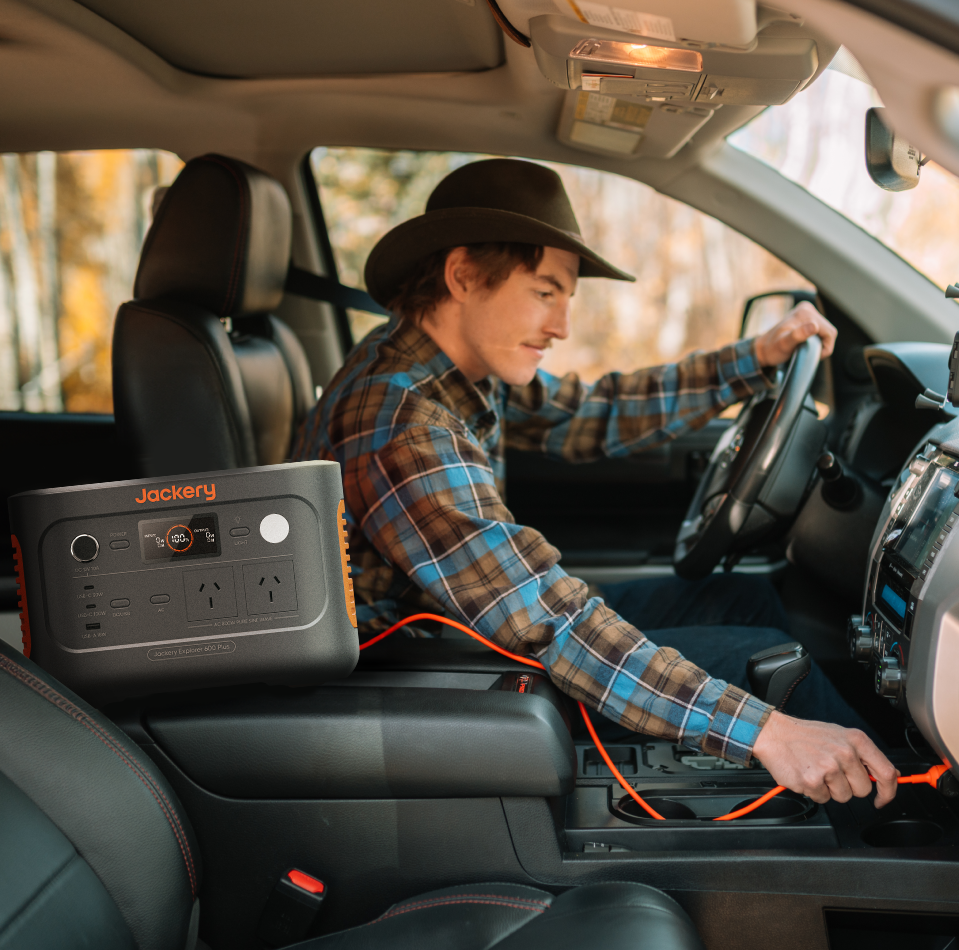
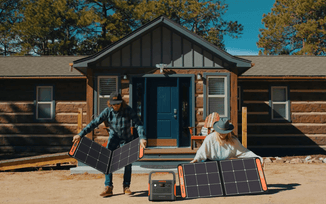
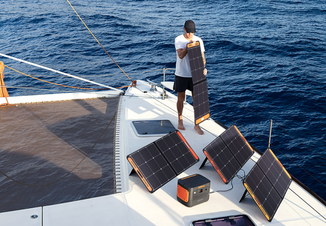
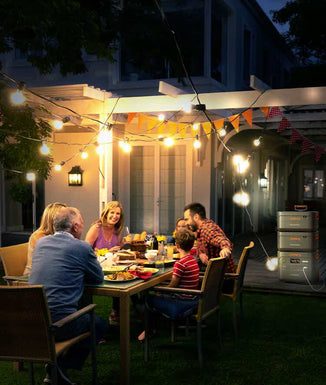
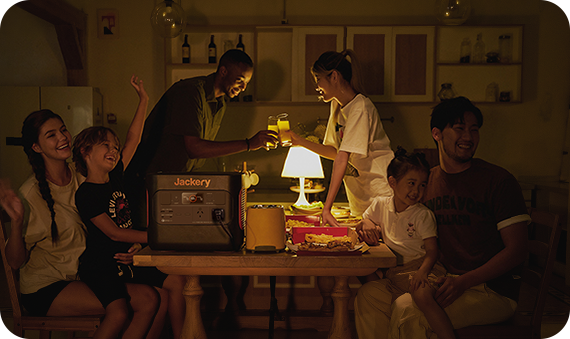
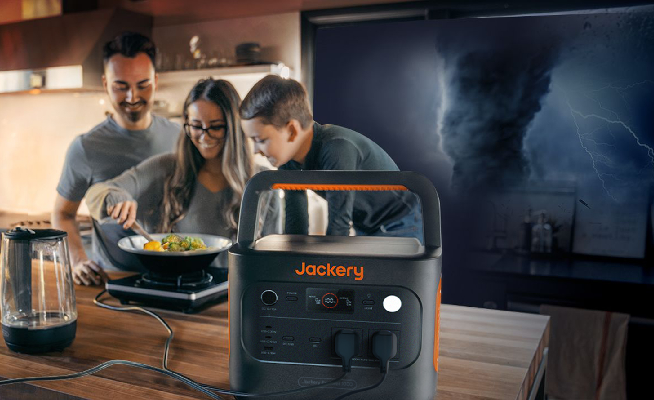
Whether you're building a DIY outdoor kitchen or cooking in this outdoor space, you need electricity to power your DIY tools, kitchen appliances, or outdoor lights. At this time, a portable power supply is a must-have. Due to the sufficient sunlight in Australia, solar generators are suitable for charging appliances and electronics.
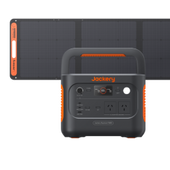
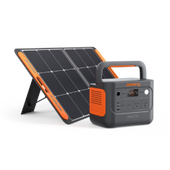
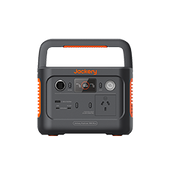
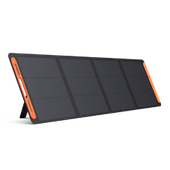
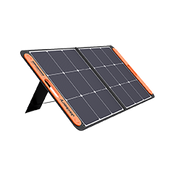
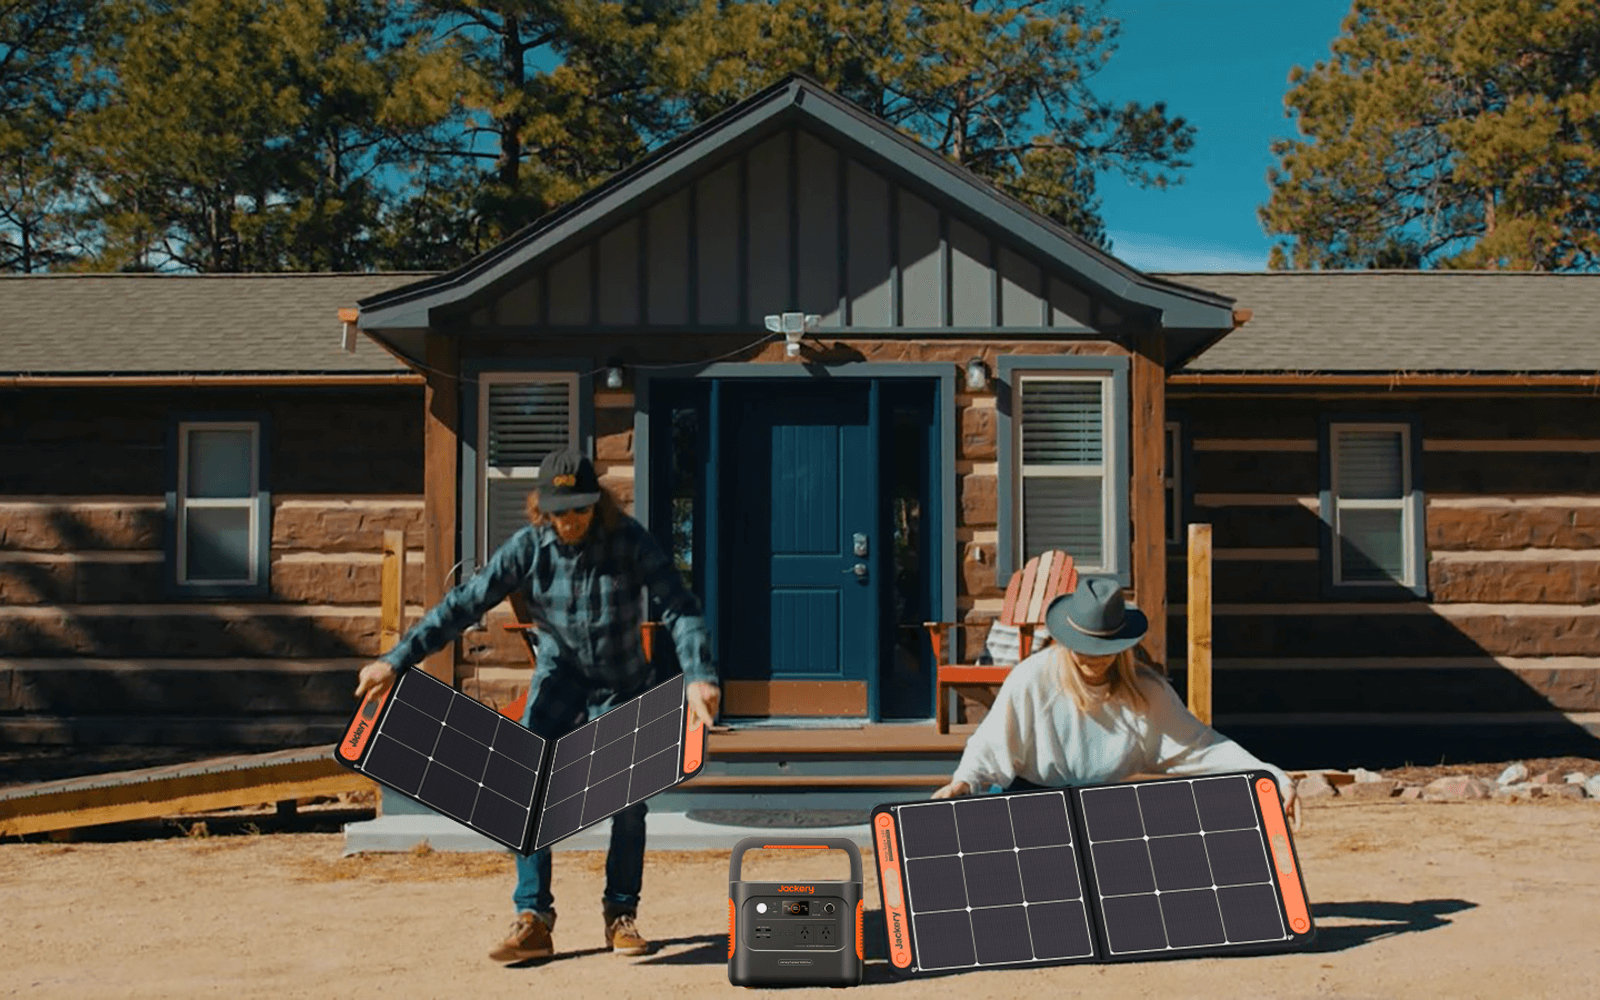
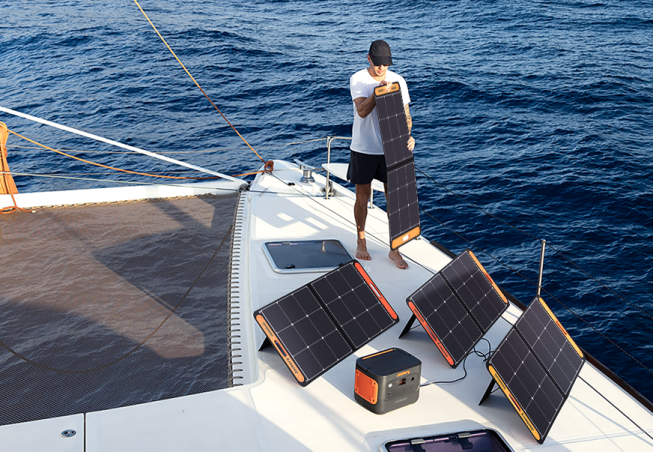
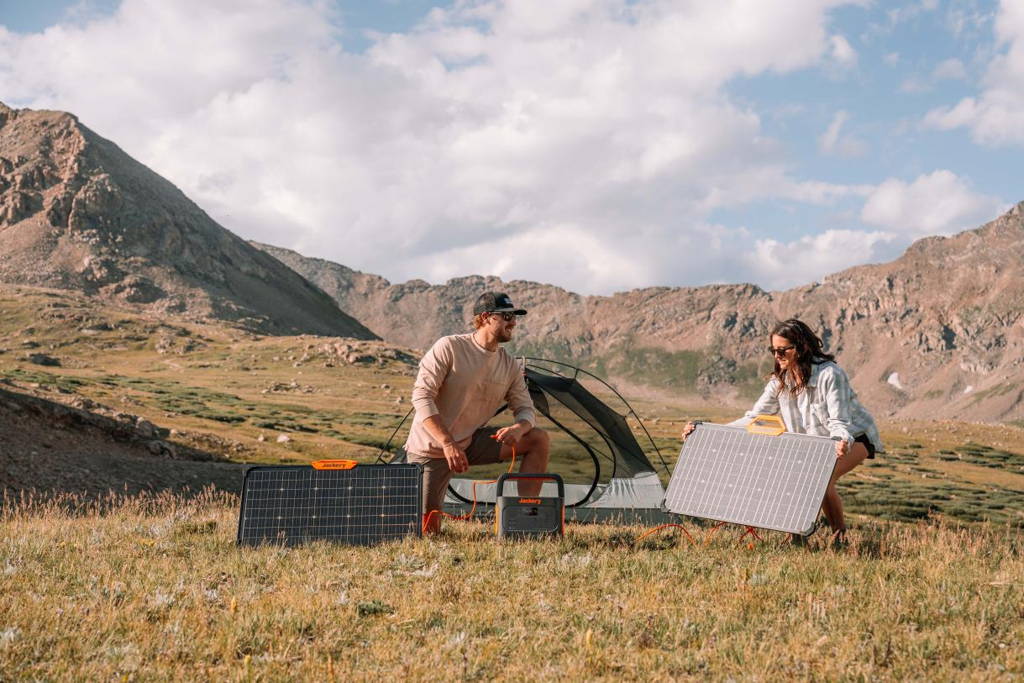
We highly recommend the Jackery Solar Generator, which combines Jackery Solar Panels with a Portable Power Station to fully exploit solar energy. With the superior BMS (battery management system) and protection technology, Jackery Solar Generators are safe to use outdoors or even at home.
How to DIY an Outdoor Kitchen?
Although it takes some time to build, you can finish it in two weekends with proper preparation. You can DIY an outdoor kitchen in six easy steps.

Step 1: Prepare the Base
An appropriate dry, level and stable base must be used to build the outdoor kitchen. If you already have a sizable patio or a solid deck, this might be the most excellent location for your outdoor kitchen.
However, if you do not already have a surface like this, you will need to build a patio or deck, or at the very least a level, sturdy area, that can support the weight of an outdoor grill and other equipment. Here are a few choices:
An outdoor kitchen can have a sturdy poured concrete floor, brick pavers, or natural stone like flagstone or travertine. These masonry bases are the greatest because of their extreme longevity and resilience.
Though it functions best in casual settings, a straightforward and incredibly affordable gravel patio constructed from a foundation of 2 x 6 timber and a covering of pea gravel over sheets of landscape fabric makes an ideal surface for a basic outdoor kitchen.
Step 2: Run the Utility Lines
Aside from buying the outside equipment, the most costly aspect of this project may be running the utility connections between the outdoor kitchen and the home because it frequently requires specialists. If you want to construct a full-service outdoor kitchen, you may need to run underground gas and water lines below the frost line, if applicable, in your location.
In the extreme north, this can be as much as 4 feet below the earth's surface. Electrical lines must be buried using a direct-burial cable or routed via a conduit to the proper depth your region specifies.
Step 3: Build a Shelter Structure
Although it is not always necessary, it is typical to construct a cover over and around the outdoor kitchen. An overhead cover is needed in hot regions where the summer sun may be oppressive. In colder climates, a complete enclosure with insect screens will extend the season of your outdoor eating area. In the larger scheme of things, a shelter also aids in defining your outdoor eating space and kitchen.
Your shelter might be as basic as a sailcloth made of fabric draped over a patio table or as complicated as a wholly covered gazebo. Another well-liked alternative is building a pergola with a retractable canopy or open latticework to block the sun.
Step 4: Install Cabinets and Countertops
An outdoor kitchen will be more functional, with ample countertop space arranged above permanent base cabinets to store tableware, grilling materials, and meal preparation items.
If you plan to include an outside refrigerator and grill, provide space while positioning the base cabinets. In specific designs, some wall cabinets can be placed in the sheltering structure or on the house's exterior wall to provide extra storage.
An outdoor kitchen's cabinets ought to be constructed from (or fronted with) durable materials like stainless steel, veneered or natural stone, or even sealant-treated pallet wood.
Step 5: Complete the Utility Work, Install Appliances
The electrician has to install the GFCI-protected outlets so that any electric appliances, like a refrigerator or electric grill, that are part of the outdoor kitchen may be plugged in. At this stage, permanent exterior lights can also be placed. You might want to consider installing an overhead fan in your pergola (ensure it's certified for outdoor usage). The plumbing contractor should also finish the gas, water supply, and drain stub-outs.
After finishing the electrical fixtures and plumbing stub-outs, the building inspector must return one last time to check the work and close the permits. In many localities, two inspectors handle this; one handles plumbing and gas, while the other handles electrical.
When the electrical, gas, and wiring work is finished, the appliances and sink/faucet may be moved into position, plugged in, or connected. Homeowners can often connect the faucets and appliances if the outlets and stub-outs have passed inspection.
Step 6: Create (and Accessorize) an Outdoor Dining Area
To complete your outdoor kitchen, assemble the tables, chairs, and other equipment required for dining and entertaining. This can be as basic as a picnic table or movable patio table or as complex as a built-in seating area, a fire pit that complies with building codes, or patio heaters.
The finishing touches are weatherproof floor coverings, a planter for an easy-to-maintain herb garden next to the kitchen, weatherproof Bluetooth speakers for background music, and solar-powered decorative lighting. You may even add a waterproof outdoor television.
What Should Be Noticed after DIYing an Outdoor Kitchen?
The best technique to shield your cabinets from the weather is to powder coat stainless steel. A powder coat will protect your DIY outdoor kitchen finish against elements like salt from the beach, rain, snow, heat, and even sun from the desert. It will also be protected from harsh chemicals like muriatic acid and chlorine.
Cabinets with powder-coated surfaces are more resilient to wear, fading, chipping, and scratches than traditional liquid paint finishes. Moreover, powder painting your stainless steel contributes to the colours' extended brightness and vibrancy.
Additional strategies to shield the facilities and appliances from the weather include:
Market Umbrellas: A robust market umbrella would work well if you only want to shade a dining area. During the day, it can shield your loved ones from the sun's damaging UV rays. Additionally, you may continue the celebration at night by using an umbrella with LED lights.
Gazebo: With an aluminium frame, you can shield your family and investment from the rain and snow while allowing air to flow through. Gazebos also includes a nylon mosquito net to keep pests out, and curtains may be placed to prevent the wind and sun.
Pergola: An ultra-modern pergola will let light and airflow into your outdoor kitchen. Additionally, they include an attachable mesh canopy that provides shade from the sun's glare.
Solariums: A solarium regulates the room's temperature while letting in natural light and providing a stunning panoramic view of the outdoors.

Cost Of DIY an Outdoor Kitchen
Although prices can reach $50,000, most homeowners spend between $12,000 and $14,000 on outdoor kitchens. But the price tag soars if you choose elaborate installations or opulent add-ons.
If you have the necessary time and abilities, doing projects yourself can save up to 40% on the overall project. On the cheaper end, you could create an outdoor kitchen for less than £1,000 if you only want a barbeque and a few cupboards.
If you are on a tight budget, you should think about:
Repurpose the materials: Think about any free stuff you may have lying around that could be useful. For example, you could construct your kitchen cabinets using old floorboards or pallets.
Consider your plumbing and electrical needs before installing appliances or a sink: It's essential to consider the existing locations of these systems. You may save money by placing your outdoor kitchen close by.
Jackery Solar Generators for DIY Outdoor Kitchen
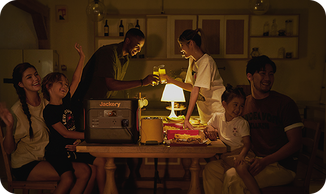
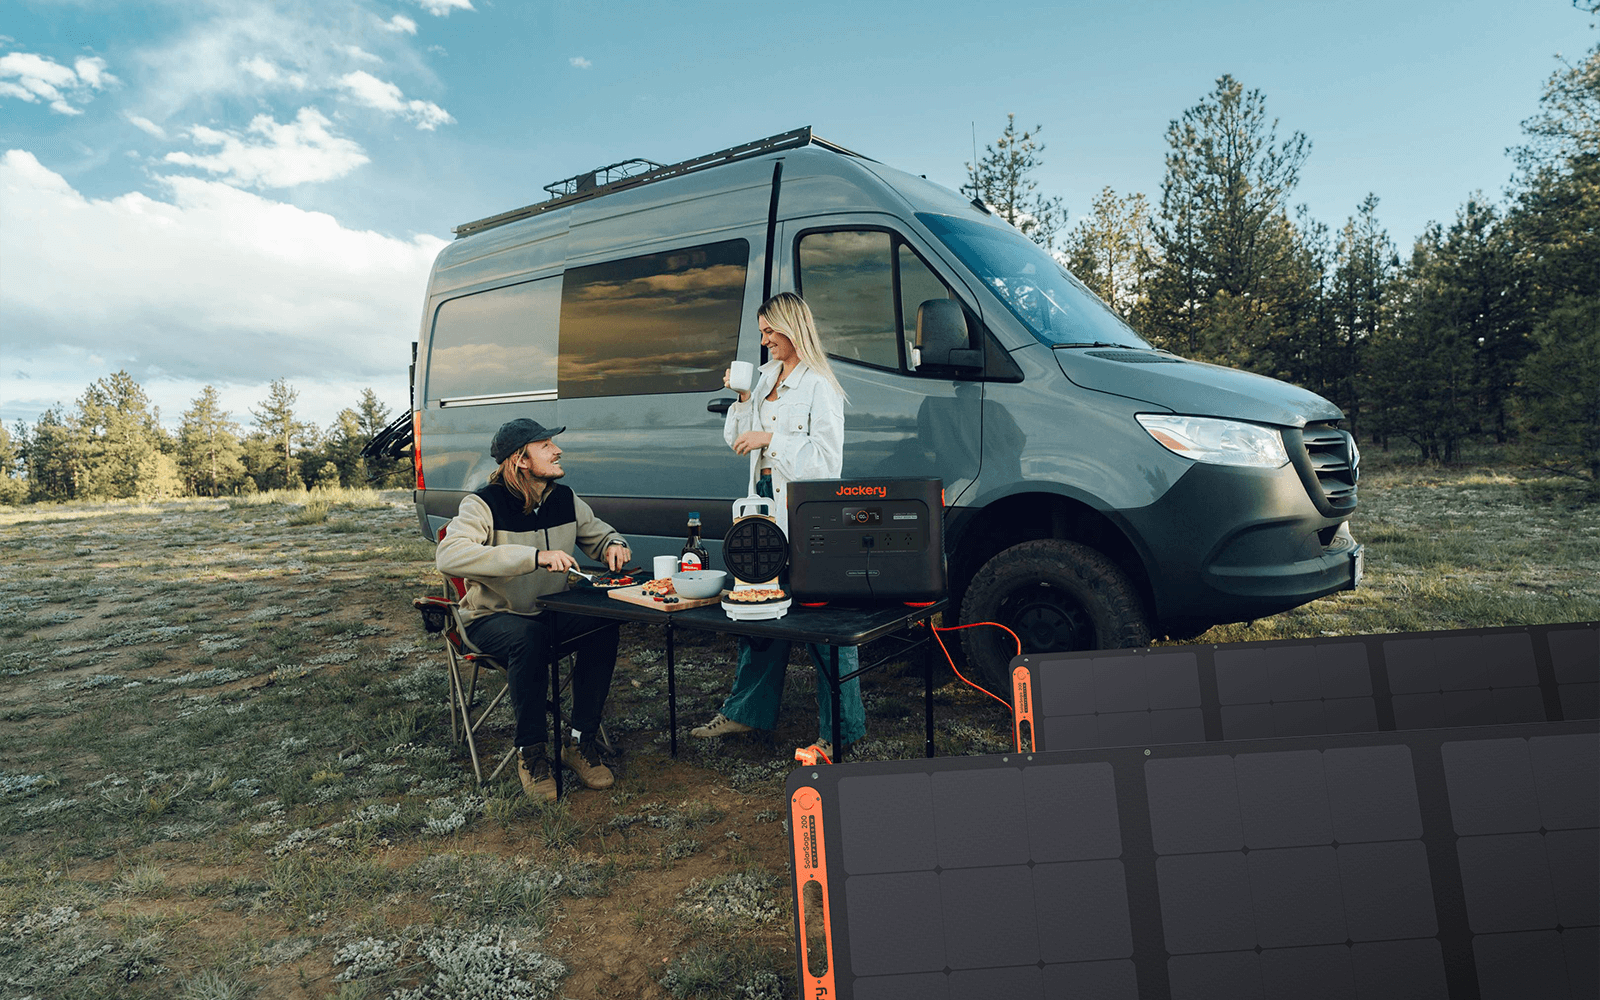
Makeover your backyard with a gorgeous, do-it-yourself outdoor kitchen that blends design and utility. Consider using Jackery Solar Generators to power your DIY electric tools or kitchen appliances when designing your space. These portable power stations do not require permanent wiring to set up your kitchen anywhere.

The Portable Power Station maximises solar energy capture and storage when used with Jackery Solar Panels, guaranteeing you will always have electricity available. Its numerous output connections enable different devices to be charged simultaneously, making it suitable for DIY outdoor kitchens.
Jackery is the ideal addition to your outdoor cooking area because it provides clean energy on demand, allowing you to keep your lights, grill, and refrigerator operating efficiently. A sustainable outdoor arrangement that is both eco-friendly and useful will wow your guests.
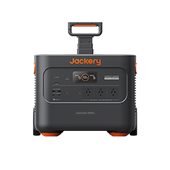
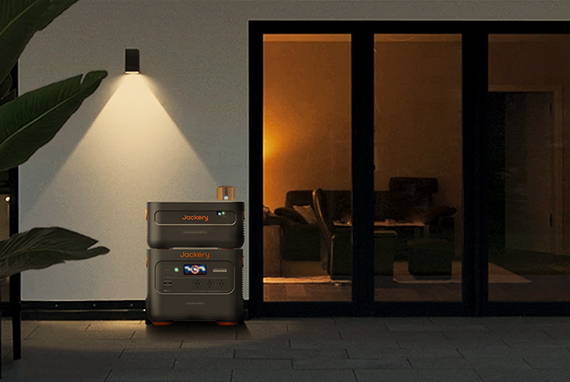
Jackery Solar Generator 2000 Plus
The Jackery Solar Generator 2000 Plus perfectly matches those who value peace and efficiency. Operating at a library-level noise of just 30dB, this generator ensures a quiet environment, whether working late at night, camping in serene locations or charging devices indoors.
Despite its low noise, the 2000 Plus delivers massive power with an expandable capacity of up to 12kWh. It effortlessly recharges using solar panels, the grid, or even your car, adapting to any situation quickly. Quiet, reliable, and robust, Jackery's advanced design works for you without disruption.
Invest in confidence with the Jackery Solar Generator 2000 Plus. Backed by a 3-year warranty and a 2-year extension for official purchases, it offers peace of mind for your investment. The 2000 Plus combines this reputation with groundbreaking features like expandable capacity, rapid solar charging, and advanced safety technologies. Power your world with the generator that professionals and adventurers trust.

The working hours for using Jackery Solar Generator 2000 Plus to charge DIY tools or kitchen appliances (2-12 kWh):
Hammer Drill (1000W): 1.8-10.2H
Circular Saw (1400W): 1.3-7.3H
Miter Saw (1800W): 1-5.7H
Orbital Sander (600W): 2.9-17H
Electric Grill (850W): 2-12H
|
*Review from Our User |
|
We have been experiencing frustrating power outages on our farm, so we purchased a Jackery 2000 Plus to help manage this issue. It is much quieter than my Generac generator. With a 3000w/6000w surge, it can effectively power various devices. It functions flawlessly with our pump and weeder. |
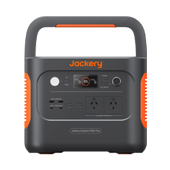
Jackery Solar Generator 1000 Plus
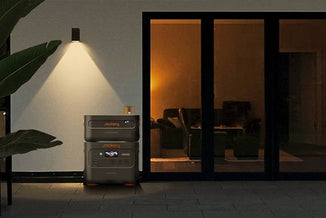
Compact yet powerful, the Jackery Solar Generator 1000 Plus is a reliable backup for outdoor kitchens or DIY projects. Its portability, power, and efficiency make it a valuable tool for energy savings at home.
With a capacity of 1264Wh and a 2000W output, the Jackery 1000 Plus supports up to 99% of household devices. It's expandable up to 5 kWh with additional battery packs, offering 1-3 days of power in case of outages. Imagine running essentials like your fridge, lights, and even laptops without using grid electricity.
1.25 kWh: Support some basic kitchen appliances' power needs.
5 kWh: Charge low-to-high appliances for several hours at the same time.
Featuring advanced solar charging, the Explorer 1000 Plus reaches full power in just 4.5 hours with four SolarSaga 100W solar panels. It also supports rapid wall charging, fully charging in only 1.7 hours. This flexibility lets you choose the fastest, most convenient way to power up, giving you quick and reliable energy whenever needed.

The working hours for using Jackery Solar Generator 1000 Plus to charge DIY tools or kitchen appliances (1.25-5 kWh):
Hammer Drill (1000W): 1.1-4.3H
Circular Saw (1400W): 0.8-3H
Miter Saw (1800W): 0.6-2.4H
Orbital Sander (600W): 1.8-7.1H
Electric Grill (850W): 1.3-5H
|
*Review from Our User |
|
We needed to purchase a few additional items to connect these with the two solar panels I already had and integrate them into our home system, but it was a minor issue. It functions as promised and is quieter than a large generator, although we rely on the more significant generator during overcast or rainy conditions. |
DIY Outdoor Kitchen Ideas
Ideas for DIY outdoor kitchens abound. These are five fantastic do-it-yourself outdoor kitchen ideas that you can construct in a few days, and they're all far less expensive than hiring a specialist to do it for you.

DIY Outdoor Deck Kitchen
This outdoor kitchen has everything you need to host parties outside and can be installed directly into your deck. Naturally, you have complete control over what you add and the kind of finish you choose—stainless steel, for example. If you don't have a deck to put it on, you can still construct a small patio portion with relative ease. This one is straightforward to make.
DIY Outdoor Kitchen With Concrete Countertops
Concrete worktops, like those in this stainless steel outdoor kitchen, are ideal for outdoor use. You don't have to be concerned about your countertops buckling or cracking due to weather when you use concrete. Building this one is simple; start with steel studs and work your way up from there. On this one, you can even embellish your concrete surfaces with a gorgeous tempered glass inlay.
Simple DIY Outdoor Grilling Island
This tiny grilling station is ideal if your only outdoor kitchen requirement is modest. It is simple to assemble in a weekend or less. It consists of cabinets surrounding your grill. The cabinets help you dress up your grilling area while providing plenty of storage space for outdoor cooking.
DIY Portable Outdoor Kitchen
This little DIY portable outdoor kitchen is ideal if you don't need or have room for a large outdoor kitchen. This one contains everything you need for grilling season and can be made in a few hours. Furthermore, because it is movable, you can easily take it inside and outside a garage or gardening shed to protect it from the elements and store it securely during the winter.
DIY Tiled Outdoor Kitchen
Tile is a fantastic option to cover the wood in your outdoor kitchen. It is adaptable and reasonably priced if you look in your neighbourhood home improvement store's discount department. Stainless steel and tile abound in this do-it-yourself outdoor kitchen, and construction couldn't be more straightforward. All you have to do is frame it and cover it with your tile.
Is DIY Outdoor Kitchen Worth It?
Depending on your lifestyle, building a DIY outdoor kitchen has several benefits. Whether you want to organise social events or create a cosy spot for your family, outdoor kitchens are a great addition to any property.
Enhanced Property Value: An outdoor kitchen can add up to 20% to the value of your house. This is because properties with abundant outdoor living areas frequently attract prospective purchasers. When building an outdoor kitchen, most experts advise homeowners to anticipate a 100–2000% return on investment when they resell their houses.
Greater Area for Entertaining: An outdoor kitchen expands the area in your backyard that can be used to host parties. You can hold dinner parties or barbeques without worrying about running out of room or having visitors inside your home.
Convenience: An outdoor kitchen makes cooking outside considerably simpler and more convenient. When throwing a party or preparing dinner for your family, you won't have to dash back and forth from your indoor kitchen to your patio.
DIY Outdoor Kitchen FAQs
The following are the frequently asked questions about DIY outdoor kitchens.
1. Is it cheaper to build your outdoor kitchen?
Several sources state that if you do it yourself, you may save 20% to 40% on installing an outdoor kitchen. Therefore, you may spend about $3,000 rather than $5,060 to $17,280.
2. What are the disadvantages of outdoor kitchens?
They are limited in usage during inclement weather since they are susceptible to weather-related factors like rain and intense heat. In addition, appliances and grills exposed to the outdoors frequently tend to degrade more quickly, necessitating more regular repair and upkeep.
3. How long do outdoor kitchens last?
The calibre of the components influences an outdoor kitchen's lifespan utilised, the skill with which it was constructed or installed, and the thoroughness with which it was maintained. If everything is done correctly, you should anticipate using your outdoor kitchen for at least ten years. Some have endured for far longer.
Final Thoughts
Building a DIY outdoor kitchen might be a terrific investment that will increase the value and convenience of your house for years to come if you enjoy cooking outside and spending time with friends. Moreover, an outdoor kitchen expands your living area. With the correct cover, you can use your outdoor kitchen as a year-round space for entertaining and cooking, even if the weather restricts your use.



















![How to DIY an Outdoor Kitchen [Tools, Steps & Cost]](http://au.jackery.com/cdn/shop/articles/diy_outdoor_kitchen_guide_520x500_38472ce0-0030-43f4-af07-eb48d1ac14ff.png?v=1737081792)


