


The Complete Guide to Camper Van Conversion
The Complete Guide to Camper Van Conversion
With camper vans and caravans becoming increasingly popular as vacation vehicles, some people may choose a more hands-on approach and seek to convert their camper van. With plenty of time before the next vacation, now could be an excellent opportunity to consider this fascinating and daring proposition. One of the most thrilling and daunting things a camper van lover can do is design and build their van from the ground up.

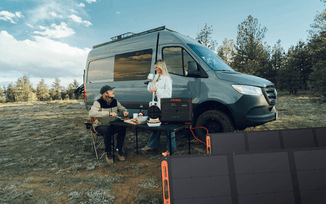
We've got you covered if you want to make your DIY camper van conversion but only have a little time or money! This article is jam-packed with helpful hints and instructions for completing your DIY camper van conversion on a shoestring budget. Furthermore, the Jackery Solar Generator, which combines solar panels with a portable power station, provides a consistent and dependable solar energy power supply to camper van equipment.
Key Takeaways:
During the preparation phase, you need to ask yourself some questions about using your campervan, check your budget, make a checklist, and choose a plan to convert your campervan by professionals or yourself.
There are twelve steps to make a camper van conversion. Firstly, you should choose and design a campervan, then set up the basic arrangements, such as insulation, heating & cooling, water, electricity, floor, wall & ceiling, and lighting. Then, go through the detailed interior makeover, like the kitchen bathroom. Finally, add some furniture and a final touch.
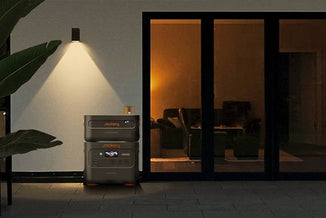
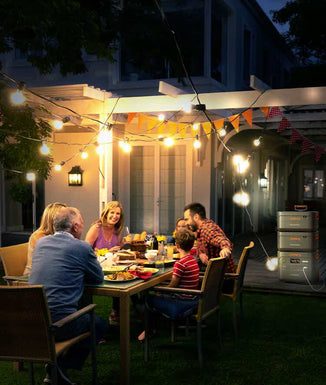
We highly recommend Jackery Solar Generator 2000 Pro and 2000 Plus to provide a stable and consistent power supply for the campervan.
Camper Van Conversion Preparations
Anyone interested in converting a campervan should begin with a clear vision of what they want to achieve from the completed product. You could be turning the key and heading out on your first journey with your self-built campervan in as little as a few months. Envisioning it is one of the most significant things you can accomplish at this early stage. The more precise your notion, the better. Before camper van conversion, consider the following questions:
1)How many people will be traveling? Will there be any pets? Is it just you and your little dog? Or you want a camper that can accommodate the entire family.
2)How will you use the camper? Your preferred camping style and travel time of year can significantly impact your plans. If you prefer to camp, there should always be an adequate electricity and water supply. However, if you enjoy being off the grid, you must increase the camper's self-sufficiency.
3)Do you intend to live in your van full-time? You should consider roof height! Standing tall in your vehicle will improve your posture and make your driving experience more comfortable. Choose a car with a high roof.
4)What are you bringing with you? We don't only mean whether you require additional shoes or storage for winter jackets. Food, clothing, and other necessities will be provided, but what about bikes and surfboards? Will you need roof racks or bike racks to transport your valuable equipment? Your perfect holiday might include tea and cake on the beach, but many campervan enthusiasts enjoy outdoor sports.
Plan Your Budget
Buying a van and converting it yourself is a lot of joy, and it can save you money over purchasing a ready-made campervan. However, these savings might quickly disappear if you don't carefully check your budget.
A camper van conversion can be rather expensive. As a general guideline, you should spend half the cost of the van on the modification. If you spend $10,000 on your vehicle, keep your conversion costs to roughly $5000. This is due to the degradation of the van's value as the miles accumulate. To estimate the cost of building a campervan, list everything you need and price it.
Is Camper Van Conversion Right for You?
For various reasons, enthusiasts enjoy converting a vehicle into a camper. However, whether you want to save money on living expenses or spend more time exploring the open road, a conversion project should be handled seriously. The time, effort, and money required can be significant.
There are three significant ways to convert a campervan to consider:
Campervan Conversion Firms: If you need more time or abilities to perform a campervan conversion yourself, numerous firms can help you. Knowing what goes into DIY projects like this means you can tell the company exactly what you want and better understand what's feasible within your budget.
Conversion Kit: While some people may gladly tackle the entire conversion and make a masterpiece, others may need more time. A kit to put in your van could be an excellent alternative.
DIY Campervan Conversion: If you have the time and know your way around a toolbox, a complete DIY conversion will save you money and give you the most control over the product. Another advantage is that because you did all of the hard work yourself, you'll have a decent notion of how to address difficulties if something goes wrong later on.
Camper Van Conversion Guide: How-To Steps
For many adventure seekers and travel enthusiasts, transforming a vehicle into the camper of their dreams is an exhilarating adventure. However, one of the first queries is, "How do I convert my camper van?" Then, in this section, you'll get a step-by-step tutorial for a camper van conversion.

Step 1: Choose A Camper Van
Choosing a vehicle for your campervan conversion is the first and most significant step toward van life. Numerous vehicle kinds and models are available, and the best one for your small home on wheels is determined by your needs and desires. Purchasing a van to convert is a huge decision, and there are various aspects you should consider before doing so, including:
- Budget: You can convert a vehicle into a campervan on any budget if you are realistic about what you want from the finished product. It's ideal to start by outlining your overall budget for the conversion, including the cost of the van and project expenditures.
- Size: Once you've determined your budget, determine what size and height the van would best meet your demands. For example, would you use your campervan to live in or for road trips and vacations? Consider whether you must transport specific equipment, such as bikes or climbing gear.
- Maintenance: Once you've decided on the sort of van you want to convert, consider any continuing care it might require and its costs.
Small vans like the Citroen Berlingo or Renault Kangoo are frequently straightforward to convert to camper vans and can easily sleep two people. For many first-time converters and campervan owners, they are a practical and cost-effective option for the occasional holiday. They have various limits, including head height, but they may still make excellent tiny campervans.
Medium vans provide the best of both worlds in size and expense for your DIY campervan conversion. It is slightly easier to drive, less expensive to purchase, and offers more space than compact vans such as the Vauxhall Vivaro or Volkswagen Transporter. Larger vans, with their longer wheelbases and higher head heights, are an excellent choice for campervan trips.
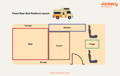
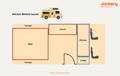
Step 2: Design Campervan Layout
One of the most fascinating aspects of building a camper van conversion is designing the layout of your new home. At this point in the build process, the choices are unlimited, and it's a lot of fun to imagine how everything will come together in your DIY van project. However, efficiently arranging your vehicle requires thinking and meticulous preparation. You must figure out how to fit everything you need into a compact space while being pleasant and liveable. Some standard campervan layouts are as follows:

Step 3: Insulation
- Conduction: Conduction is heat transfer over solid surfaces, such as touching a hot stove. In the winter, it's also how heat escapes from your van. Heat is transferred through the solid surface of your camper van's walls and ceiling.
- Radiation: Radiation is heat transferred via air or a vacuum--imagine the heat radiating from a fire. The primary source of radiant heat in a camper van is the windows. The sun pours through the windows, heating the inside of your van. A reflective window covering will assist in deflecting radiant heat and keeping your van cool.
- Convection: The third method of heat transfer, convection, refers to the natural rising of heated air to the ceiling. As a result, insulating your roof is critical for keeping your camper van warm. We recommend adding insulation on the top if you have the extra height.
Step 4: Heating & Cooling
The first step towards being comfortable on the road is properly insulating your vehicle. However, insulation alone will not keep your van at a comfy temperature, regardless of the weather. In chilly weather, heating your van is simple: use a heater. However, there are numerous sorts of van heaters, which we will discuss further below.
Keeping your van cool can take more work. Active cooling equipment, like air conditioners, consumes much power and is only an option if you install an extensive electrical system or keep it hooked at campgrounds. You must have a vent fan when you live in a vehicle full-time. Your vent fan will keep your van cool and moisture-free, and the airflow will be handy in hot weather. You should also keep it running while cooking inside the van to suck up any fumes.
Many van lifers opt for two vent fans in their van builds, with one blowing fresh air in and the other sucking air out. It will undoubtedly boost air circulation in your van, one of the key strategies to stay refreshing. This is optional. Installing two vent fans increases the cost and takes up more roof space, so some may have better options.
Step 5: Water & Plumbing
Whether you only need drinking water or a full-fledged sink setup, having a water source in your van is necessary. And, while water systems can become intricate, they don't have to be. Will you be preparing meals in your van? If so, you'll need a technique to clean the dishes. Do you intend to boondock away from civilization for an extended period? Then, you'll need to ensure adequate water and a suitable water filter.
Nothing beats a built-in sink and faucet to make your van feel like a home. A built-in sink gives an accessible area inside your van to replenish drinking water and wash dishes, and installation isn't complicated with some preparation and a little elbow grease. Set up your water system in various ways and make it as straightforward or sophisticated as possible. However, all built-in manual pump systems share the following fundamental components:
Camper Van Water System
Water Pump
Faucet
Spout
Grey Water Tank
Freshwater Tank
Sink
Drain
Plumbing
Tubing
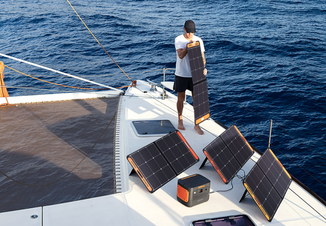
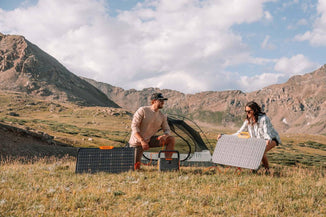
Step 6: Solar Electricity
Electricity is required in your DIY camper van if you want to refrigerate food, see at night, or do computer-based work while on the road. However, it is also one of the most frightening components of any camper van conversion.
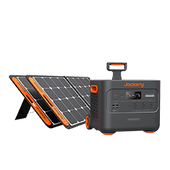
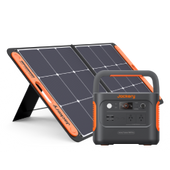
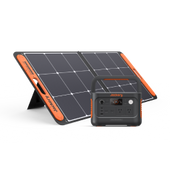
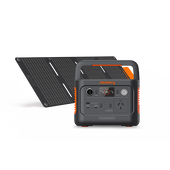
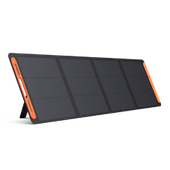
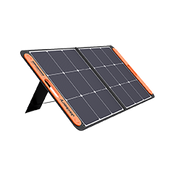
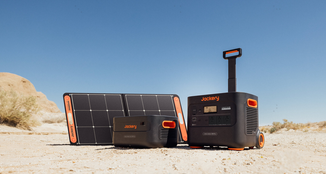
Jackery is a remarkable brand that produces high-quality solar equipment, such as solar generators, solar panels, and portable power stations. Jackery Solar Generators combine Jackery Solar Panels and Portable Power Stations, like the mobile campervan solar systems, providing 240Wh to expandable 12 kWh capacities to meet your demands.

Product
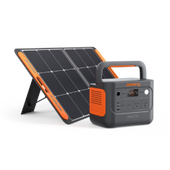
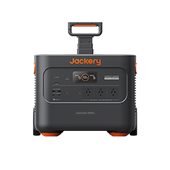
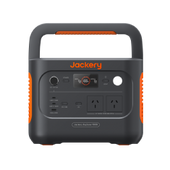
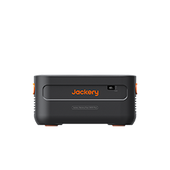
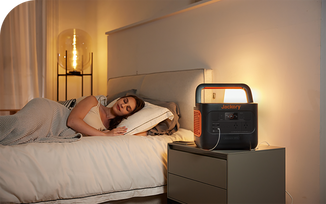
Explorer 2000 Pro Portable Power Station
Capacity
2160Wh (43.2V/50Ah)
Life Cycle
1000 cycles to 80%+ capacity
Dimension
30.75x26.9x38.4cm
Recharging Methods
Explorer 2000 Pro + 6*SolarSaga 100W: 5.5H
AC Adapter: 2H
12V Car Adapter: 24H
Output Ports
2*AC Output: 230V, 2200W (peak 4400W); 2*USB-A: Quick Charge 3.0x2, 18W Max; 2*USB-C: 100W Max, (5V, 9V, 15V, 12V, 20V up to 5A); 1*Carport: 12V⎓10A
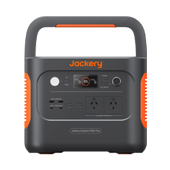
Product
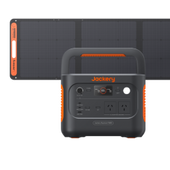
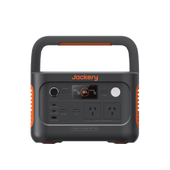
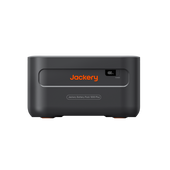
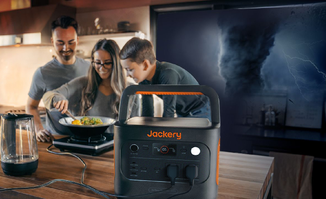
Jackery Solar Generator 2000 Plus
Capacity
2042.8Wh (13A/638.4Ah)
Life Cycle
4000 cycles to 70%+ capacity
Battery Cell
LiFePO4 battery
Dimension
37.36x35.94x47.3cm
Recharging Methods
Explorer 1000 Pro + 6*SolarSaga 100W: 6H;
AC Adapter: 1.7H;
12V Car Adapter: 25H
Output Ports
3*AC Output: 230V~ 50Hz, 3000W Max, 6000W surge peak; 2*USB-A: Quick Charge 3.0, 18W Max; 2*USB-C: 100W Max, (5V, 9V, 15V, 12V, 20V up to 5A); 1*Carport: 12V⎓10A
Step 7: Flooring Arrangement
Step 8: Wall & Ceiling
- Polywood Sheets: The simplest and cheapest method is to build your van's walls and ceiling out of plywood sheets. The main advantage of plywood is that it bends easily, which is essential when working with curved surfaces within a van. You can also stain and paint or cover any color in a tapestry.
- Tongue-and-Groove Paneling: If you want a homey cabin feel within your van conversion, tongue-and-groove paneling on the walls and ceiling is an excellent option. The paneling looks great - the cedar paneling on our ceiling is one of our van's distinguishing features. We chopped ours to various lengths and stained it in multiple colors to achieve that mismatched, rustic look.
Step 9: Kitchen Setup
Step 10: Bathroom & Shower
Tips & Solutions
Bathroom
1)Public restrooms; 2) campground restroom; 3) poop shovel
Shower
1)Shower at a gym; 2) National Parks; 3) portable showers; 4) how water heater; 5) developed campground; 6) truck stops; 7) baby wipe shower.
Step 11: Lighting System
Step 12: Final Touch
Final Thoughts
Best-selling Jackery Solar Generator
PAGE CONTENTS
New Arrival
Hurry up! Sale ends once the timer hits zero