


|
Key Takeaways: |
|
- Choosing the right diesel heater size depends on the size of your caravan and the climate conditions. - Diesel heaters are rated by kilowatt output, with 2kW suitable for smaller spaces and 5kW for larger caravans. - DIY installation can save costs but requires careful attention to safety and technical details. - Professional installation offers peace of mind but adds to the overall cost. - Regular maintenance and inspections are essential for optimal performance and safety. - We recommend the Jackery Solar Generator 2000 Plus and 1000 Plus to effectively power your portable electric heaters or other caravan appliances, especially for long-term caravan life. |
Types of Diesel Heaters for Caravans
Knowing the many kinds of diesel heaters available is essential when installing one in a caravan. Every kind has special qualities catered to different requirements and tastes. Here is an overview of the main types:
1. All-in-One Diesel Heaters
All-in-one diesel heaters are standalone devices that combine the control system, fuel tank, and heater into a single small box. These units are perfect for caravanners looking for a plug-and-play option because they are made to be portable and easy to install. Their small size makes it simple to move them between cars or locations.
2. DIY Diesel Heater Kits
DIY diesel heater kits provide freedom for individuals who would rather have a customised installation. The heating unit, fuel pump, exhaust, air intake, and required hardware are usually included in these packages. They let consumers put parts in places that work best for their caravan's design, like beneath seats or in storage spaces. Skilled do-it-yourselfers who wish to customise the heating system to meet their unique requirements prefer this alternative.
3. Hydronic Diesel Heaters
A liquid, typically water or coolant, is heated in hydronic diesel heaters and then cycled through radiators or underfloor heating systems. Because it distributes heat evenly and consistently, this kind of heater is appropriate for larger caravans or those needing a more advanced heating system. Hot water systems and hydronic systems can be combined to provide dual functionality.
4. Portable Diesel Heaters
Portable diesel heaters are freestanding devices that can be used in different places. They are perfect for travellers who need flexibility and might wish to use the heater in various settings, such as outdoor spaces or tents. These heaters may operate independently because they usually have their own fuel tank and power supply.
The size of the caravan, the required level of installation complexity, and the particular heating requirements all play a role in choosing the best kind of diesel heater. The first step to a cosy and comfortable caravan experience is being aware of your options, whether you want the customisation of a DIY kit or the ease of an all-in-one unit.
What You Need to Install a Diesel Heater in a Caravan
Certain equipment and materials are needed to install a diesel heater in your caravan securely and successfully. Having the proper tools is crucial whether you choose to do the installation yourself or hire a professional. The following is a detailed list of everything you'll need to finish the installation:

Diesel Heater Kit
Naturally, the diesel heater itself is the first necessary component. Do-it-yourself kits typically include the heater unit, fuel pump, fuel lines, exhaust and intake pipes, air ducts, mounting brackets, and wiring. Additionally, some kits come with a control panel that allows you to adjust the system's temperature and functionality. Make sure the kit you select meets your caravan's unique requirements and design.
Fuel Tank
A diesel heater needs a specific fuel source. While some heaters may need additional fuel storage, others may have built-in fuel tanks. If you're installing a freestanding diesel heater without an integrated tank, you must install an appropriate fuel tank inside your caravan. Make sure it is mounted firmly and complies with Australian safety regulations.
Mounting Hardware
The diesel heater must be mounted firmly for safety and efficiency. Usually, mounting brackets, bolts, and screws secure the unit to a sturdy surface within your caravan. The heater needs to be firmly fixed to avoid movement or vibration when travelling.
Fuel Lines and Fuel Pump
Fuel lines connect the heater and gasoline tank. These lines must be heat-resistant, flexible, and long-lasting. A fuel pump is also needed to guarantee that diesel flows correctly from the tank to the heater. Position the fuel pump close to the tank to guarantee effective fuel transfer.
Exhaust and Air Intake System
The heater's ventilation depends on the exhaust and air intake. While the air intake brings in fresh air for burning, the exhaust must be vented outside the trailer to avoid carbon monoxide buildup. Although these systems are typically part of the do-it-yourself kit, make sure the exhaust piping is securely installed and the right length.
Wiring and Electrical Components
Depending on the type of diesel heater, electrical wiring for the control panel, fuel pump, and heating unit may be necessary. Wiring that is rated for the heater's power requirements and for safe operation is required. Switches, terminals, and electrical connectors are also required to configure the control system and guarantee that the heater operates as intended.
|
Tools for Installation |
|
|
Drill and Drill Bits |
These are essential for creating holes for mounting the heater, fuel lines, and exhaust system. |
|
Screwdrivers and Wrenches |
You'll need these to fasten bolts, screws, and other parts of the system securely. |
|
Hose Cutter or Pipe Cutter |
For cutting the fuel lines or exhaust tubing to the right lengths. |
|
Sealant and Silicone |
Used to seal any gaps or areas where pipes or cables enter the caravan to prevent leaks. |
|
Multimeter and Electrical Tester |
These tools are essential for testing the electrical connections and ensuring everything is wired correctly. |
|
Tape Measure |
This is to measure the space for installation accurately and ensure that all components fit correctly. |
Safety Equipment:
Gloves and Eye Protection: Always wear protective gloves and goggles while installing the heater, especially when handling the fuel tank or working with power tools.
Carbon Monoxide Detector: Diesel heaters release exhaust fumes, so having a CO detector in your caravan is crucial for safety. This is an essential safety element when operating any heating system.
Instruction Manual
The instruction booklet for your diesel heater kit will walk you through the installation procedure. It will include precise information on wire specifications, mounting locations, and setup techniques. Adhering to the manufacturer's recommendations is imperative for safe and efficient functioning.
How to Install a Diesel Heater in Your Caravan?
One useful method to guarantee comfort throughout the winter months is to install a diesel heater in your caravan. The fundamental installation procedure is the same, even if the specific stages may change based on the caravan layout and heater model. A comprehensive installation tutorial is provided below:

General Way to Install a Diesel Heater in Your Caravan
Step 1: Select Installation Location
Select a place accordingly to ensure that the gasoline tank is easily accessible and that there is adequate airflow within your caravan. Hidden items are commonly found under seats, in storage compartments, and beneath the floor. Make sure that the area is properly ventilated and conforms to all safety criteria.
Step 2: Mount the Heater Unit
Mounting brackets and hardware are provided, and these should be used to secure the heating unit to the selected place. During the transportation process, make sure that it is securely fastened to the object.
Step 3: Install the Fuel Tank
Ensure that the fuel tank is situated in a safe area, preferably in close proximity to the heater mechanism. Mount it using the necessary brackets and ensure it is level to ensure fuel flows in the correct direction.
Step 4: Connect the Fuel Lines
Ensure that the fuel lines from the tank are connected to the heater unit and the fuel pump. Make sure that all of the connections are secure and do not leak. The fuel pump ought to be installed in close proximity to the tank at an angle ranging from 15 to 30 degrees to guarantee precise fuel distribution.
Step 5: Install the Exhaust and Intake Piping
To prevent exhaust fumes from entering the living space, holes for the intake and exhaust pipes must be drilled and ensured that they are directed outside the caravan. Silicone will prevent water from getting in.
Step 6: Run the Ducting
Make the connection between the heater's hot air output and the ducting, and then direct the hot air to the region of the caravan that you want to be heated. Ensure the ducting is free of kinks or obstacles and securely fastened.
Step 7: Electrical Connections
Establish a connection between the heater unit and the caravan's 12V power supply, making certain that all of the wiring is properly fused and insulated. If the kit you purchased contains a thermostat or a remote control, you should install these in accordance with the manufacturer's instructions.
Step 8: Test the System
Before sealing everything, you should test the system to ensure the heater is functioning properly. Also, make sure there are no gasoline leaks, strange noises, or error messages in the vehicle. If everything operates as anticipated, you should secure all components and clean up the installation area.
Step 9: Safety Checks
To monitor for exhaust leaks, install a carbon monoxide detector inside the trailer and inspect the system regularly for signs of damage, wear, or leakage.
Installation Variations by Heater Type
Chinese Diesel Heaters:
The fact that they are inexpensive makes them a popular choice for do-it-yourself installs. Make sure that the kit contains all of the necessary components, and carefully follow the instructions provided by the manufacturer.
Webasto or Eberspacher Heaters:
Depending on the complexity of these premium heaters, an expert may be necessary to install them. However, if they are installed properly and in accordance with safety requirements, skilled do-it-yourselfers can install them.
Hydronic Diesel Heaters:
These systems provide warmth and hot water. Further components, such as heat exchangers and water pumps, are required to complete the installation. Installation by a professional is strongly suggested to guarantee correct integration and maximum safety.
What Size Diesel Heater Is Best for a Caravan?
To guarantee effective heating without wasting energy, it is essential to choose the right size diesel heater for your caravan. The size of the heater is affected by your caravan's size, the quality of the insulation, and the climate you'll be travelling in.
Understanding Heater Output Ratings
Diesel heaters are typically rated in kilowatts (kW), indicating their heating capacity:
2kW Heaters: Suitable for smaller caravans or campervans, providing efficient heating for spaces up to approximately 100-150 square feet. These are ideal for mild climates and well-insulated vehicles.
5kW Heaters: These are designed for larger caravans or motorhomes and can heat spaces up to around 430 square feet. They are better suited for colder climates or larger, less insulated spaces.
Choosing the Right Heater Based on Caravan Size
|
Caravan Length |
Recommended Heater Size |
|
Up to 18 ft |
2kW |
|
18–21 ft |
2kW or 2.2kW |
|
21–24 ft |
2.2kW or 4kW |
|
Over 24 ft |
4kW or 5kW |
Note*: Pop-top or canvas-sided caravans may require a more powerful heater due to increased heat loss.
Climate Considerations
Mild Climates: A 2kW heater is generally sufficient for well-insulated caravans in warmer regions.
Cold Climates: A 4kW or 5kW heater ensures adequate warmth in colder areas or less insulated caravans.
Pros and Cons of 2kW vs. 5kW Heaters
|
Feature |
2kW Heater |
5kW Heater |
|
Ideal Caravan Size |
Up to 21 ft |
Over 24 ft |
|
Fuel Consumption |
Lower |
Higher |
|
Heating Time |
Longer to warm up |
Heats up quickly |
|
Noise Level |
Quieter |
Louder |
|
Cost |
More affordable |
More expensive |
Note*: A 5kW heater in a small caravan may cycle on and off more frequently, potentially causing higher fuel consumption and increased noise.
Final Recommendations
2kW Heater: Best for small to medium-sized caravans (up to 21 ft), especially in mild climates or well-insulated vehicles.
4kW Heater: Suitable for larger caravans (21-24 ft) or those with moderate insulation in cooler climates.
5kW Heater: Ideal for very large caravans (over 24 ft) or those with poor insulation in cold climates.
When purchasing a diesel heater, always examine your specific demands, including caravan size, insulation, and usual travel circumstances. If in doubt, talking with a professional installer can provide specialised recommendations.
Factors Affecting the Cost of Installing a Diesel Heater in a Caravan
There are a number of variables that can affect the price of installing a diesel heater in a caravan. A professional installation is frequently advised, particularly for more sophisticated systems, even though a do-it-yourself installation is feasible. The following are the main variables that affect the installation's final cost:

Factor 1: Type of Diesel Heater
The type of diesel heater you choose plays a significant role in the installation cost:
Basic Diesel Heater Kits: These are made for do-it-yourself installation and are frequently less expensive. The heating unit, fuel lines, exhaust, and any required mounting hardware may all be included in the kit's price. Prices, however, might vary from $200 to $800 based on the brand.
Premium Heaters (e.g., Webasto or Eberspacher): These are more expensive solutions that are more efficient and have more advanced features. The heater may have a higher initial cost, but the installation might be easier because it comes with pre-configured parts. A professional should install these systems, which may charge $1,500 to $3,000.
Hydronic Systems: Given that they can heat both air and water, these are typically the priciest choices. Due to the system's intricacy and the requirement for extra parts like water pumps and radiators, hydronic system installation can be substantially more expensive. When the heater and installation are combined, the overall cost may surpass $5,000.
Factor 2: Professional Installation vs. DIY
Although DIY installation might result in labour cost savings, it necessitates a certain amount of expertise and the appropriate equipment. The safest option is to have it professionally installed if you're not familiar with electrical systems or fuel connections. Depending on the installation's intricacy, expert installation labour prices normally range from $500 to $1,500. Expert installers also make sure the heater satisfies safety requirements for fuel hookups and venting.
Factor 3: Caravan Size and Layout
The size of your caravan significantly influences the cost of installation. To properly heat the room, larger caravans need longer fuel lines, ducts, more materials, and a stronger heater. The total cost will rise as a result of the additional parts and labour hours. For instance, installing a 5kW heater in a large motorhome or caravan is typically more expensive than installing a 2kW heater in a smaller vehicle.
Factor 4: Additional Components
Certain optional components may increase the overall installation cost. These include:
Thermostats and Remote-Control Units: Advanced thermostats with Wi-Fi functionality or remote controls add to the overall price but offer increased control and convenience.
Carbon Monoxide Detectors: To ensure safety, it's recommended that a CO detector be installed, which adds a small cost to the installation.
Exhaust and Ventilation Systems: Depending on the caravan's design, more parts can be required, and properly venting the exhaust is essential for safety. The cost of installation will go up if unique ventilation solutions are needed.
Factor 5: Location and Accessibility
The cost may vary depending on how simple it is to get to the installation location. If the location is difficult to access or requires adjustments (such as drilling through thick walls or moving furniture or other systems), the installation process may take longer and cost more labour. For instance, placing the heater in a small storage space or beneath the floor might take more effort than in an easily accessible location.
Factor 6: Fuel Tank and Fuel Lines
The size of the tank, the kind of gasoline system, and whether or not bespoke fittings are needed can all affect the cost of the fuel tank and lines. Longer or bespoke fuel lines may incur additional expenditures, whereas the average cost of installing a fuel tank is between $100 and $300.
Factor 7: Complexity of the Installation
The shape of some RVs or the type of heater being fitted necessitates more intricate settings. Labour and material expenses will go up, for instance, if the heater needs to be integrated with an existing hot water system (for hydronic systems). Furthermore, the cabling for more sophisticated features like Wi-Fi connectivity or remote control might call for more intricate electrical work, which would increase the installation cost.

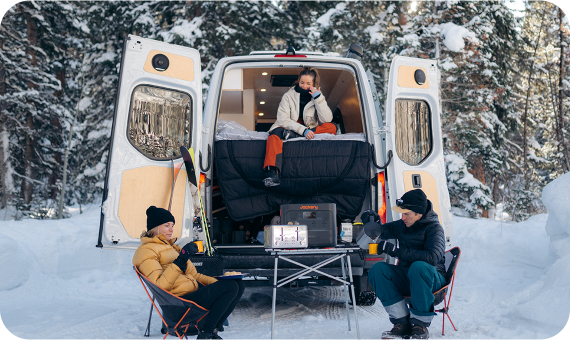
Jackery Solar Generators for Caravans
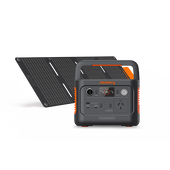
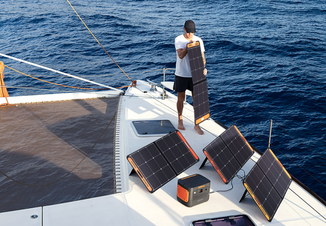
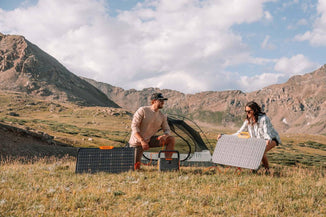
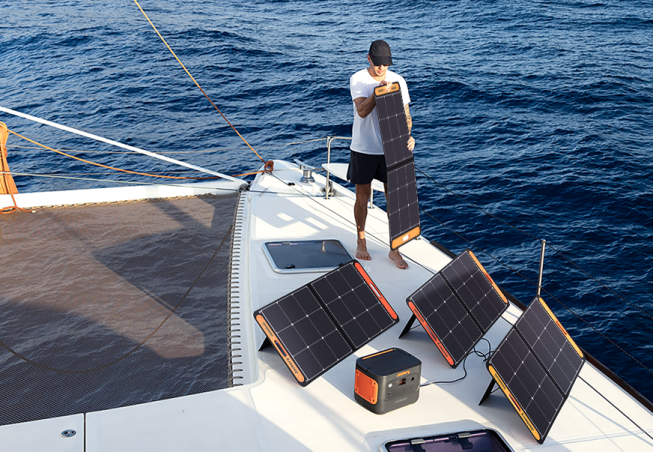
Solar generators, like Jackery Solar Generators, combine a Portable Power Station with Jackery Solar Panels, allowing you to capture free energy from the sun to recharge. This significantly reduces or eliminates your reliance on mains electricity or noisy, fuel-guzzling generators. Enjoy the freedom to camp in remote locations without the constraints of needing powered campsites.
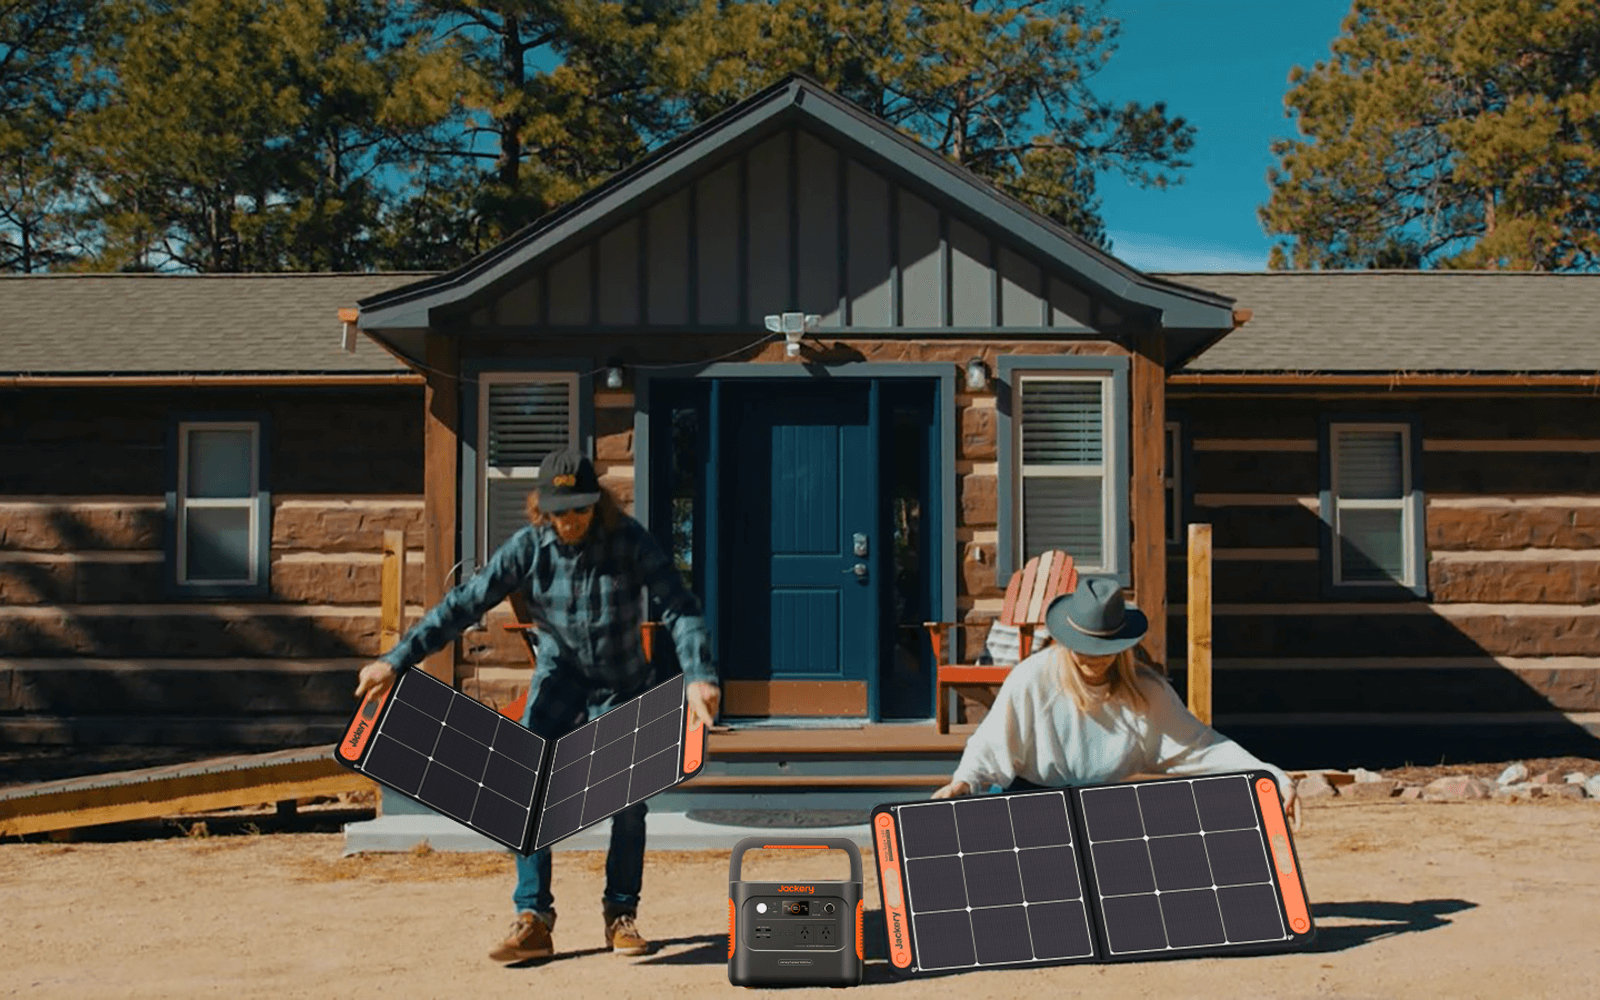
Unlike traditional generators, Jackery Solar Generators operate silently, allowing you to fully immerse yourself in the tranquillity of nature without disturbing yourself or your neighbours. By using solar power, you reduce your carbon footprint and contribute to a more sustainable way of travelling. There are no harmful emissions, making it safe for both you and the environment.
Sunlight is a free and abundant resource. Your primary energy source costs nothing once you've invested in a solar generator. This can lead to significant savings compared to constantly buying fuel for a traditional generator or paying for powered campsites. Here, we recommend Jackery Solar Generator 1000 Plus and 1000 v2 for your caravan.
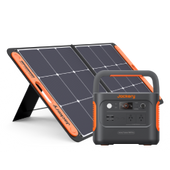
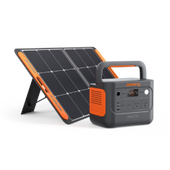
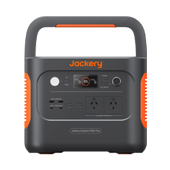
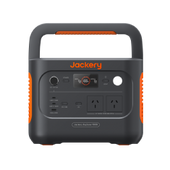
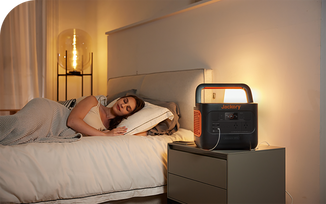
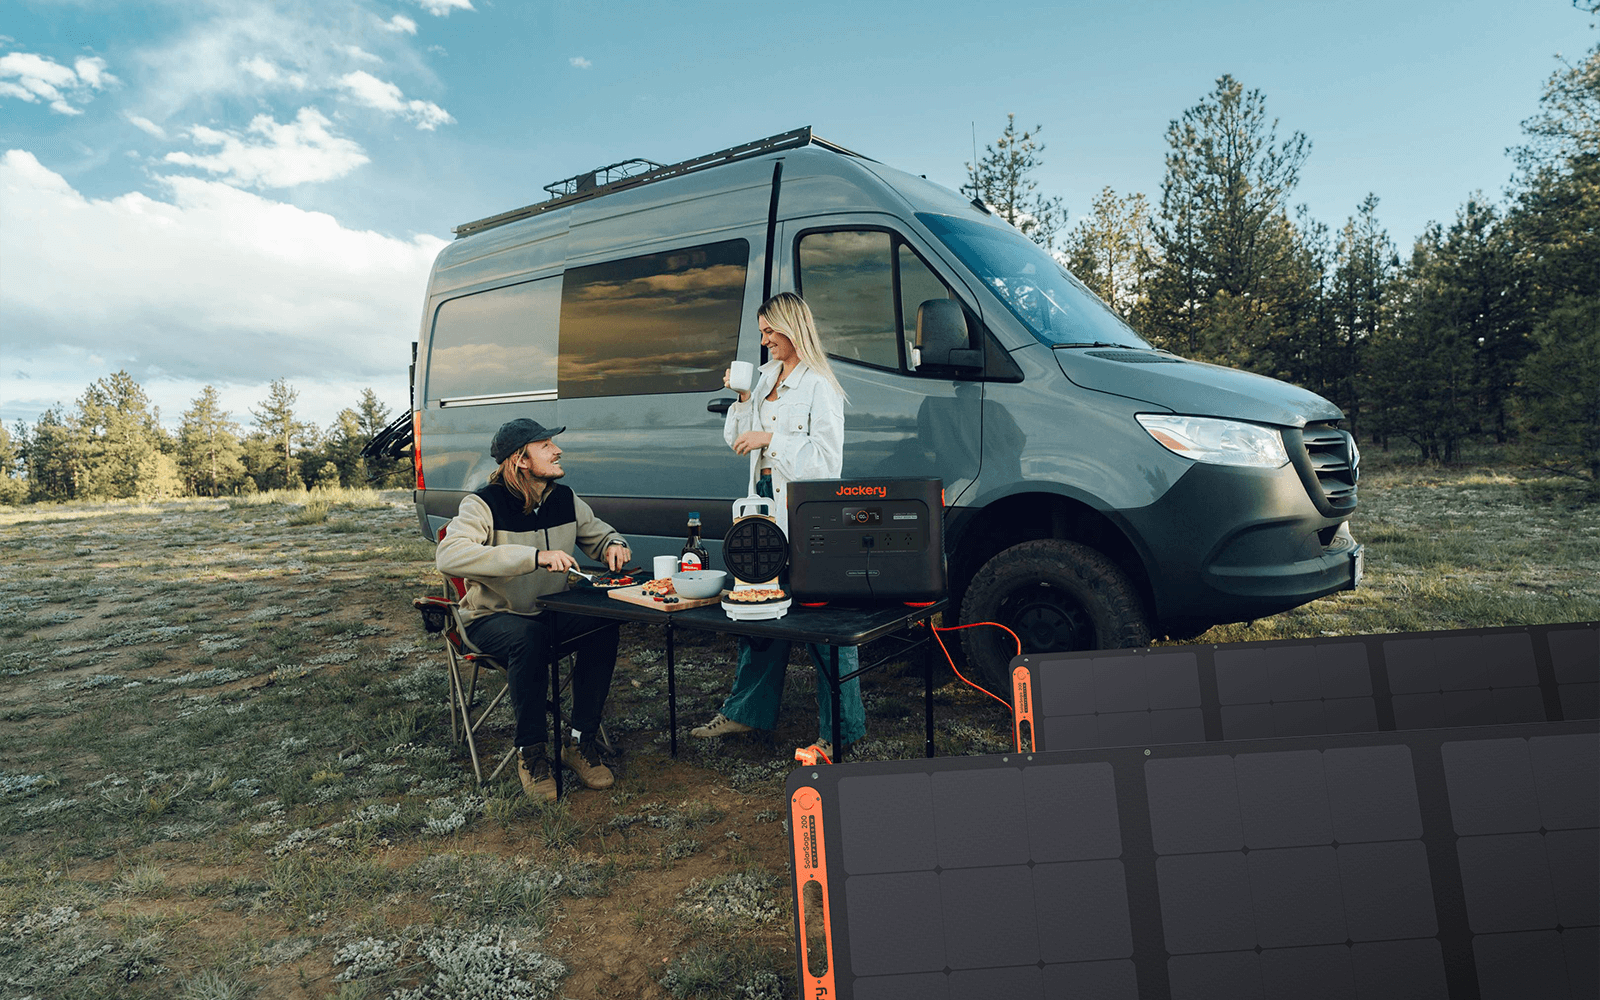
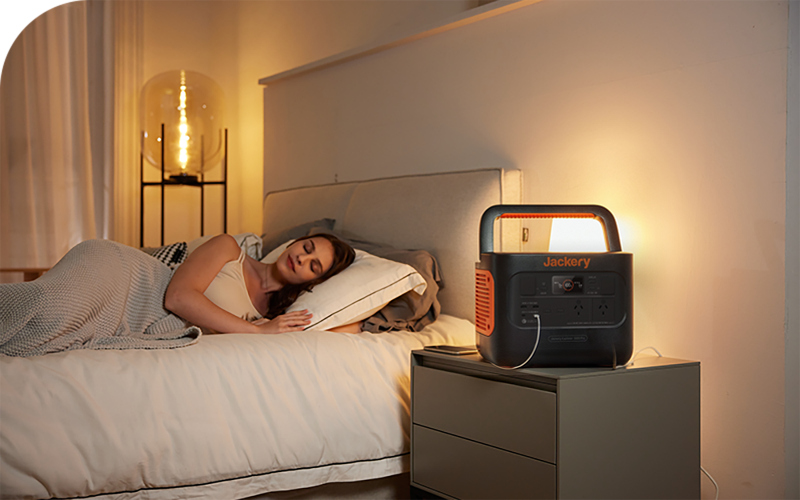
Jackery Solar Generator 1000 Plus
Choosing a Jackery Solar Generator 1000 Plus for your caravan offers a compelling blend of power, portability, and eco-friendly charging, making it an excellent investment for off-grid adventures.

Ample Power Capacity for Versatile Use: With an expandable capacity from 1264Wh to 5 kWh, the Explorer 1000 Plus provides a significant amount of stored energy to power a variety of your caravan appliances and devices for extended periods. This allows you to run lights, charge electronics, and even operate smaller appliances without worrying about running out of power.
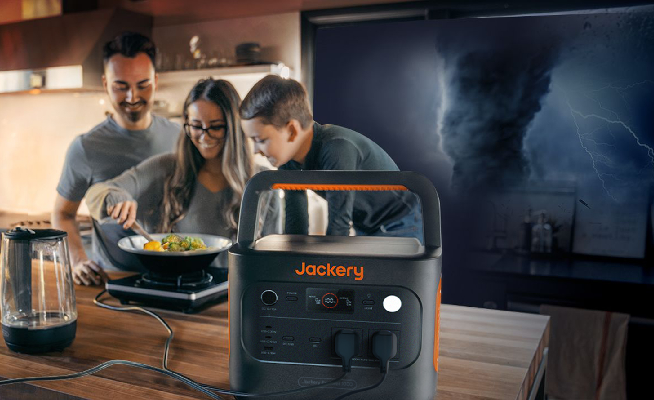
High AC Output for More Demanding Appliances: The 2000W continuous AC output (with a 4000W peak) is a standout feature. This higher output capacity means you can power more demanding appliances in your caravan, such as refrigerators, electric kettles, laptops, and more.
Sustainable and Free Energy with Solar Charging: As a "Solar Generator," it's designed to be paired with solar panels (like Jackery SolarSaga 100W or 200W solar panel), allowing you to recharge the power station using free and clean energy from the sun. This significantly extends your off-grid capabilities and reduces your reliance on paid campsites or noisy generators.
Multiple Output Ports for All Your Needs: The Explorer 1000 Plus comes equipped with a variety of output ports, including:
Multiple AC Outlets: To power standard household appliances.
USB-A and USB-C Ports (including PD): For charging phones, tablets, and laptops efficiently.
12V Car Outlet: To power devices designed for car charging.
This versatility ensures you can power all your essential devices simultaneously.
|
Jackery Solar Generator 1000 Plus Running Time |
|
|
Small Portable Heater (500W) |
2-8H |
|
Medium Portable Heater (750W) |
1.3-5.3H |
|
Large Portable Heater (1500W) |
0.7-2.7H |
(*The working hours are only for reference; the actual working hours depend on your usage.)
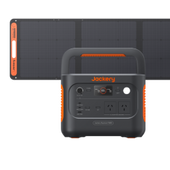
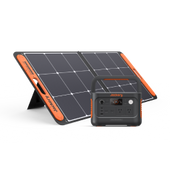
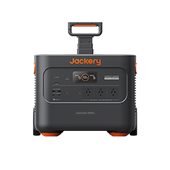
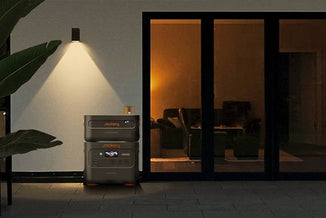
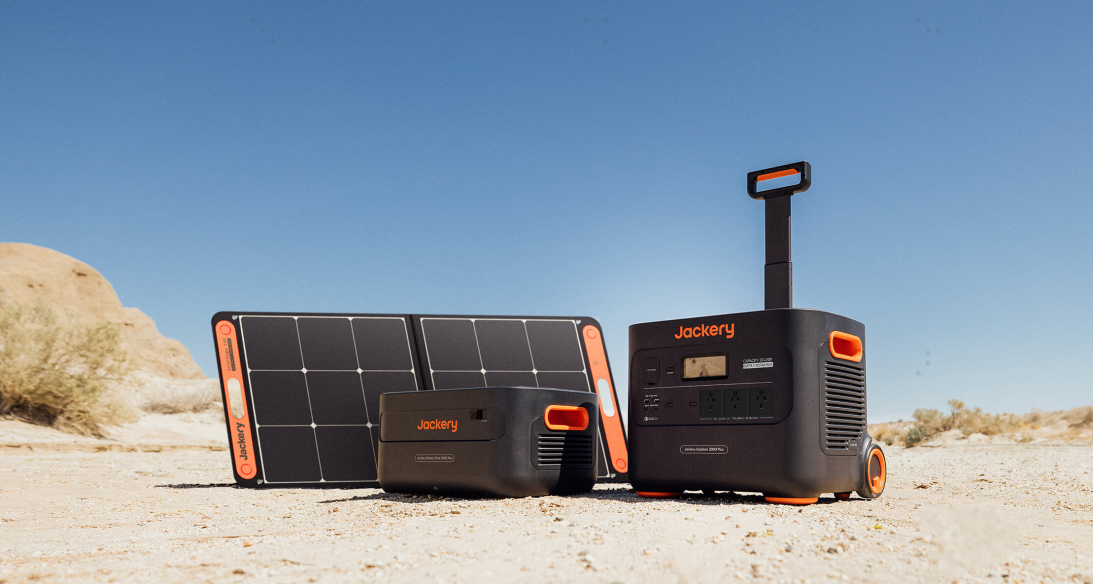
Jackery Solar Generator 2000 Plus
The Jackery Solar Generator 2000 Plus is a robust, versatile power solution that can significantly enhance your caravan experience.

Massive Power Capacity: With a 2042.8Wh capacity, the Explorer 2000 Plus provides substantial power to run your caravan appliances for extended periods without needing to plug into mains electricity. This is ideal for longer trips and more demanding power needs. You can even expand the capacity from 2kWh to a whopping 12kWh by adding up to five additional battery packs, making it suitable for extended off-grid living.
Sustainable and Rapid Solar Charging: As a solar generator, it's designed to be paired with Jackery SolarSaga 100W or 200W solar panels, allowing you to recharge using free solar energy.
Using six 200w solar panels, you can achieve a full charge in as little as 2.5 hours, providing a truly independent power source.
Long-Lasting and Safe LiFePO4 Battery: The Explorer 2000 Plus uses a LiFePO4 battery, which is known for its exceptional lifespan (up to 10 years or 4000 charge cycles to 70%+ capacity), enhanced safety features, and high-temperature resistance. Thus, it is a reliable and durable choice for your caravan.
Smart App Control: Use the Jackery app to conveniently manage and monitor your power station via Wi-Fi or Bluetooth. You can track battery levels, customise settings, and control functions remotely.
|
Jackery Solar Generator 2000 Plus Running Time |
|
|
Small Portable Heater (500W) |
3.2-19.2H |
|
Medium Portable Heater (750W) |
2.2-12.8H |
|
Large Portable Heater (1500W) |
1.1-6.4H |
(*The working hours are only for reference; the actual working hours depend on your usage.)
FAQs
The following are the frequently asked questions about installing a diesel heater in your caravan.
1. Where is the best place to put a diesel heater in a caravan?
A diesel heater in a caravan is usually best placed under a seat or bed. This positioning allows for effective heat dispersion and simple maintenance access. Enough ventilation and clearance are essential for the unit to stay safe and avoid overheating. Keep the heater away from combustible objects and blocked spaces. For particular advice, always adhere to the installation instructions provided by the manufacturer.
2. How much does it cost to put a diesel heater in a caravan?
Depending on the type of heater and if you choose expert installation, putting a diesel heater in a caravan might cost different amounts of money. While expensive models range from $1,500 to over $3,000, basic kits can start at about $250. Depending on the caravan's size and the installation's intricacy, professional installation services usually cost between $750 and $1,500.
3. Can you fit a diesel heater in a caravan?
Installing a diesel heater in a caravan is possible and typical practice. Diesel heaters are often installed by specialists or by caravan owners themselves. An appropriate position must be chosen, the heater must be mounted firmly, fuel lines must be connected, and adequate ventilation must be ensured. Following local laws and safety precautions is crucial when installing.
4. Can you leave a diesel heater running all night?
Indeed, diesel heaters are made to operate safely at night. They employ an electrical glow pin for burning and include thermostatic controls to keep users away from open flames. Because of their design, they are safe to use while you sleep and offer steady warmth all night long.
5. How far can diesel heater be from fuel tank?
Generally speaking, there should be no more than 2 metres (6.5 feet) between the diesel heater and the fuel tank. This close proximity guarantees adequate fuel flow and pressure. However, higher-diameter fuel lines or other considerations could be needed to ensure efficient operation over longer distances.
Final Thoughts
Installing a diesel heater in your caravan is a worthwhile investment that guarantees warmth and comfort when travelling. You can improve your caravan experience by carefully choosing the right heater size, comprehending the installation procedure, and accounting for possible expenses.
Ensuring efficiency and safety is crucial, whether you decide to do it yourself or employ a professional. No matter the weather, you can travel with confidence if you have the proper heater. If you have any questions, you should speak with a qualified installation to make sure your heater is configured appropriately and securely for your travels.