|
Key Takeaways: |
|
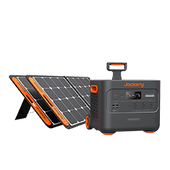
• Making a cubby house has many benefits, such as helping kids develop their imaginations and creativity by letting them make up their own stories and worlds inside the building. • We've listed the materials and tools needed for the DIY case by house, and one thing will be neglected that needs to be addressed in the DIY process - electricity. Jackery Solar Generator supports electrical outdoor working with a stable power supply. • Before building, it is necessary to consider your house size, type, and style beforehand. • There are seven main steps to building a cubby house. Firstly, you must select a site, build the floor frame, design the wall frames, make and raise the roof, add wall lining, and end with the final touches. • We highly recommend Jackery Solar Generator 2000 Plus and 1000 Pro to charge the electrical professional tools outdoors. |
Why Aussies Need A DIY Cubby House?
Making a cubby house has many benefits, such as helping kids develop their imaginations and creativity by letting them make up their own stories and worlds inside the building. Also, it encourages kids to play outside and be active, telling them to spend time outside playing active and creative games instead of staying inside and being lazy.
Cubby houses also allow kids to play with others and connect, which helps them learn necessary social and teamwork skills.
Kids who work on their projects also develop a love for learning and exploring as they learn new skills and hobbies through hands-on activities. DIY cubby house projects are a great way for families to spend quality time together, learn new skills, and make memories that will last a lifetime.
What Are The Materials & Tools Needed for A DIY Cubby House?
Kids need a place where they are in charge. A spot where they can go and live out their dreams.
Cubby houses are places for kids to get together and play, promoting social skills and teamwork. Kids learn critical social skills like how to talk to each other, negotiate, and settle disagreements by doing activities together in the cubby house.
A step-by-step plan for getting a great result. For a DIY cubby house, you will need the following supplies and equipment:
|
DIY Cubby House Materials |
||
|
4* Stumps |
2* Bearers |
4* Fascia Boards |
|
4* Sole Plates |
5* Joists |
4*Fascia Capping |
|
2* Door Frame |
2*Window Frame |
4* Roof Battens |
|
4* Wall Plates |
20* Studs |
1* Particleboard Flooring |
|
4* Plate Blocks |
3*Rafters |
1* Exterior Grade Plywood |
|
DIY Cubby House Tools |
||
|
Hammer |
Saw |
Screwdriver |
|
Paintbrush |
Measuring Tapes |
Electric Drill |
|
Safety Gear |
Nails |
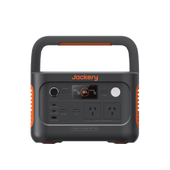
Jackery Solar Generator |
You can make templates or decorative pieces out of cardboard, but plywood is solid and perfect for building the main frame of the cubby house.
Pick paint that won't peel or crack in bad weather to protect the cubby house from the weather, and add bright colours to make it look better. Different-sized nails will be needed to join the pieces of plywood together firmly.

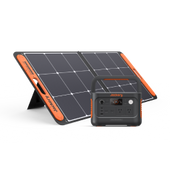
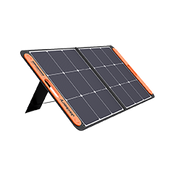
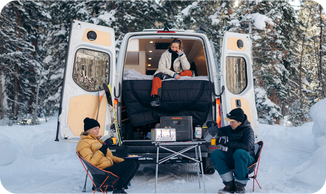
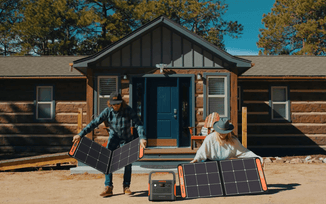
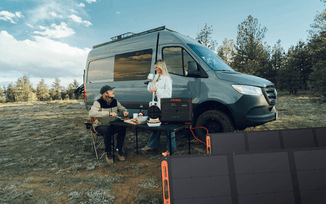
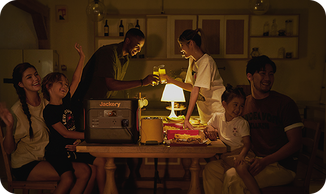
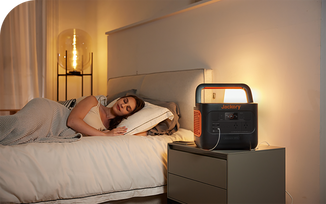
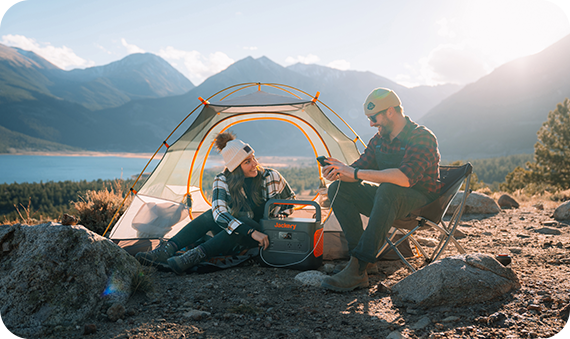
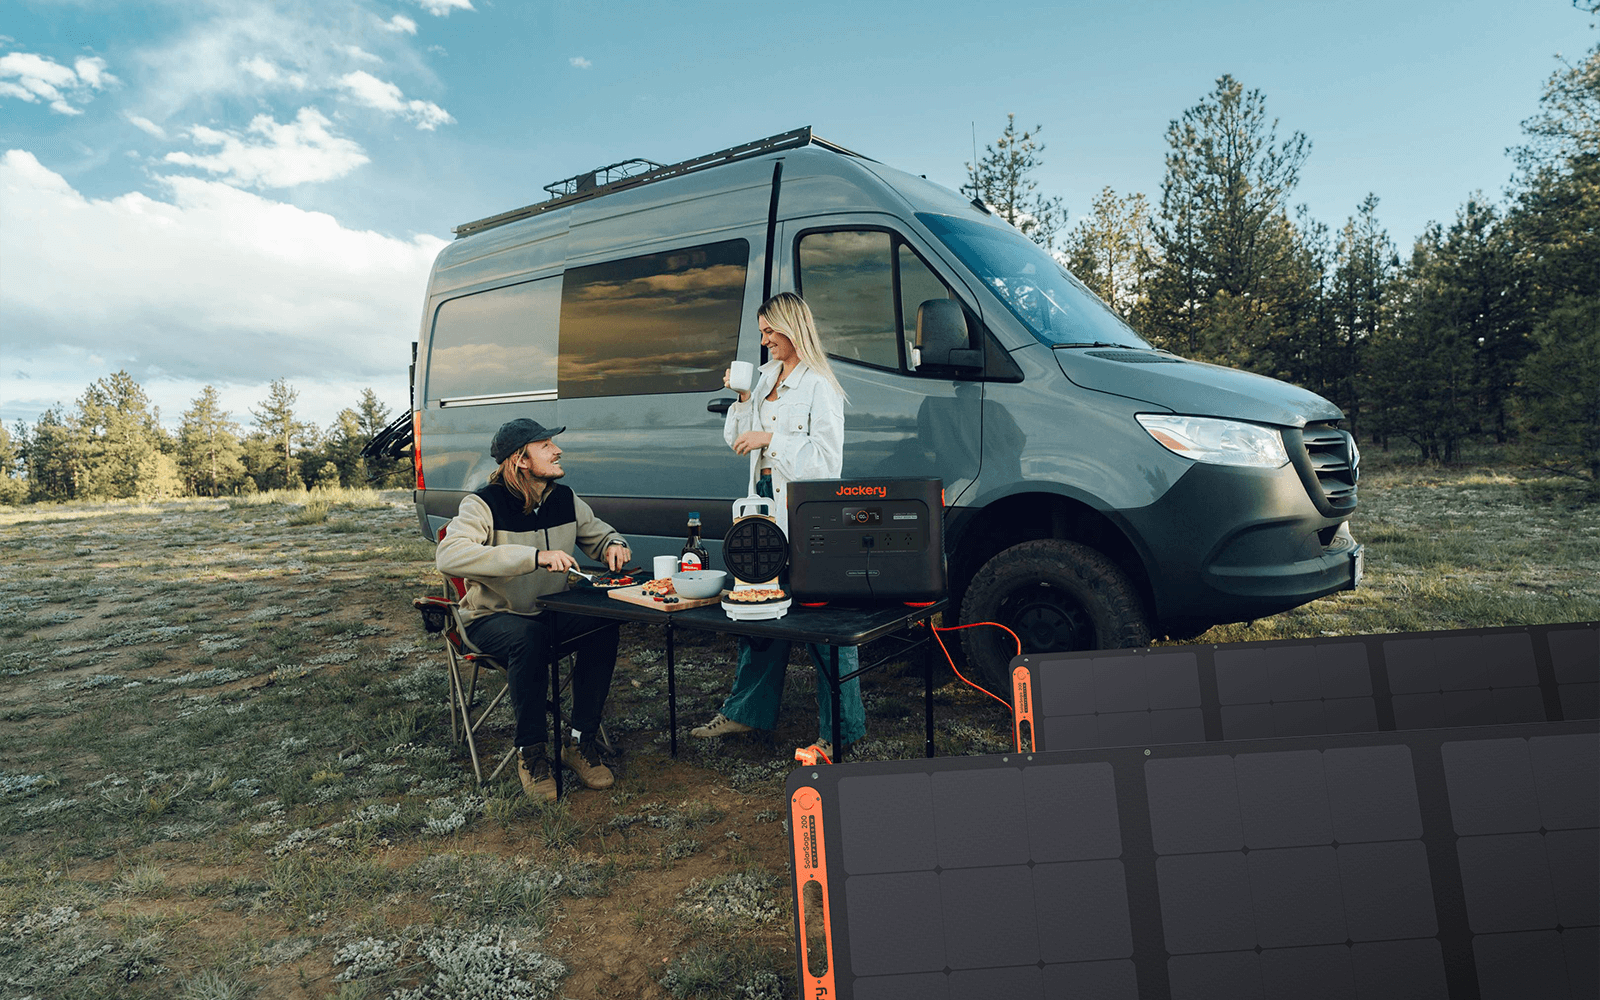
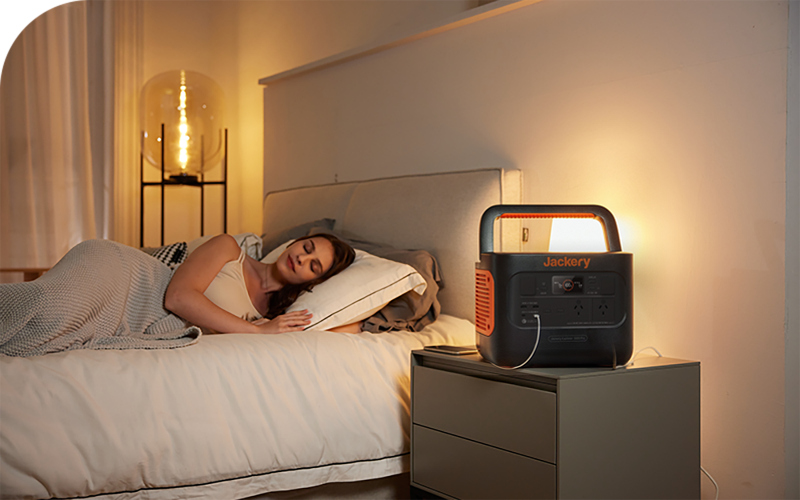
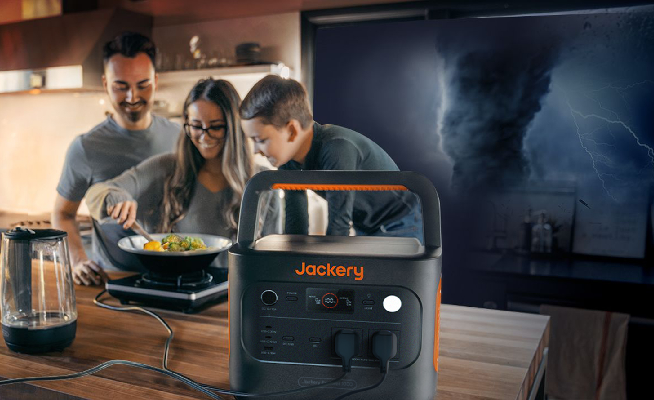
Jackery's battery backup generators work well and maintain the power for professional electric tools like drills, lights, and more. You'll always have power with the Jackery Solar Generators, even at night or when it rains. They can store energy from the sun or the grid.
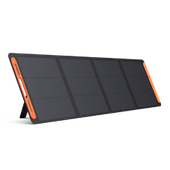
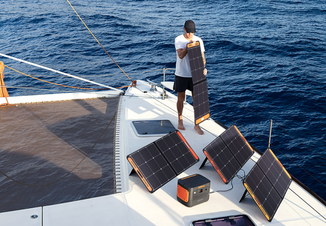
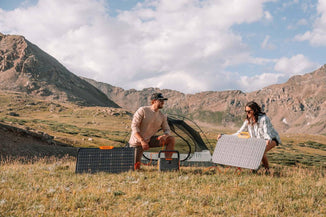
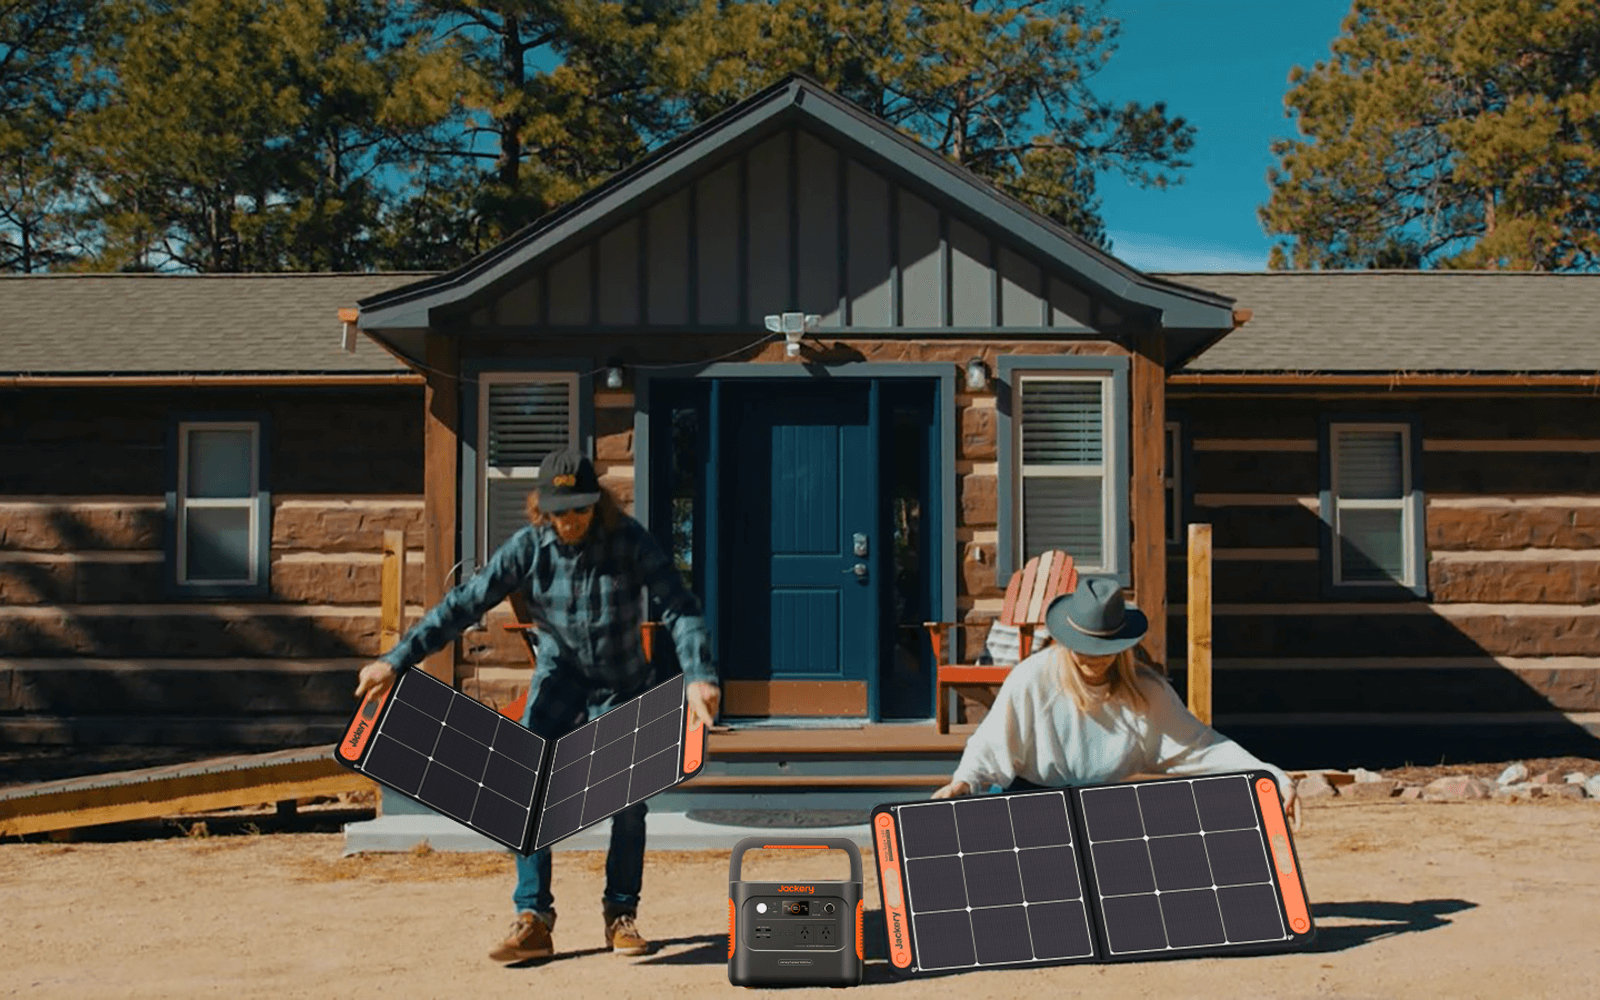
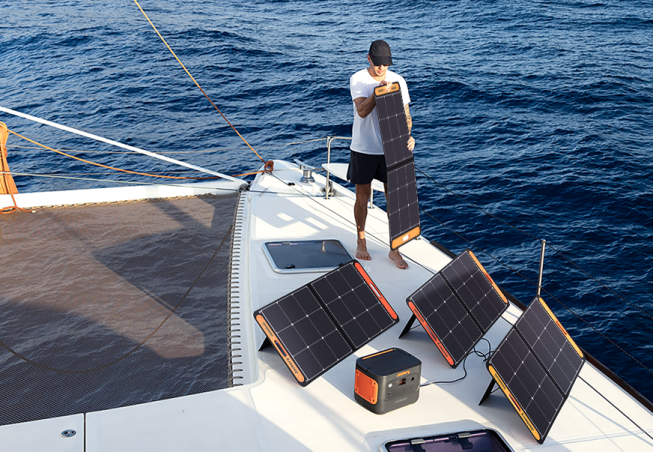
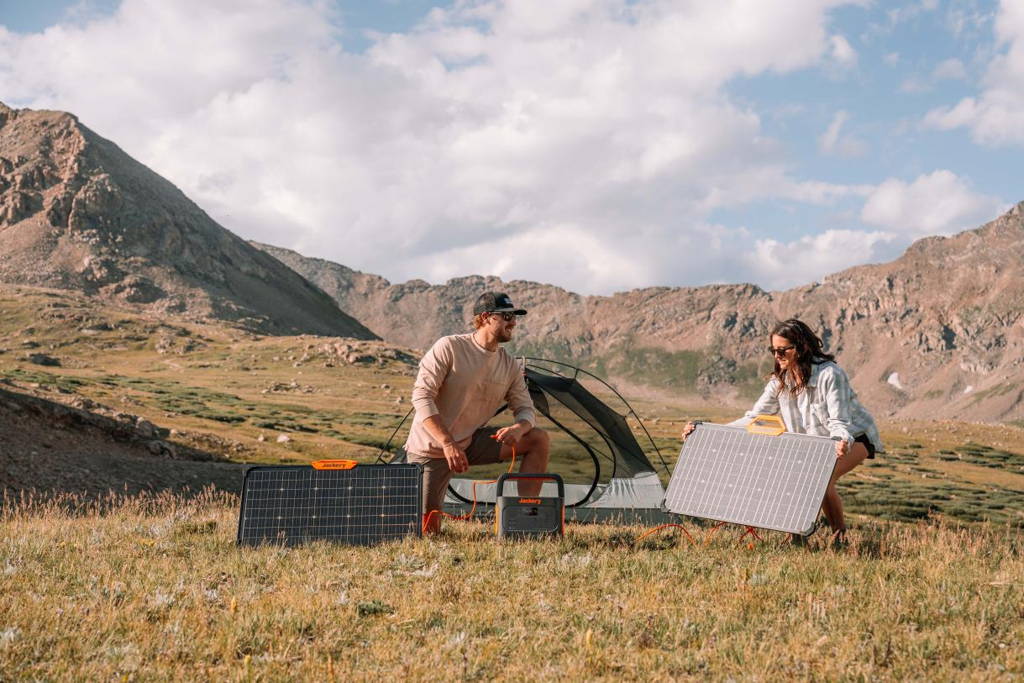
The Jackery Solar Generator has a Portable Power Station with Jackery Solar Panels to turn solar energy into power. Please pick up a charger next to your photo booth to charge your outdoor electronics quickly.
What to Consider When Building The Cubby House?
If you're looking for the best cubby, here are some things you should consider before buying. Here are some essential things to consider when looking for the best cubby house.
House Size: Cubby houses only take up a little room, but you need to find one that fits your space, gives your dog enough yard to play in, and gives them enough room to play outside. It's also important to know how old and tall your child is. A little one proliferating might need a big cubby to make room for more growth.
Next, consider your lawn (or where you want to put the box). If you live on a large farm with many acres, you can buy a reasonable-sized cubby with extras like monkey bars or swings.
House Type: The material of the cubby house is another essential thing to consider when buying one. You can get most cubby houses made of wood, plastic, or a mix. Which one is best depends on how much upkeep you want to do, your budget, and the look you want.
|
Type of Cubby House |
Pros |
Cons |
|
Wooden |
- Classic - Simple - Durable & versatile |
- Wood eventually splinters - Regular maintenance |
|
Plastic |
- High-quality plastic has the same functions as a wooden one - Cheaper - Weather resistance |
- No, as solid as a wooden house - Mould and fungus |
|
Indoor |
- Inexpensive - Easy to watch your kids - Ideal for inner-city |
- Need enough spaces - Lack of adds-on |
House Style: Kids are known to go through stages and change their minds about almost everything almost every day, but they usually stick with at least one or two things for a long time.
If your kid has always loved being outside and playing, you can find a cubby house with a sandbox, a rock wall, and a ropes course. If your child loves play kitchens, they might like a cottage-style box.
To make a themed boxwork, you must find one that stays shiny through childhood. DIY cubby house types include a sandbox, swings, a picnic table, and parts that look like a restaurant.
DIY Cubby House Guide: How to Build A Cubby House?
Want to do something fun with your kids? Why don't you build them their own fantastic house? Not only will they enjoy playing in it, but they'll also be proud of what they made. Building a DIY cubby house involves the following steps.

Step 1: Select The Site
The kids will love their new cubby and play in it for hours. So, choose a spot with some shade so it doesn't get too hot for them in the summer and enough space around it so they can play outside for longer.
After that, the first thing that needs to be done is to set up the recess correctly. Drive four corner pegs into the ground and connect them with the builder's string line to make a square 800 mm area.
There should be no space between lines 1 and 2. Lines 3 and 4 should also be the same length. Then, measure the 5th and 6th lines, diagonally opposite corners. Move the corner pegs so these two lines measure the same if necessary. However, ensure that the measurements along lines 1, 2, 3, and 4 stay at I800mm to ensure the site is square and aligned.

(Data Source: Mitre 10)
Step 2: Build The Floor Frame
The base is the most essential part of the building. Take your time and check all of your measurements and layout twice. If you make a mistake here, it will affect everything else you do.
Make holes 400 mm deep and 300 mm square for each corner stump. Prepare them so the stumps fit in the middle and the outside sides are level with the string line. Put a wooden sole plate in each hole and stand a stick on top of it.
You could also use 50 mm of concrete instead of the wood bottom plate. Mark 70 mm up from the ground on the outside of the stump at the highest point of the ground. Move this mark to all the other stumps using a spirit level and a 2100 mm piece of straight wood.
To cut the posts to the lengths you marked, take them out and cut them to the lengths you marked. When cut to size, put them back in their holes.
Now, cut two carriers 100 x 100 mm long. Put them on top of the stumps so that the outside of each stump is flush with the end of the bearer. Then, use two 75mm metal nails to attach the bearer to each stump at an angle.
Make five joists that are 100 x 50 mm long. Skew-nail two 75 mm galvanised nails into each end of the runners to hold a joist in place. Place the other three joists on the pillars 387 mm apart and attach them to the first one similarly. As you did in Step 1, measure diagonally from corner to corner to ensure the floor frame is square.
Step 3: Design The Wall Frames
First, cut twenty 70 x 35 mm studs to 1430 mm long, five for each wall. The walls will be 1500 mm high when the top and bottom plates are added.
Next, cut the top and bottom plates of the front and back walls to 1800 mm long. The plates that go between them should be 1660 mm long. Place two plates next to each other on the floor to face the walls.
Write the number of inches between each pair of studs and a wall's code on them. Now, take off pairs of plates to make the walls. Start with the front wall. Space the plates out so they are as far apart as a stud. Put five studs between the plates, about where the marks say to do so. Use two 75 mm metal nails to attach each plate to a stud.
Hold the wall frame in place for now by standing it up. With a 75 mm galvanised nail, nail the bottom plate to the floor at each floor joist and in each corner.
In the same way, make a side wall frame and put it in place. Then, nail the corner studs together 150 mm from the bottom and top, as well as one in the middle, to connect the walls. The same steps are used to make, place, and attach the frames for the back wall and the rest of the side walls to the floor and each other.
Last but not least, ensure all the sides are straight, and temporarily brace each wall from the inside to keep the building straight.
Step 4: Make The Roof Frame
Cut six principal rafters to 1155 mm long, which includes the 100 mm that the walls stick out. The roof pitch tells the saw where to cut the ends of the rafters. To get the right angle, start by making a frame out of a piece of wood, as shown.

(Data Source: Mitre 10)
First, set a slide slope to the right angle. Next, make marks on both ends of each rafter. Mark the foot cut to the same angle at the same time. Place one set of beams on a flat, level surface with the tops pressed together, and the foot cuts 1800 mm apart. This will be the frame. Use a gang nail plate to connect the rafters at the top.
Ensure the foot cuts on the other side of the beams are 1800 mm apart and put in a gang nail plate there, too. Follow the same steps to make the other two frames. Finally, cut four pieces of wood that are 70 x 35 x 847 mm and nail two to the front and back wall top plates. This will hold the rafter frames and wall lining in place.
Step 5: Raise The Roof
You'll need an extra set of hands for this. One person should hold the rafter frame in place while the other nails it in place. Set up one of the end frames and skew-nail it to the plate on each side. Use one 75-mm nail to go through the rafter foot cut into the plate and one straight into the plate block.
Do the same thing on the other end. Then, to hold the middle frame in place, push one nail through the foot cut on each side. Cut four 70 x 35 mm roof battens to be 1800 mm long. Nail the top battens 100 mm down from the ridge point on each side with two 75 mm nails. On the other side, nail the bottom battens 50 mm up from the bottom of the rafters.
The roof hangs I00mm above the bottom of the battens. Roof nails should be put through the top of the grooves and every third corrugation to hold it to the battens.
Step 6: Add Wall Lining
Once the roof is on and the wall frames are in place, 90 x 19mm treated wood will be used to make the door and window frames. First, measure the holes. Then, cut and build the frames to fit. Check that they line up with the outside of the wall covering before you put them in place. Use 50mm galvanised nails to attach them to the studs.
Today, there are many options for lining the outside of a building's walls, such as weatherboard, cement sheet, Weathertex building boards, outdoor grade plywood, and more. You can make your own choice, and your local Mitre 10 shop can help you by giving you all the information you need and the manufacturer's instructions on installing it.
No matter your choice, the lining should be 20 mm below the floorboards. Cut the 90 x 19 mm treated pine fascia boards once the wall line is up.
|
Notes from Expert* |
|
Cut them to the same length as the rafters with the same end cuts but not the foot cuts. Fit them to the roof ends over the wall lining with the top of the fascia board in line with the top of the roofing corrugations. |
Step 7: The Final Touches
You're almost done when you add the door and window. Figure out how big the hole in the door frame is, and then cut the exterior grade plywood 4 mm smaller.
Put the "T" hinges on the door 100 mm from top to bottom, then attach the door to the frame. Before putting on a lock or latch, make sure it works and make any necessary changes. We suggest putting in perspex instead of glass for the window to make it safer and weatherproofing it with grease.
Finally, add a stain or paint finish that will protect it. Let the treated wood age naturally to an excellent finish if you'd rather.
Jackery Solar Generators for DIY Cubby House
One way to get enough power for your DIY cubby house electric tools is to use a solar generator. During the building process, you will never want to let a lack of power slow down the work. These are some facts about how much power most do-it-yourself tools need:
|
Tools |
Amps |
Hours |
Power Needed |
|
Circular Saw |
10A |
3H |
30Ah |
|
Jig Saw |
6A |
2H |
12Ah |
|
Miter Saw |
7A |
2H |
14Ah |
|
Paint Sprayer |
3A |
4H |
12Ah |
|
Belt Sander |
8.3A |
3H |
24.9Ah |
|
Disc Grinder |
16.7A |
1.5H |
25.05Ah |
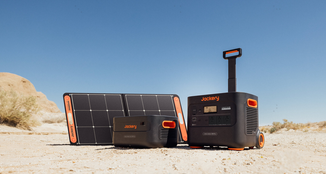
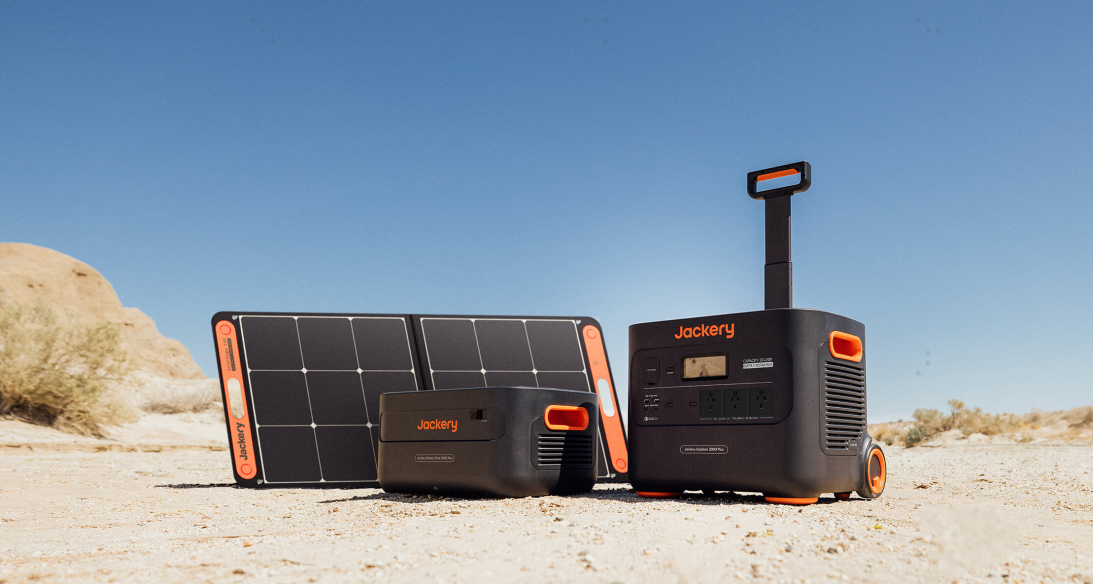
The Jackery Solar Generator makes the best use of solar energy by linking Jackery Solar Panels to Jackery Portable Power Stations. Jackery Portable Power Stations have many ways to output power, including AC outlets, DC plugs, and USB ports, so you can charge electronics and run power tools.
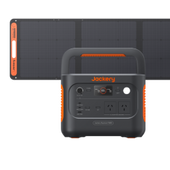
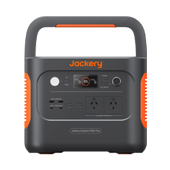
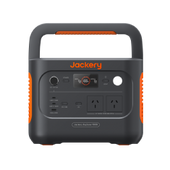
Jackery Solar Generator 1000 Pro
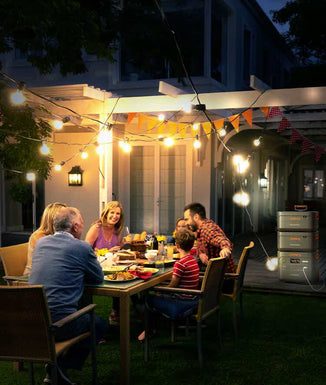
The Jackery Solar Generator 1000 Pro is a cutting-edge, flexible, and incredibly movable power source that is ideal for outdoor professional work or fun outdoor activities like DIY cubby house building, backyard parties, movie nights, and more.
This model's battery has a large capacity of 1002Wh, so it can easily power multiple gadgets simultaneously. The design makes it more portable by making it light (only 25.4 lbs) and giving it a handle that can be folded up for easy travel.
One exciting thing about the Jackery Explorer 1000 Pro is that it uses pure sine wave technology. This ensures that the power output is safe and stable, like energy from a wall outlet in your home. This makes it perfect for charging electronics without worrying about damage from changes in power.

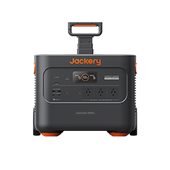
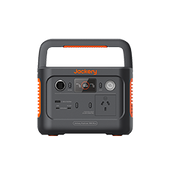
Jackery Solar Generator 2000 Plus
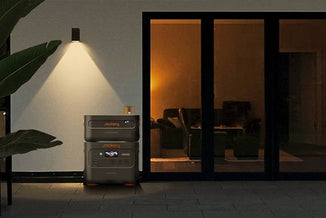
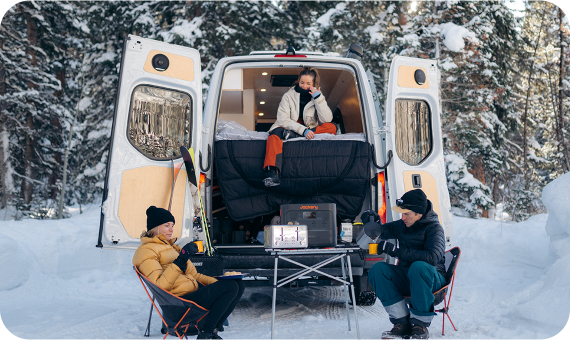
The Jackery Solar Generator 2000 Plus is a portable powerhouse that makes life off the grid and meeting power needs outside a big step forward. With a strong capacity and impressive power output, this generator is ready to power a typical home for weeks or meet the needs of business and adventurous trips.
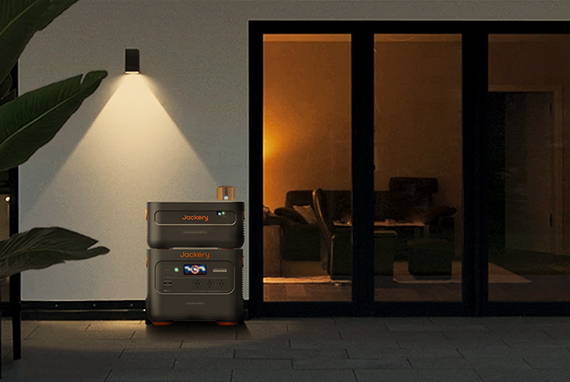
With a powerful 2 kWh base capacity that can be increased to an impressive 12 kWh with extra battery packs, it's the perfect travel companion for road trips, outdoor adventures, heavy-duty jobs, and emergencies coming out of the blue.
The Jackery Solar Generator 2000 Plus differs from other products in its category because it can increase its power output up to 3000 W, which is 30% more than other products in the same category.
This improved power transfer ensures that almost all essential devices work without any problems, meeting a wide range of needs with unmatched efficiency. Also, it can be charged quickly in six hours using 6* SolarSaga 100W solar panels. After that, it becomes a fully independent power source that runs on solar energy, freeing users from relying on the regular power grid.

DIY Cubby House FAQs
The frequently asked questions about DIY cubby house are listed below:
1. How to make a cubby house at home?
A fun do-it-yourself job is building a cubby house at home. Before you start, find a good place to develop and gather supplies like wood, screws, and roofing materials. Plan the shape of your cubby house and start building it by following a step-by-step plan or ready-made plans that you can find online or in DIY books. Paint, decorations, and other items can be added to your cubby house to make it unique and fun for kids.
2. What timber should be used for a cubby house?
When picking out wood for a cubby house, choosing a type that is intact by the weather is essential. Treated pine, cedar, and hardwoods like merbau or spotted gum are popular choices.
Because they don't rot, decay, or get damaged by insects, these woods are great for building things outside, like cubby houses. For environmental reasons, ensure the wood comes from forests and is handled in a way that doesn't harm the environment.
3. Is a DIY cubby house worth it?
Building a cubby house can be a good idea for parents who want to give their kids a safe and fun place to play outside. Cubby houses have many benefits, such as encouraging kids to play outside, developing their creativity and imagination, getting them to move around, and giving them a place to play together and connect with others. Your home's worth can increase; all ages can make cherished memories in a well-constructed cubby house.
Final Thoughts
From choosing the materials to putting the finishing touches on, Every step is a chance to spend time with family and friends and make a place that makes you want to go on endless trips. Your DIY cubby house will be a showpiece of your DIY skills and bring you hours of joy if you have the right tools, are determined, and are a little creative. A Jackery Solar Generator can also be very helpful for ensuring a steady power supply while working outside.

