|
Key Takeaways: |
|
• Landscape photography aims to create photographs that immerse the viewer in the natural world. • It might be challenging to determine which gear to purchase. Luckily, we've curated a list of landscape photography equipment. • We highly recommend Jackery Explorer 500 and 300 Plus to charge your photography electronics with power on the go. • You can use our shooting guide to take your landscape pictures, starting from checking the photography areas first, then considering the weather and gear, shooting in RAW, and setting up the photos. • We have different shooting tips depending on the landscape subjects (sky, mountain, and ocean). |
What Is Landscape Photography?
Photography is one of the most adaptable forms of artistic expression humans have ever created. As long as we have access to the right resources and tools, we can take pictures of anything in this world or beyond.
However, many of us discover that we are drawn to a particular aspect of photography that is both straightforward and intricate. We are discussing photography of landscapes.
Landscape photography aims to create photographs that immerse the viewer in the natural world. The photographers express their relationship to nature and capture the spirit of their surroundings through landscape photography.
Our eyes scan a landscape, concentrating on its visually appealing features. Most of the scenes are inside our field of vision, but our eyes and brains can only focus on the intriguing aspects. Film, sensors, and lenses cannot accomplish this on their own.
Landscape Photography Equipment
Examining the optimal camera equipment for landscape photography can be tiring. With an endless array of things and articles available, it might be challenging to determine which gear to purchase.

Luckily, we've curated a list of landscape photography equipment:
|
Landscape Photography Equipment |
||
|
Sturdy Tripod |
Camera |
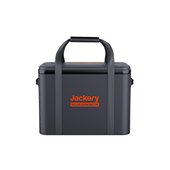
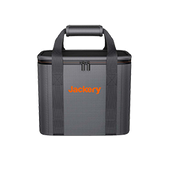
Camera Bag |
|
Camera L Bracket |
Wide-Angle Lens |
Zoom Lens |
|
Prime Lens |
Drone |
Extension Tubes |
|
Travel Case |
Backpack |
Cleaning Supplies |
|
Rain Cover |
Computer |
Portable Power Station |
- Tripod
You want to avoid fumbling with a tripod when taking landscape photos. It's the complementary piece. Buying more than one tripod over a long period is uncommon because a decent tripod will outlast the rest of your equipment. Investing a few extra dollars can ensure a reliable and safe setup.
- Camera
The finest camera for landscape photography will usually include the following attributes, though any camera can produce stunning landscape photos, from a professional DSLR to a tiny camera.
The megapixel count dictates the image's dimensions, which is significant if you print it on a canvas for your wall (though less so if you plan to share it solely on social media).
|
Expert Tips* |
|
|
Superior Resolution |
It's important to remember that you can crop an image more when the resolution is higher. In other words, an image with more megapixels allows you to print or zoom in on a specific area without sacrificing quality. |
|
Large Sensor |
Sensor size determines the size and amount of light that reaches each megapixel and, aside from lens quality, is often considered the most significant factor in determining image quality. |
|
High Dynamic Range |
A higher dynamic range will help you catch more details in the highlights and shadows of high-contrast images, especially those taken at sunrise and sunset. |
|
Weather Sealing |
Capturing beautiful landscapes involves braving the elements, so the best camera for landscape photography is one that will survive some exposure to rain, wind and dust. |
|
GPS Tracking |
Models with inbuilt GPS and geo-tagging can make keeping a log of your favourite landscape photo locations much more accessible. |
- Camera Bag
A camera bag that keeps your gear safely protected and accessible is a worthwhile investment for any landscape photographer. Backpacks are ideal for hiking. (You can also turn your favourite backpack into a camera bag using an insert called an ICU or Internal Camera Unit to store your camera gear safely.)
Alternatively, if you don't need to carry much gear or want a lighter weight or more discreet option, a camera pouch or shoulder bag that fits the essentials might be the perfect fit.
- Camera L Bracket
A quick-release camera bracket known as an L bracket, or L plate, lets you quickly change your camera's orientation on a ball head from portrait to landscape. The picture above shows how little the camera and viewfinder positions change when you swap orientations using an L bracket. The camera shifts significantly to the side and lower when you make the same adjustment with a ball head's 90-degree drop-notch.
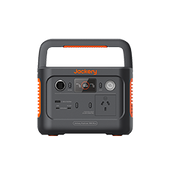
- Jackery Portable Power Station
To continue taking captivating landscape photos, your camera must be charged. The best way to do this is to use a camera charger, but you can also use your camera to take pictures while your backup batteries are charging. You'll need to figure out how to keep your phone, drone, GPS, and camera batteries charged while travelling.
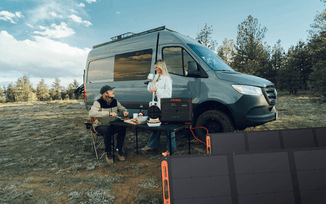
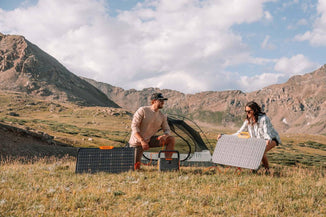
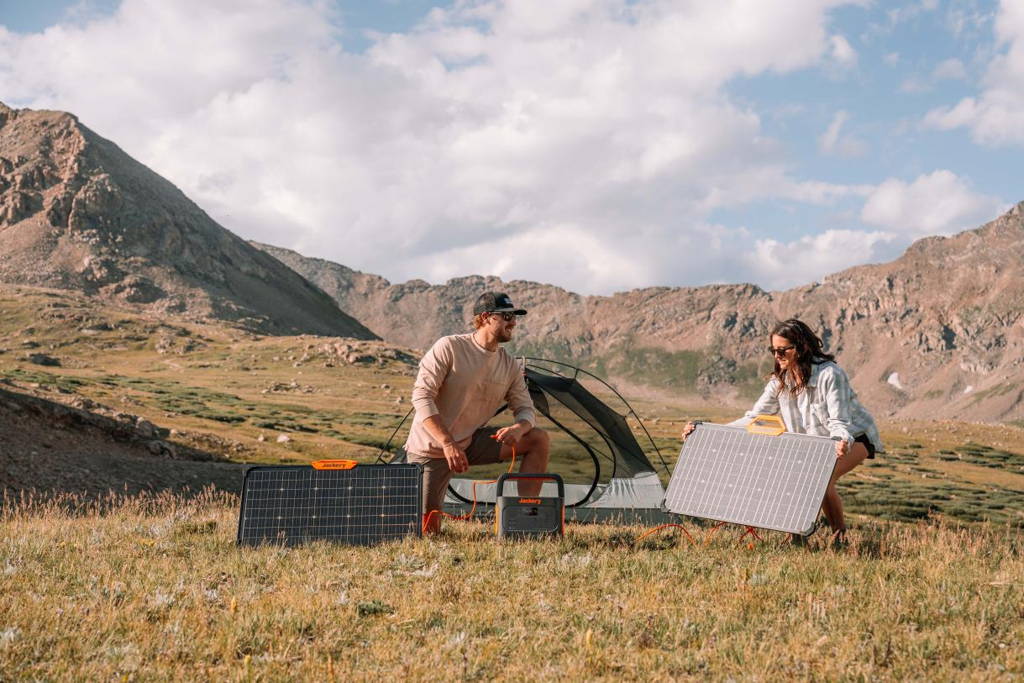
Purchasing a portable power station is among the simplest methods to accomplish this. These use the sun's energy to charge a wide range of devices cleanly, quietly, and safely. By the way, Jackery is the ideal travel companion.
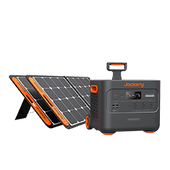
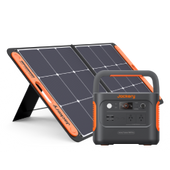
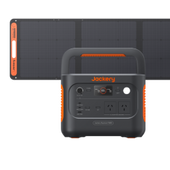
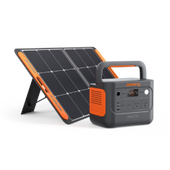
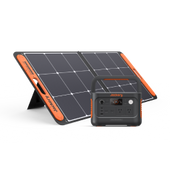
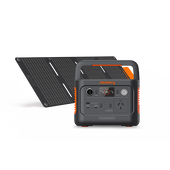
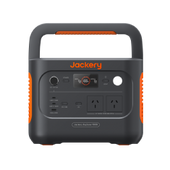
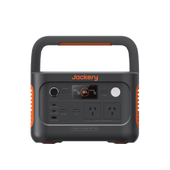
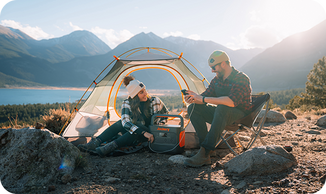
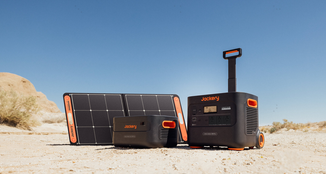
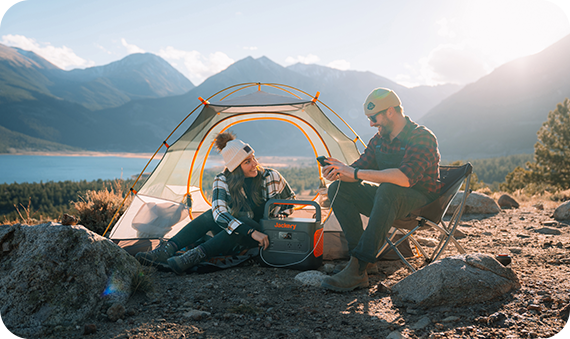
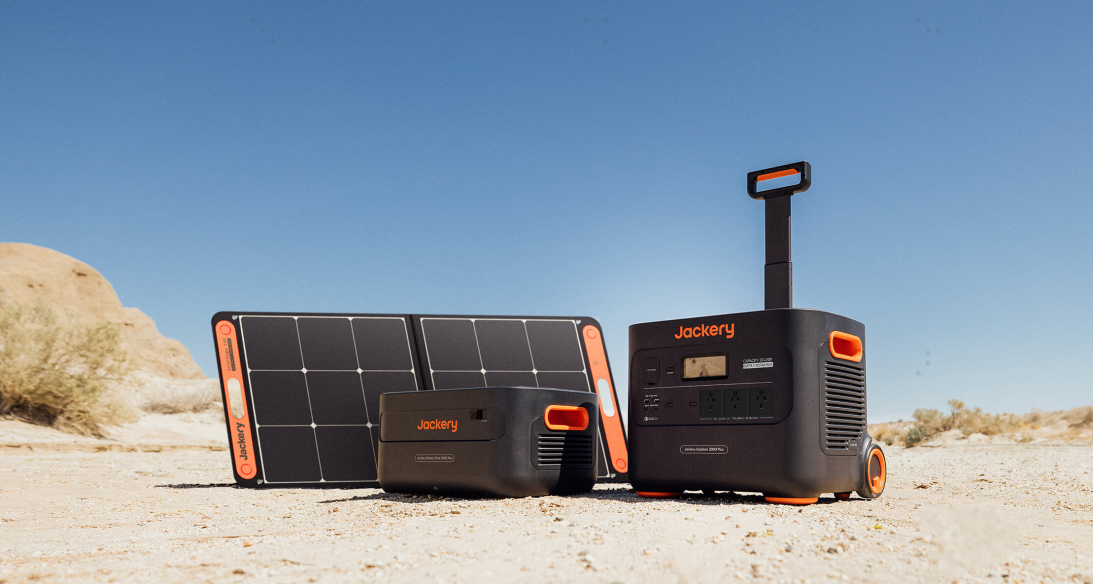
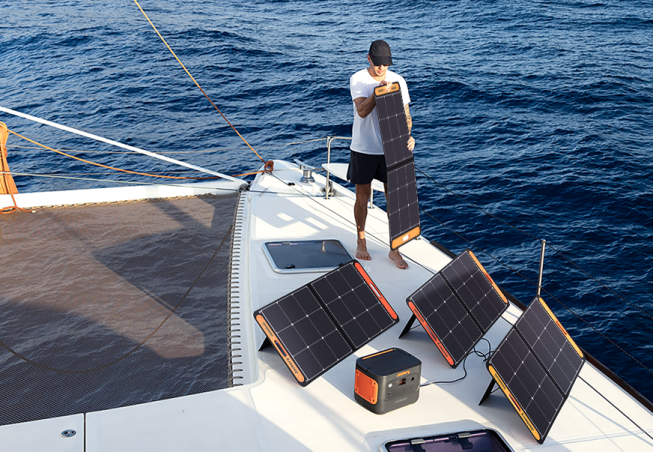
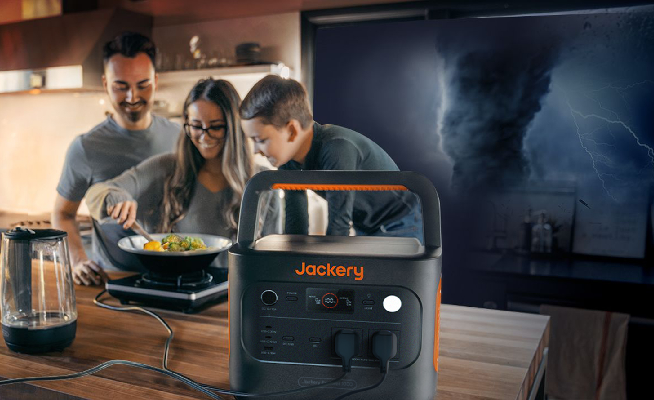
Jackery Portable Power Stations can make photography more fun and powerful. Bring a small power station like the Jackery Explorer 500 or Explorer 300 Plus to charge your electronics (camera, computer, phone, drone, etc) on your shooting trip.
Jackery Portable Power Stations for Photography
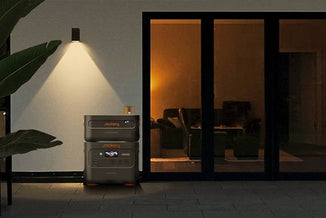
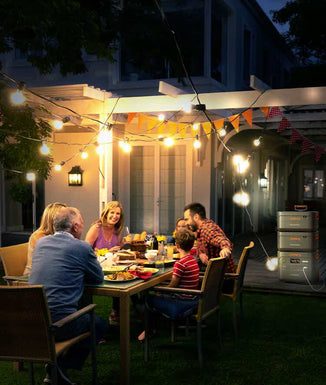
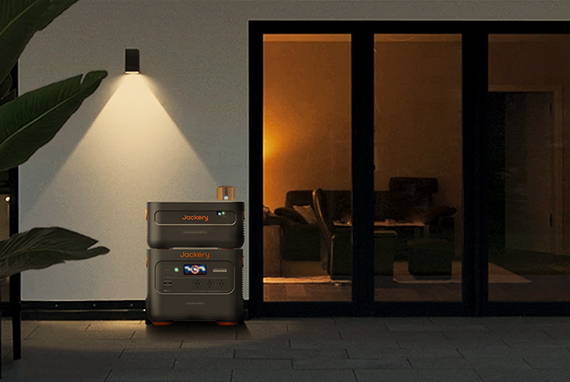
Jackery Portable Power Stations are made for people who like being outside and care about the environment and their comfort. They give your landscape photography equipment a safe way to get power while on the go.

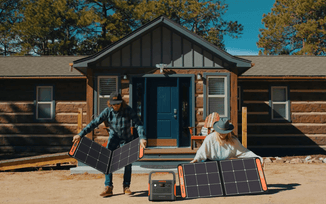
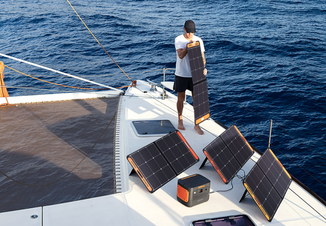
Jackery ensures that their Portable Power Stations use lithium-ion and LiFePO4 batteries for a steady power source. These generators can use the sun's energy now that Jackery Solar Panels are added. This makes them an eco-friendly power source for beautiful scenery.
We recommend Jackery Explorer 500 and 300 Plus for photography since they are compact, portable, and powerful. By taking them, you should never worry about losing electricity.
|
Photography Equipment |
Working Hours |
|
|
Explorer 500 |
Explorer 300 Plus |
|
|
Camera (20W) |
22H |
12.2H |
|
Drone (200-300W) |
1.5-2.2H |
1-1.4H |
|
Laptop (30-70W) |
6.3-14.7H |
4.1-9.6H |
|
Phone (5W) |
88H |
57.6H |
|
Shooting Light (200W) |
2.2H |
1.4H |
|
Earphones (1-5W) |
88-440H |
57.6-244.8H |
Jackery Explorer 500
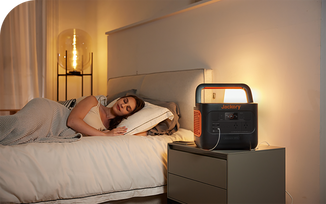
This Jackery Explorer 500 power station is made to withstand harsh weather thanks to its advanced temperature monitors and robust construction that can work in hot and cold conditions. Because it's so durable, it's an excellent choice for hiking, camping trips, outdoor activities, and backup power in an emergency.
With a capacity of 518Wh and a 500W inverter that can handle surges up to 1000W, the Jackery Explorer 500 can support multiple appliance charging, making it a versatile power solution for various needs. It is also designed for convenience, featuring a portable and light design that makes it easy to carry and use wherever power is needed.
The power station has three ways to charge it: solar panels, a wall outlet, and a car plug. This gives you options for how to charge it. With a noise level of 37.9dB, it's a quiet power option that won't bother you while taking pictures of the wildness.

Jackery Explorer 300 Plus
The Jackery Explorer 300 Plus portable power station is a lightweight and efficient power supply designed to meet the power needs for various situations such as hiking, kayaking, picnicking, camping, road trips, and emergency power backup.
This power station has a unique Battery Management System (BMS). It has 52 safety features and 12 BMS algorithms that work together to keep the device and any attached appliances as safe as possible. It also has four kinds of physical security to ensure everyone is safe.
This model stands out because it has an intelligent app control feature that lets users quickly manage the battery through Wi-Fi or Bluetooth. This makes it more modern and convenient to use. It's also very light - only 8.27 pounds - so it's an excellent choice for people who are always on the go.

Landscape Photography Tips & Tricks
What factors contribute to the aesthetic appeal of landscape photography? Surprisingly, it encompasses more than just awe-inspiring sunsets or vividly coloured plants. It involves understanding how to optimise the functionality of your camera.
To enhance your landscape photography, it is crucial to engage in regular photography sessions and implement these recommendations to advance and refine your talents in this remarkable genre of photography.
Tip 1: Investigate possible areas beforehand
Consider taking landscape photos as a gourmet meal. Scouting is the preparatory labour you conduct in advance of cooking. Just like in the kitchen, preparation is frequently essential to getting that once-in-a-lifetime photo.
It is impossible to exaggerate the value of scouting. While it's not always necessary to turn up to grab that lucky shot, most of the time, the magic comes when you know where to go and when to be there.
Start by looking up possible internet sites or using traditional topographical maps. Go to the locations you have chosen in advance - days, weeks, or even just a few hours before the actual shoot might occur.
Examine the geometry of the landscape to get an idea of how specific components will fit within the frame. Lighting is yet another essential factor to think about. For this, apps displaying the sun's trajectory can be helpful.
Anticipating the location of the light source aids in creating accurate images of your subject in various lighting scenarios. Hence, allow ample time to scout whether it's a popular tourist destination or a little-known national park area. Your portfolio will be appreciative of it.

Tip 2: Don't forget your tripod
A tripod must take outstanding pictures at the best angles, light, and quality. An increase in ISO might be necessary when taking pictures in low light (such as early morning or early evening) without a tripod to prevent camera shake—more noise in your photos results from this.
After selecting your ISO and aperture, you only need to determine a shutter speed that will result in the desired exposure. When choosing an aperture, set your camera to aperture priority mode, and it will automatically determine the shutter speed that will produce the best exposure.
This will make the process much simpler. Generally speaking, you can use a tripod at shutter speeds less than the reciprocal of your lens's focal length to find the lowest practical handheld shutter speed.
Tip 3: Consider the weather
The weather might affect the sharpness of your photos even if you are using a tripod. Excessive wind can cause your camera to become unsteady, especially if you have a long lens or filters mounted to the front of the lens, which can act as a sail to catch the wind.
As much as you can, try to steady your tripod by spreading the legs apart and firmly pressing them into the ground (as long as the ground is soft).
Tip 4: Shoot in RAW
You will find this advice on other photography websites rather frequently. Please ignore this advice if you've already shot in RAW and have seen it thousands of times.
There's a reason why this tip is constantly being repeated: in addition to being sound advice, many inexperienced photographers fail to follow it. RAW image capturing is no longer a capability exclusive to more sophisticated cameras - many smartphones and tiny cameras now support it.
Here is a brief overview for those who have not yet shot in RAW. The sensor, which gathers light information from millions of tiny pixels, is the brain behind a digital camera. This data must be processed to create an image.
When shooting JPEG, the camera uses presets to instantly adjust several image parameters, such as sharpness, contrast, saturation, and noise reduction. This results in a compressed file that can be used immediately for web uploading or printing without image editing software.
Conversely, RAW retains a far higher amount of the image data, necessitating the photographer's adjustments in areas like exposure, contrast, white balance, etc. It also permits some detail recovery in areas of highlights and shadows lost in a JPEG file.
Even while these extra processing stages take longer, the increased flexibility for making changes and tweaks makes the work and larger file size worthwhile! If you haven't already, switching to RAW is valuable, even just for the option to modify white balance without sacrificing image quality.
Tip 5: Take your time setting up the photos
Witnessing a landscape scene in person often astounds us, which is one of its many beautiful qualities. However, translating that into a 2D picture can occasionally be challenging. The final composition of your shot has a significant impact on how it turns out.
Thus, be patient and take your time. Take a few minutes to sit and enjoy the scenery. Take in your surroundings and imagine how you want the finished shot to appear.
When you're ready, compose your shot; if it seems good, press the shutter. Next, assess it. Does it function? If your response is no, try to determine why it isn't. Is it because the feeling of scale is absent? Does it require a focal point in the foreground? Or do you need to display more sky?
Regardless of the response, reframe the shot and snap another picture. Continue doing this until you think the final product is the best picture.
I rarely find that my finest shot of a shoot is the one I took right away at a scene. Taking more time is one of the most famous advice I give my students on landscape photography.
Tip 6: Graduated filters
Graduated filters are helpful when we want a filter to cover only some of the image. A graded density filter can be used as an ND filter to shade an overexposed sky. They are available in almost any combination, but a half-ND filter with one or two stops would be the primary choice.
Advanced Landscape Photography Tips
A fundamental principle we consistently emphasise is carefully arranging your subject within the frame. Once you are delighted with your composition, take two steps forward. This is because the essence of landscape photography composition lies in accentuating your subject.
Photography is a communication between the photographer and the audience, who appreciates the work. Every form of communication revolves around a central issue. As the landscape photographer, you aim to convey specific facts.
Subject 1: Sky
When taking landscape photos, you should consider the sky first and foremost. For example, a mixture of clouds and sun provides all kinds of interest (and spectacular colours at sunrise and sunset!).
On the other hand, the clear sky tends to look bland and lifeless. To get gorgeous skies in your pictures, you ought to:
- Time Your Shots: The weather is the best indicator of what the sky will present for your camera. Check the weather forecast ahead of every outdoor shoot.
- Watch Out for the Colours: One of the best ways to shoot the sky is to take pictures when the sun rises or sets; this is when the sky lights up with the most vibrant pinks and a mixture of yellow and blue.
- Mind Your Composition: A good composition is critical to improving your photography and creating professional-quality images. Whether you're using the sky as your main subject or backdrop, you must consider the placement of the elements within your photos, particularly of the horizon and foreground subject.
- Capture Water Reflections: One way to show off those stunning skies creatively is to capture their water reflection on an extensive and still body of water, such as a big lake or sea. You can get an intriguing mirror image of the sky by framing the picture to include both the sky and the water.

Subject 2: Mountains
This can be a challenging topic in the winter because you must always ensure you stay safe. Walking in the snow is one thing, but mountains frequently experience unpredictable weather and ice cover.
- Safety First: Know your limits before you go, dress appropriately, and pack the necessary walking gear, such as a phone, compass, and map. Additionally, you should have a whistle to call for assistance if required.
- Pack The Right Gear: The paramount desire is to reach a picturesque destination after enduring hours of hiking, only to realise the necessity of having the appropriate equipment. Here's a quick guide to help you prepare: remember to bring your camera, lens, tripod, bag and filters.
- Composition Theories: Finally, compositional theories are something to consider. Once more, an additional worldwide set of techniques for all types of photography.
To focus the viewer's attention on your subject and produce more intriguing images, apply compositional techniques like the Rule of Thirds, negative space, triangles, leading lines, etc.
Using effective composition techniques will help you take more captivating pictures once you have decided on the subject you want to photograph.
Subject 3: Ocean
Before beginning any landscape photography, consider the best way to safeguard your equipment. Wind, seawater, and sand are deadly and may quickly destroy your priceless equipment. When it comes to preserving your camera, preparation is critical.
Few camera settings will affect your shot more than shutter speed when taking pictures of the water.
Long shutter speeds allow you to capture some incredible action in the water, such as receding water changing into streaks or waves appearing as a foggy mist across the ocean's surface. However, consider utilising quicker exposures.
Landscape Photography FAQs
The following are the frequently asked questions about landscape photography in Australia.
- Which environments are ideal for taking landscape photos?
The ideal camera settings for taking landscape photos are slow shutter speed, low ISO, and high f-stop—these guarantee that your landscape photos will be clean, sharp, and of the highest calibre. Inadequate settings lead to grainy or blurry landscape images, which are difficult to resolve, even with post-processing.
- Which four components make a landscape photo?
Four key components are necessary for shooting successful landscape photos:
- Fascinating composition
- Adequate lighting
- A clear focal point or subject
- Effective use of leading lines
- When photographing a landscape, what should you not do?
A place's appearance might vary greatly depending on the time of year, the lighting, and the weather. Planning and conducting a thorough study on the different factors that can affect the location and, in turn, your shots are essential if you want to capture high-quality landscape photos.
- What are the five landscapes in Australia?
Australia boasts many landscapes and seascapes, ranging from arid deserts to fertile farmlands, pristine beaches, vibrant coral and temperate reefs, expansive oceans, lush wetlands, and dense rainforests.
Australia's captivating surroundings, including coral reefs, pristine sandy beaches, lush rainforests, and majestic mountains, make it a highly enticing destination to explore and landscape photography.
- What is one of Australia's most well-known and photographed landmarks?
With the egg-shell curves of the Opera House and the steel, arched boldness of the Harbour Bridge, Sydney's Harbour is often regarded as Australia's most iconic and frequently photographed landmark.
Final Thoughts
These expert recommendations for landscape photography are a terrific place to start, no matter where your journey leads you. Thus, why do you delay? Set out on a trip, venture off the beaten road, and capture hundreds of photos to improve your trade. Also, remember to take a Jackery Portable Power Station on your photography trips to charge shooting equipment conveniently!

